
|
Back on Easter Sunday I took Miss April for a drive through the tulip fields of Washington. They are all in close proximity to Mount Vernon, Washington. I took some photos and then headed to my daughters house. Several photos of the fields came out nice, but it was hard to get the car in position for good shots because there were crowds of people enjoying the beautiful flowers. Some photos of the flowers were great, but the bright sunshine on the car didn't always make for a wonderful 356 shot. One came out ok, and I sent it to the editor of the Registry magazine. It missed the magazine deadline by a couple of days, but it's in the current July/August issue, page 7. It is sort of underwhelming seeing it in a small size and in print, so I thought I would try to show it here in full pixel, the scenery was so beautiful it's hard to describe. Brilliant colors and a beautiful day. Hope you like the photo- If you click on the image, it'll enlarge. 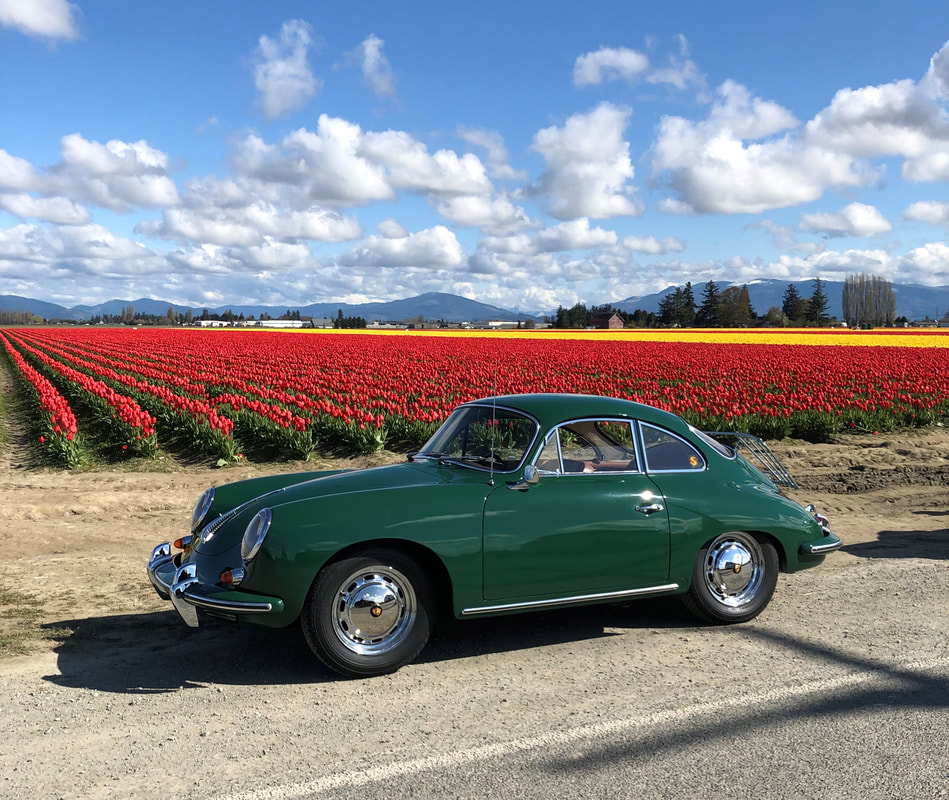 Here is the magazine page. I appreciate them including it, but if you want to get a better view of the brilliant colors, click on the photo ABOVE and it will enlarge. 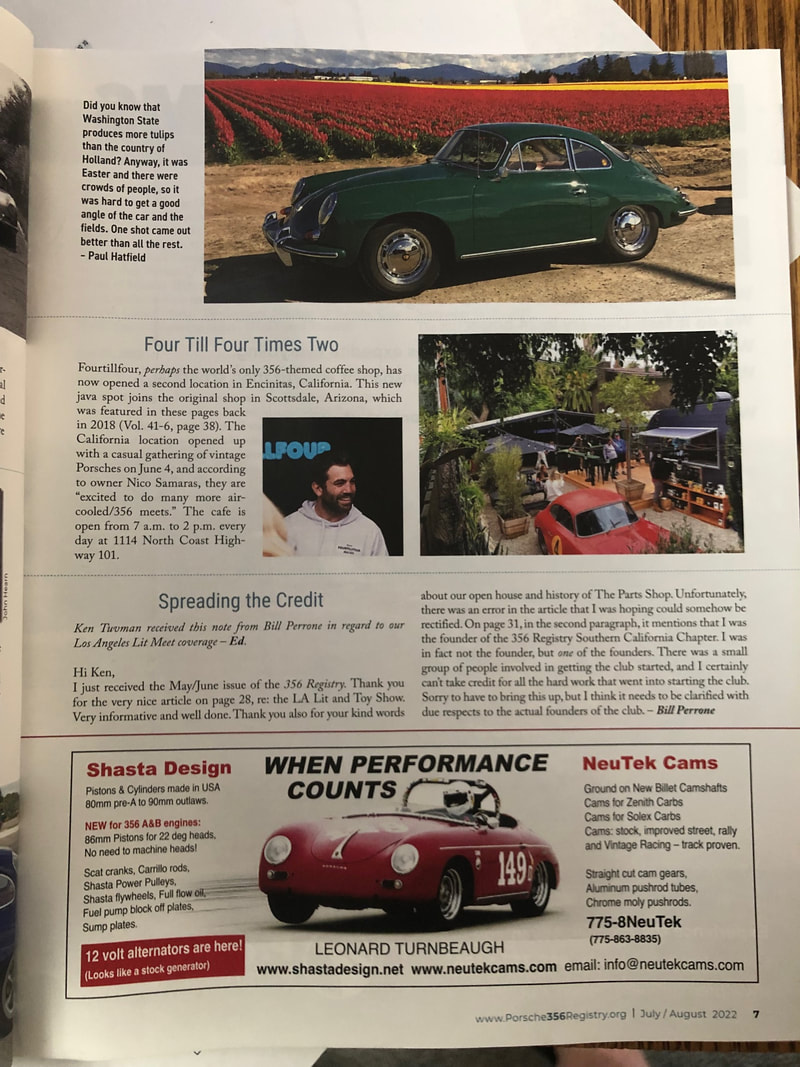 Seems like it has been raining here for months, but on Saturday morning, the sun poked out! Pulled Miss April into the local cars & coffee parking lot and enjoyed the banter with other "car guys". Over the next couple of weeks I plan on working on getting the speaker cloth in and adding another rare accessory. More on that later. 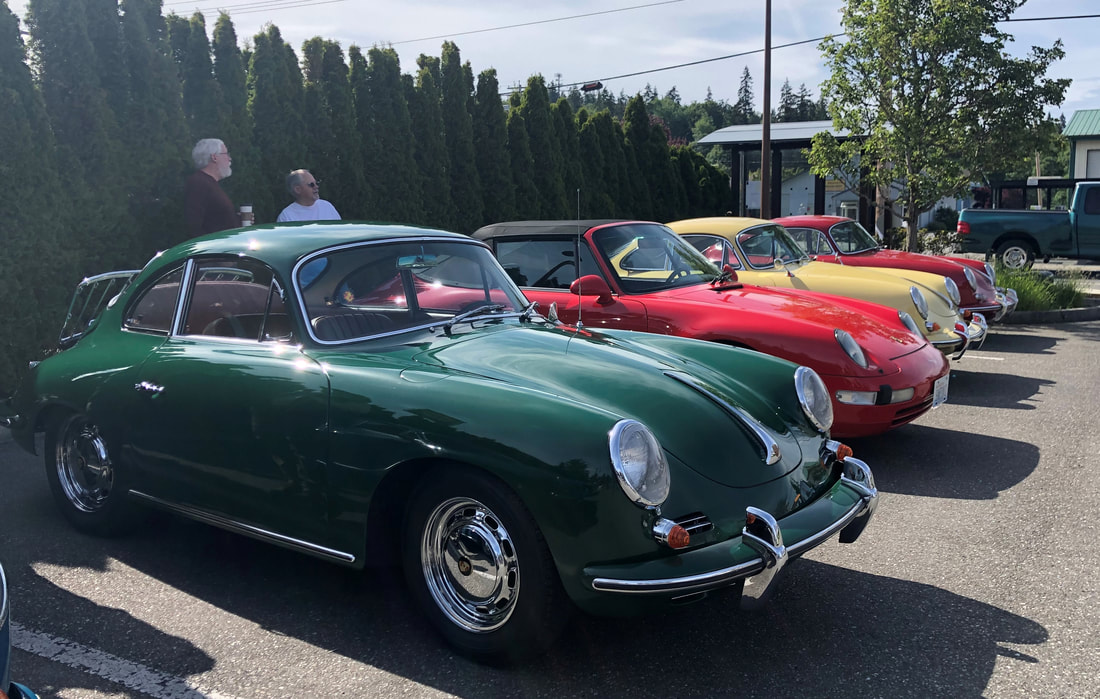 By now, most of my 356 contacts know I am a complete originality freak. I really enjoy trying to get things exactly as they came from the factory. When something uber rare comes my way, it is a reason to celebrate! One of the things that deteriorated quickly on the 356's was the original, factory installed speaker cloth that went over the metal speaker grills. The cloth was thin, and when sunlight hit the cloth, it quickly faded. It was not a cloth like now can be manufactured to withstand UV light nor any other elements. There is some very nice looking cloth available through a Registry member, but it is still not the same appearance as original. Nice substitute, but not perfect. The Registry has a saying- Come for the cars, stay for the people. Today I can endorse that saying 100% A wonderful 356 Registry friend just sent to me a nearly perfect condition pair of original speaker cloth used in late B and 356 C Blaupunkt speaker grills. The cloth was given to him by none other than Chuck Stoddard himself, and was in an unopened Blaupunkt installation kit Chuck had. The cloth was then briefly used in my friends car, and quickly removed when he carefully inspected it and found it had faded ever so slightly. No rips or tears, and only very slight fade in the material. Although this person has a nice C car himself, he thought it would go great in Miss April, so he sent it to me,,,, free! Wow! It arrived today, and all I can do is say how kind it is of that person to pass the cloth on for me to very carefully install! Photos of the original cloth are below. 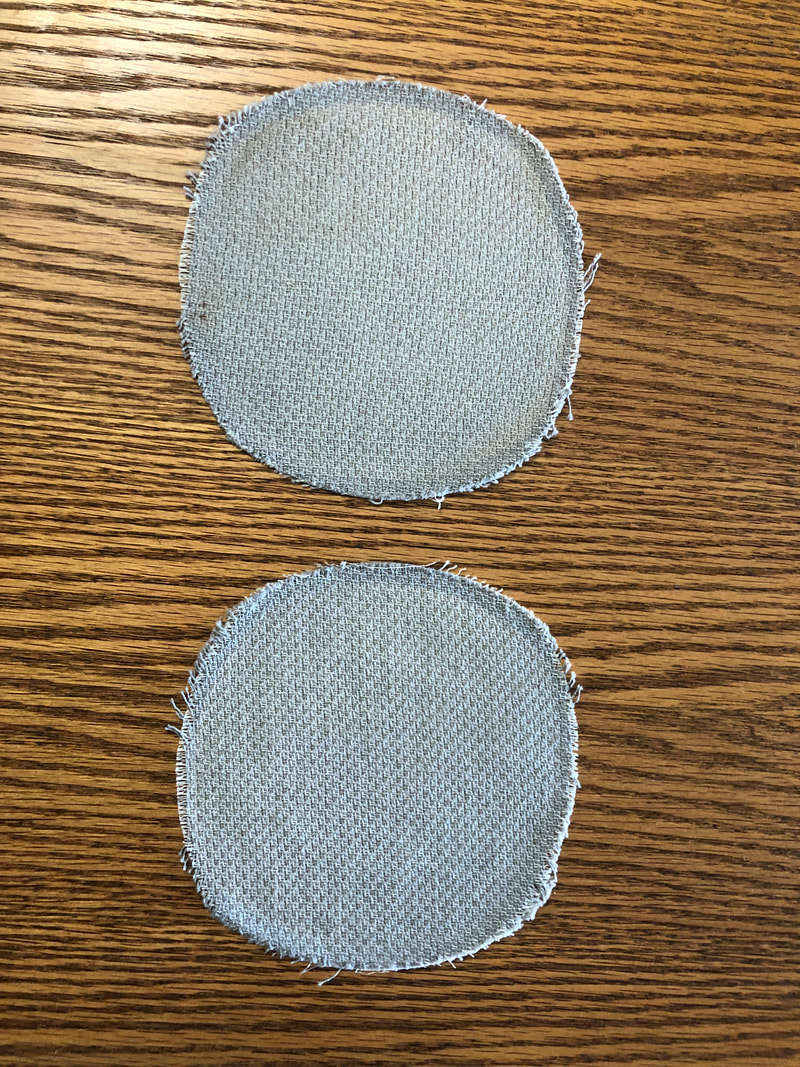  Thought this might be fun. Click on the image below and it will take you to a crossword puzzle I created that is all 356 related. Good luck!  A while ago I posted that I had acquired another original maroon PORSCHE catalog for my bookshelf. See: more-maroon-please.html Well, I am at it again- sort of... This time the book is rare, about PORSCHE, and maroon, but not a factory publication. The book Excellence Was Expected by Karl Ludvigsen is a classic, to say the least. I have had the pleasure of owning a couple of First Edition issues,, but all of the previous books were the typical ones with the paper dust cover. When the book was first released there were a few, very limited versions with a genuine leather cover. The covers were either tan leather, or maroon leather. The books you see with black covers were a faux leather, and originally had the paper dust covers. Leather books were simply leather bound, no paper dust cover. Other differences, besides being quite rare, were the binding end of the books has gold embossed lettering, and the outward edges of the pages were also gold covered. This is not the case with the standard versions of the other books, including that the other First Edition books without the leather covers did not have this gold embossing. I have now added a leather bound first edition/first printing leather bound Excellence Was Expected to my collection! Mine is not signed by Karl, but it is signed by Scott Bailey, making this book even more rare. Who's Scott Bailey? Publisher of the book, and President of Automobile Quarterly, as shown in the photos below. Happy to have this book in the collection!  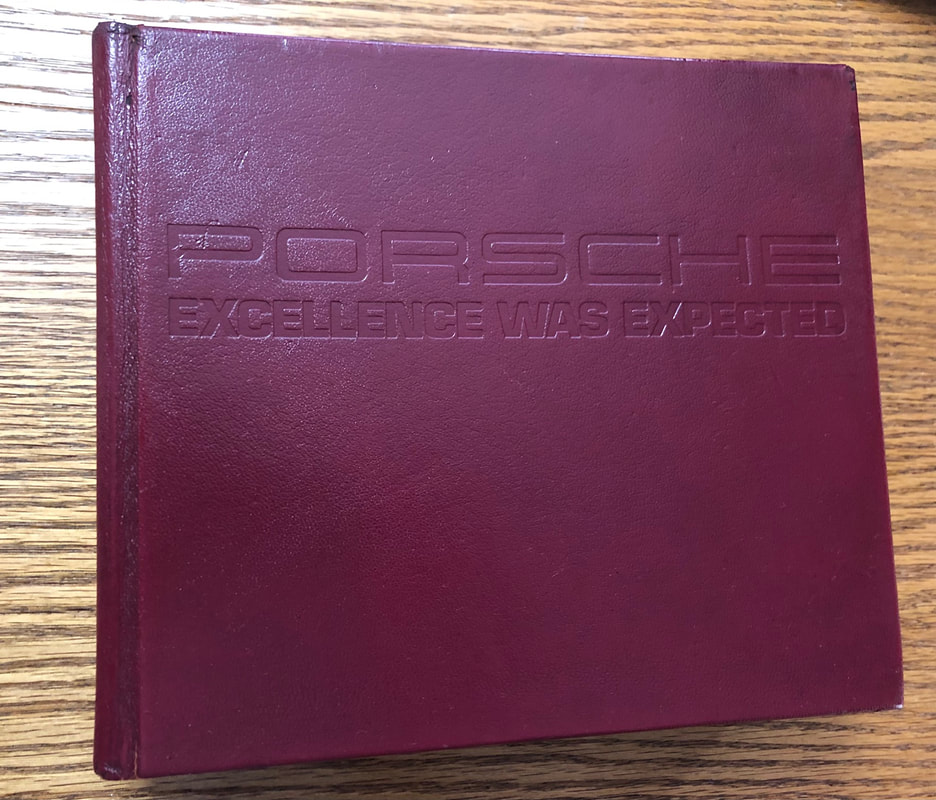 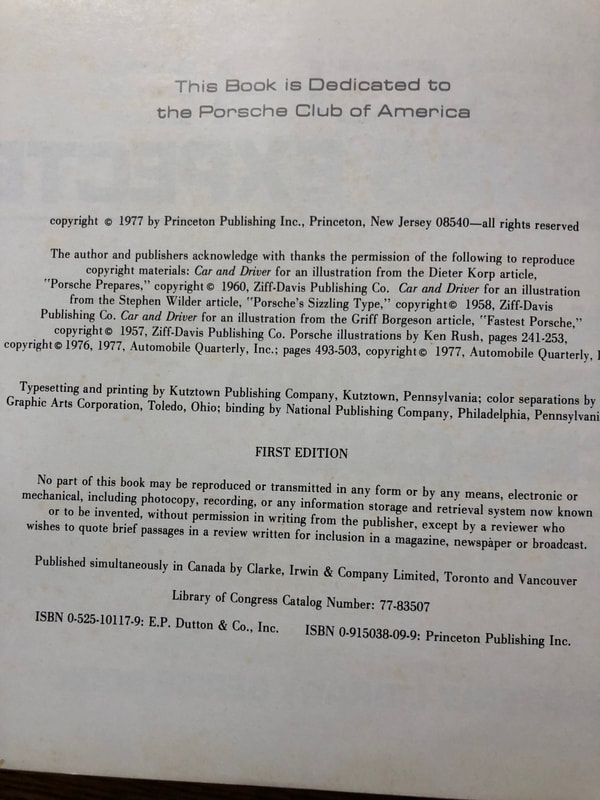 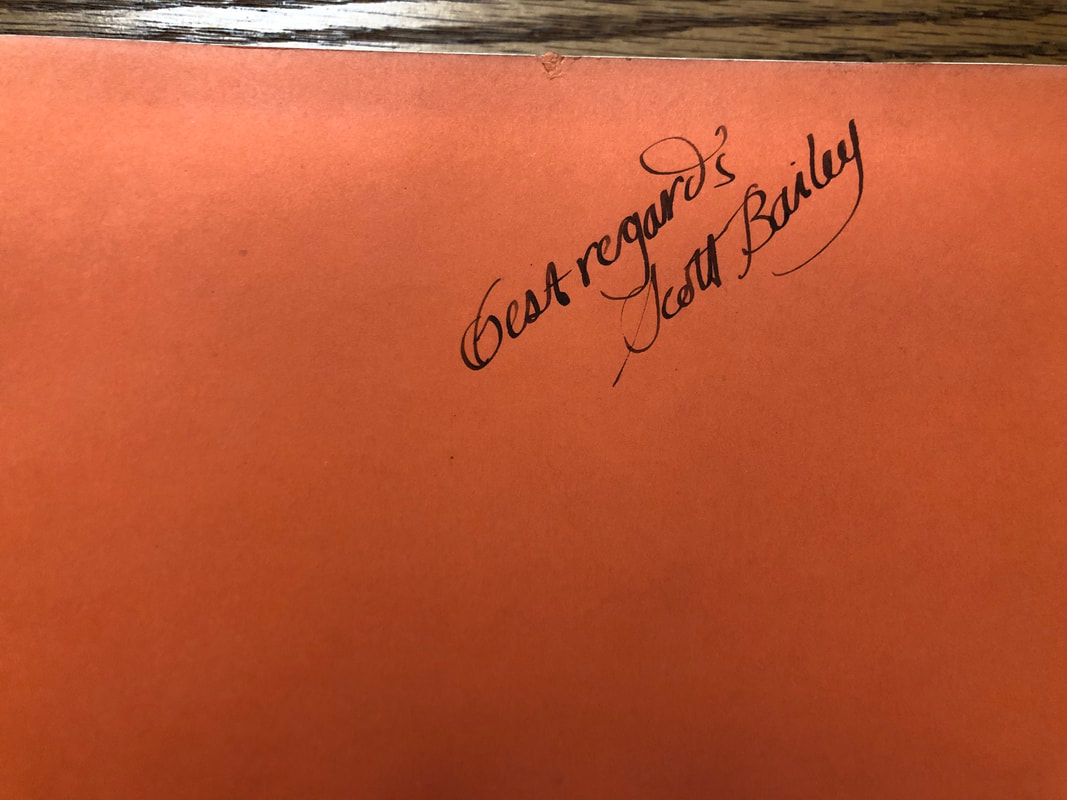 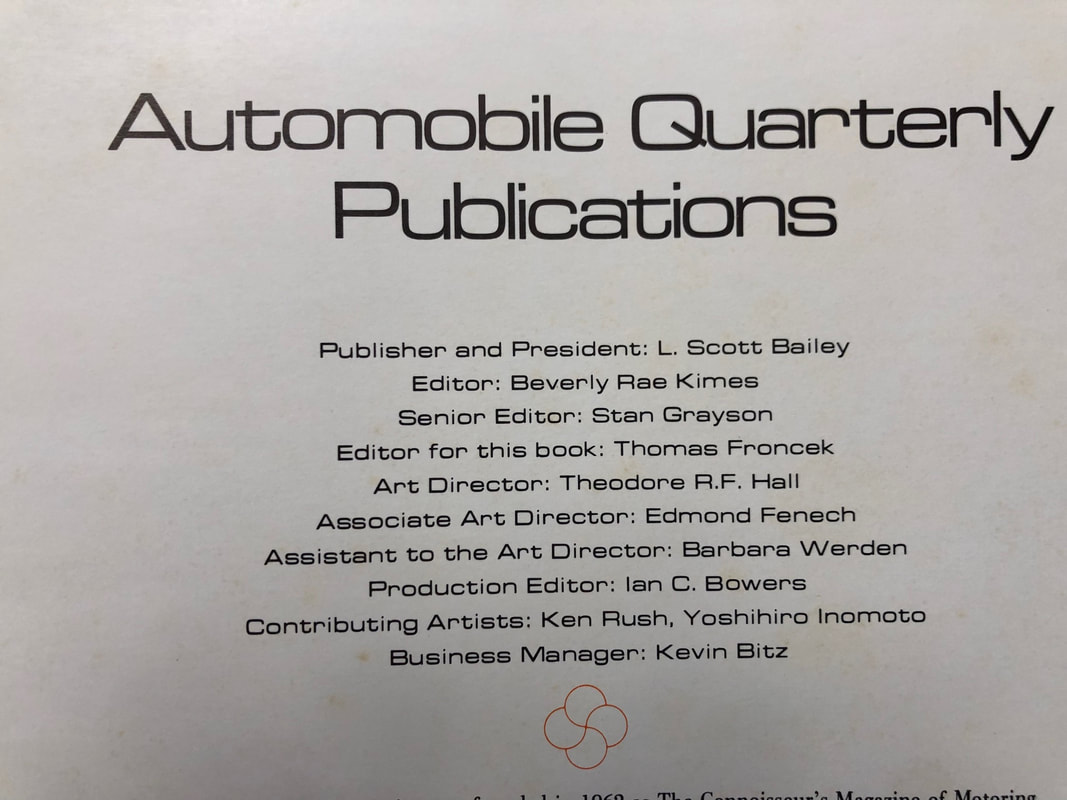 John Mellencamp recorded a fun song called Cherry Bomb a long time ago, but it's still a great listen. If you've forgotten the song, listen to it below while you look at the photos of Miss April on a neighbors driveway, bathed in cherry trees. A much different "cherry bomb", but I just couldn't resist the song reference. Hope you like the photos. 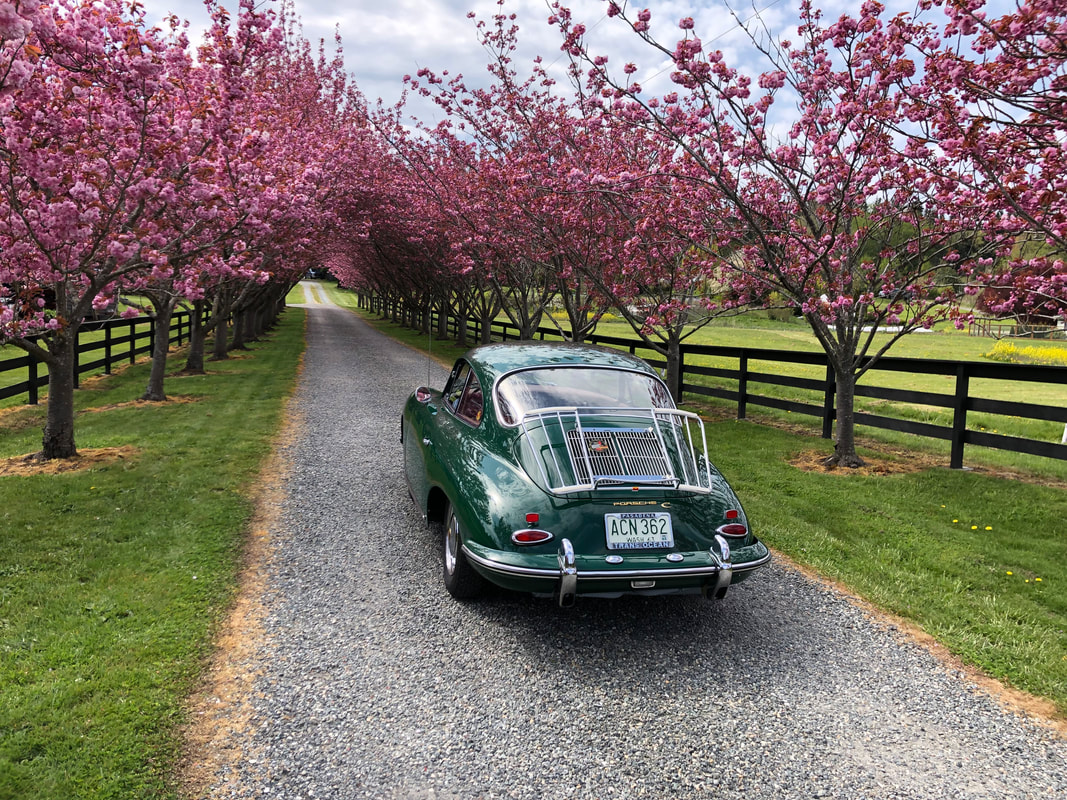 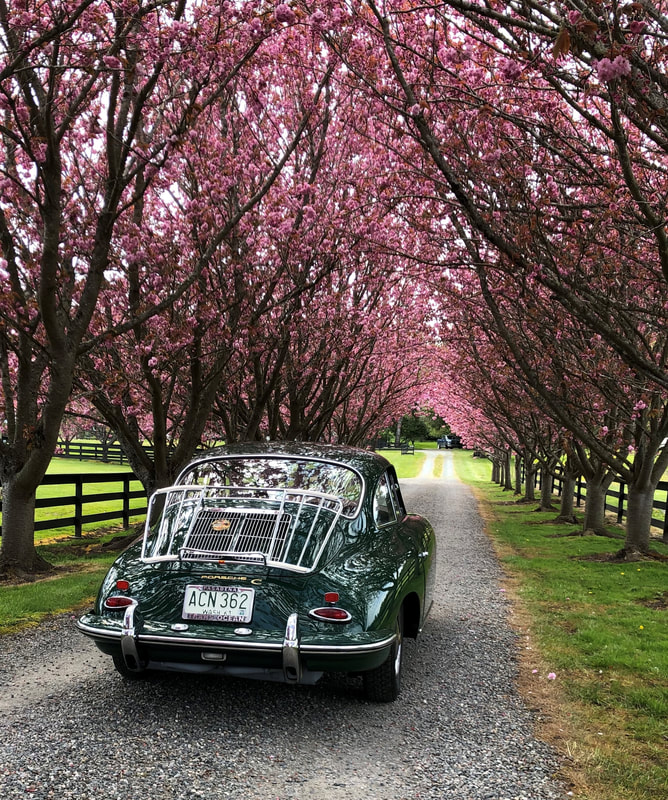 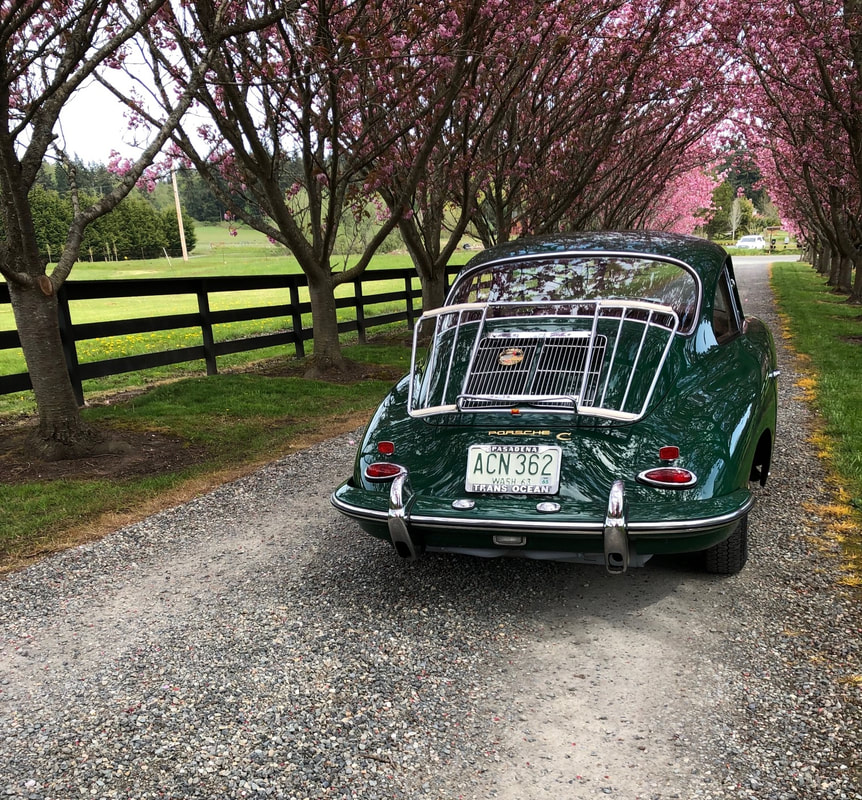 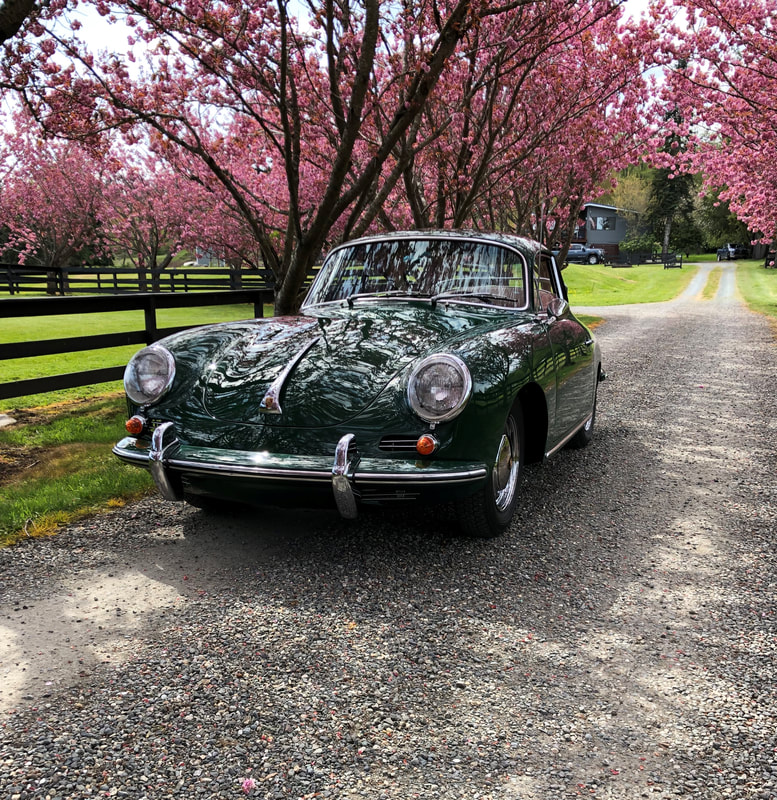 |