|
Many parts on these wonderful cars were date stamped or date coded by the manufacturer. When this is found on the part, it's easy to tell if it's original or otherwise. Please check out the Engine & Trans Section of the website. If you head there and scroll down a bit (below the Kardex), you'll find 18 photos of date stamped and date coded parts on Miss April.
0 Comments
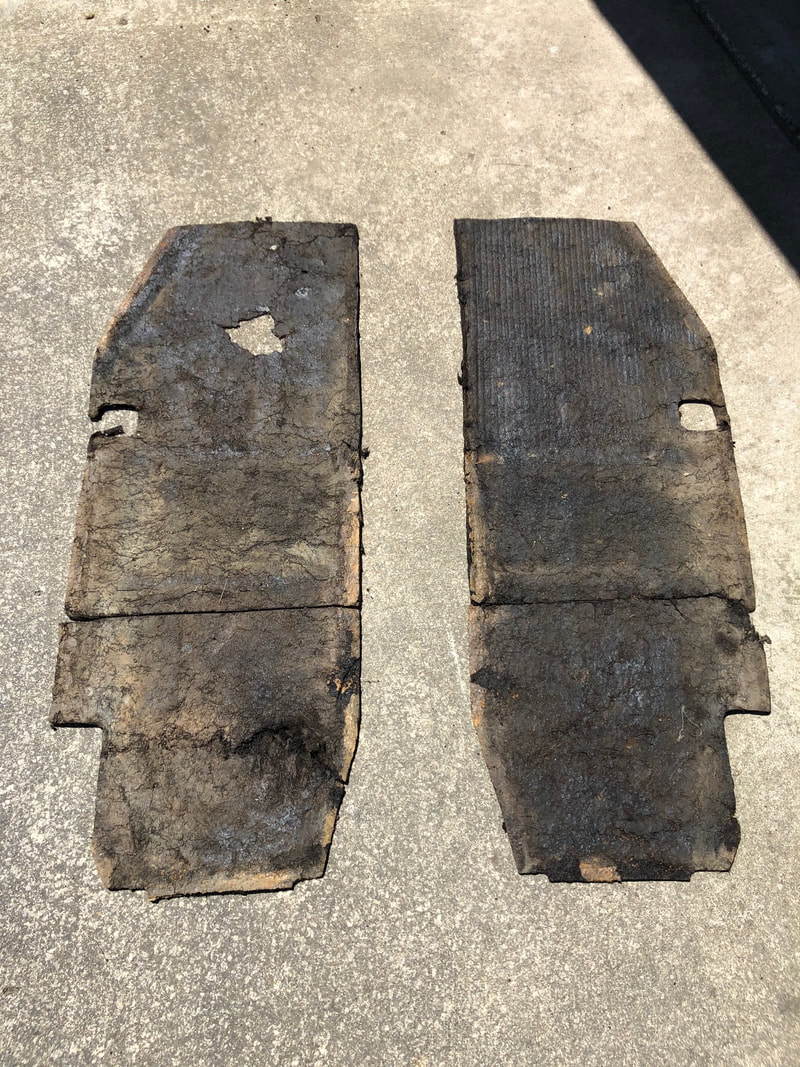
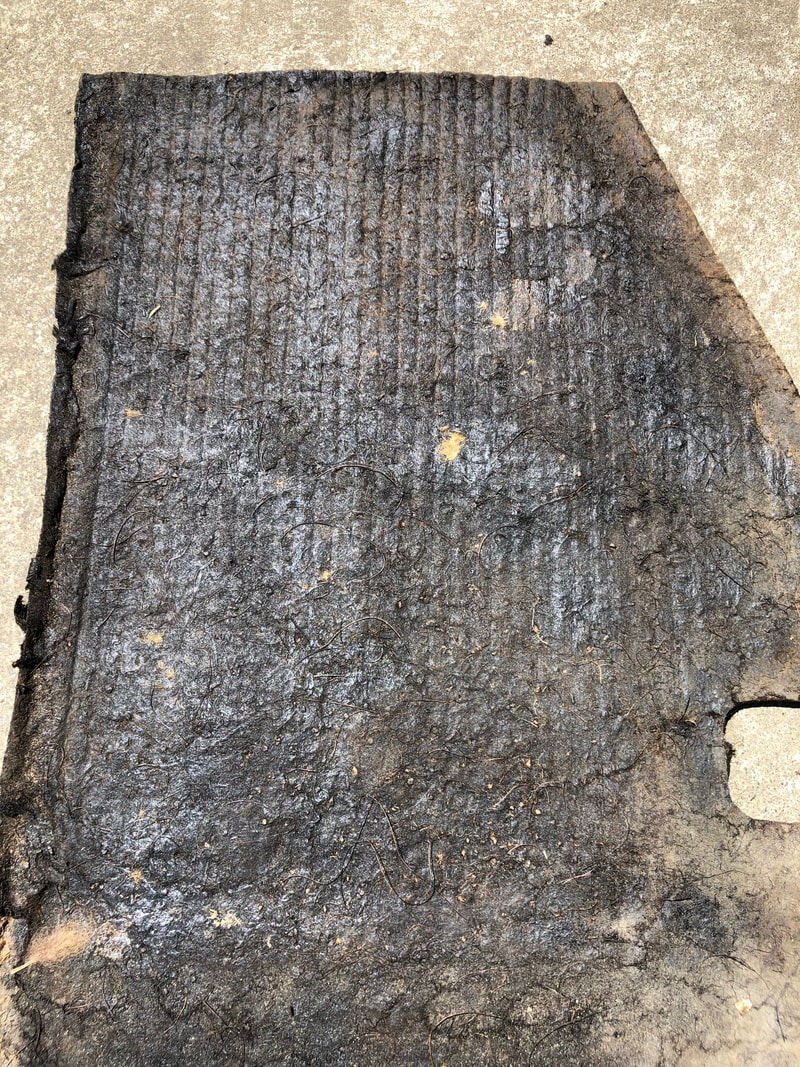
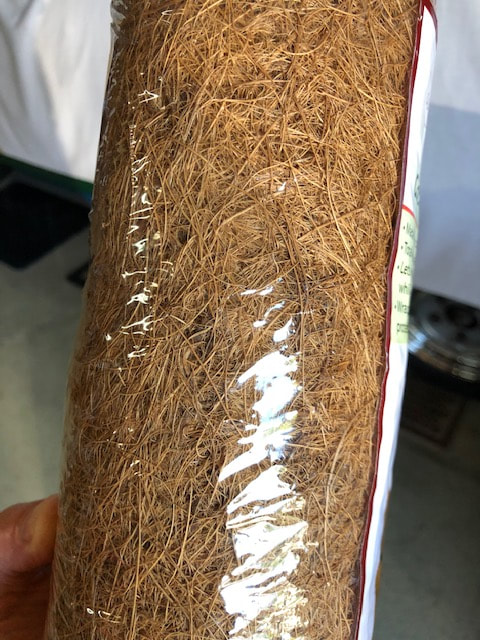
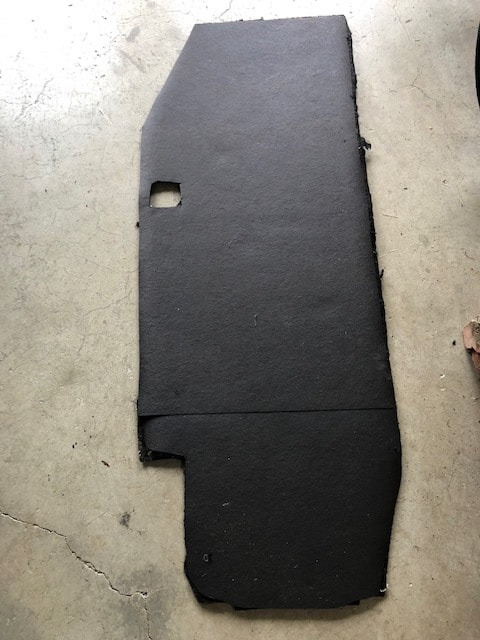
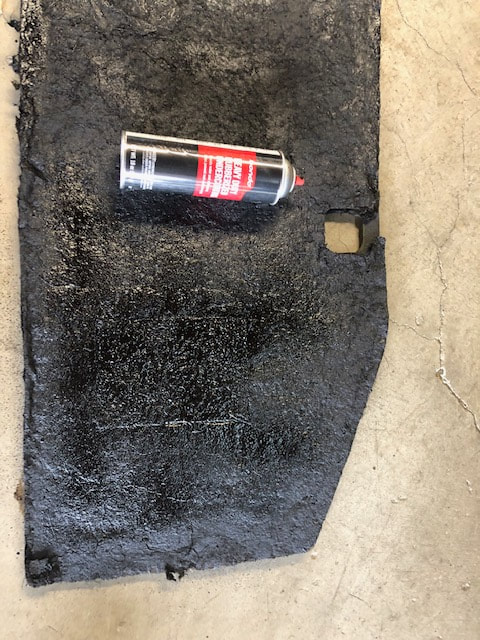
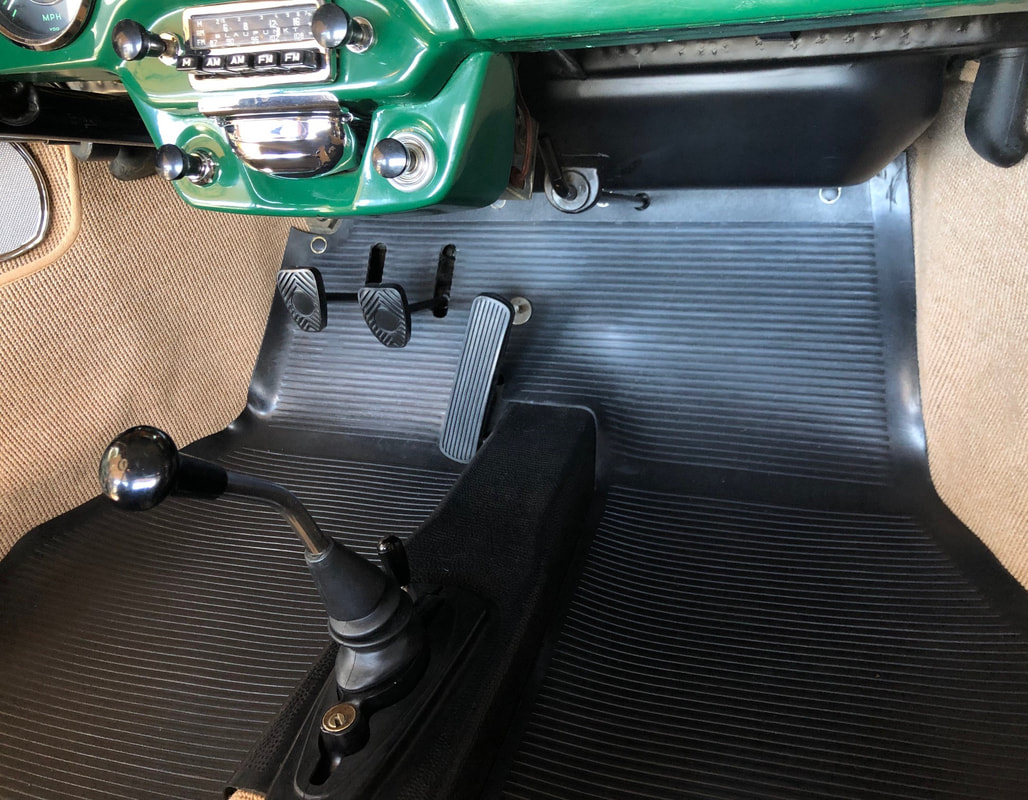
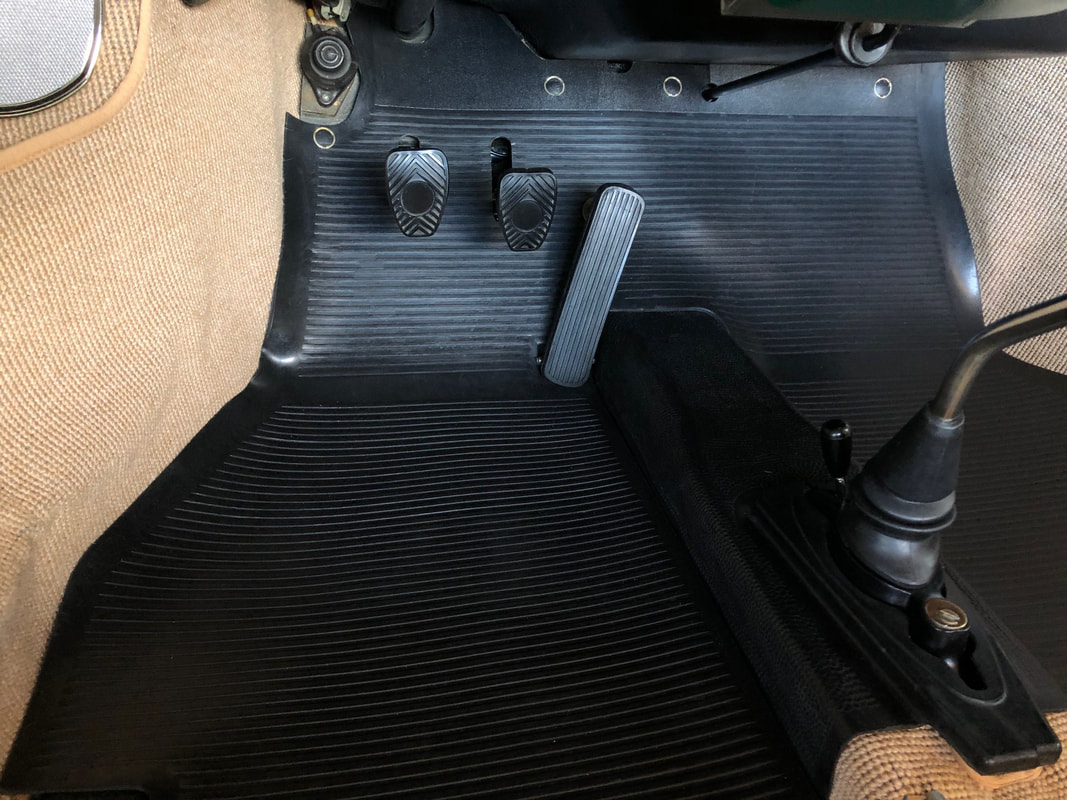
.... the engine is back where it belongs- in the car! It's great to hear engine music again. There is a long list of work to do, but the car starts and runs. The engine compartment will look better once I make some insulation for it. Still have to finish the interior, mount the rear bumper, finish the engine lid grills, etc. etc. etc. But, this sure felt like a BIG step forward! Video below is a bit shaky, but what the heck. Make sure your sound is on to hear the nice idle! I have bought several rolls of shredded coconut fiber to use as matting under rear seats, behind carpet, etc. It was the closest thing I could find to original material that many people call "horse hair". The only place it actually shows is if you lift up the seat pad for a rear seat. Now comes the time for doing the padding under the main rubber mat in the cabin. Many restorers use peel & stick sound deadening pads from places like Dynomat. Too modern for this originality freak, even if it makes the car quieter and provides a nice cushion for the mat. It's just not my style. Fortunately, when I removed the original horse hair mat, I was very careful. I was thinking I wanted to keep it is good shape to make a pattern for the replacement. But, no close replacement is available. As you can see in the photo, it is actually in good shape except for one hole at the drivers foot area. What should an originality nut do? Restore the original pad of course. I painted it all black again and glued a layer of roofing felt on the back (under) side. Next step was to cut out the hole and insert a section of the shredded coconut (called "coir"). I then sprayed it heavily with undercoating and then another coat of black paint covering that area. Happy with the results. Time for the rubber mat! Photo below shows the repair patch where the hole was beneath the foot pedals. Next step was the floor mat. I took care to remove the snaps from the original and reuse them on the replacement mat.
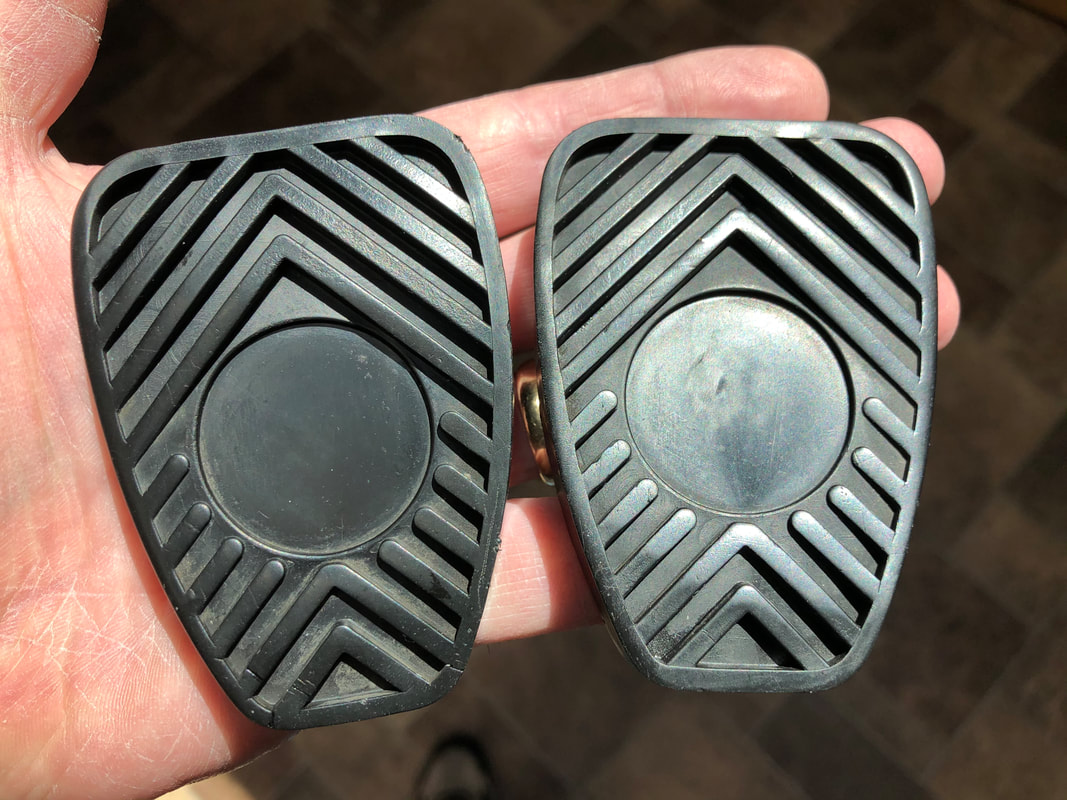
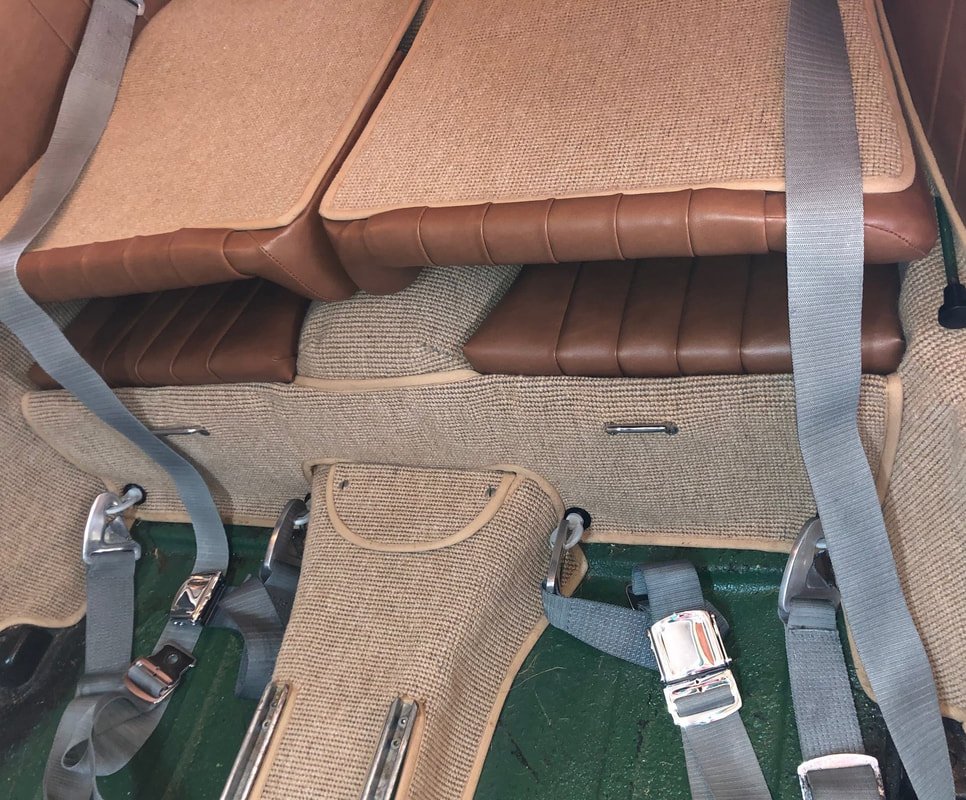
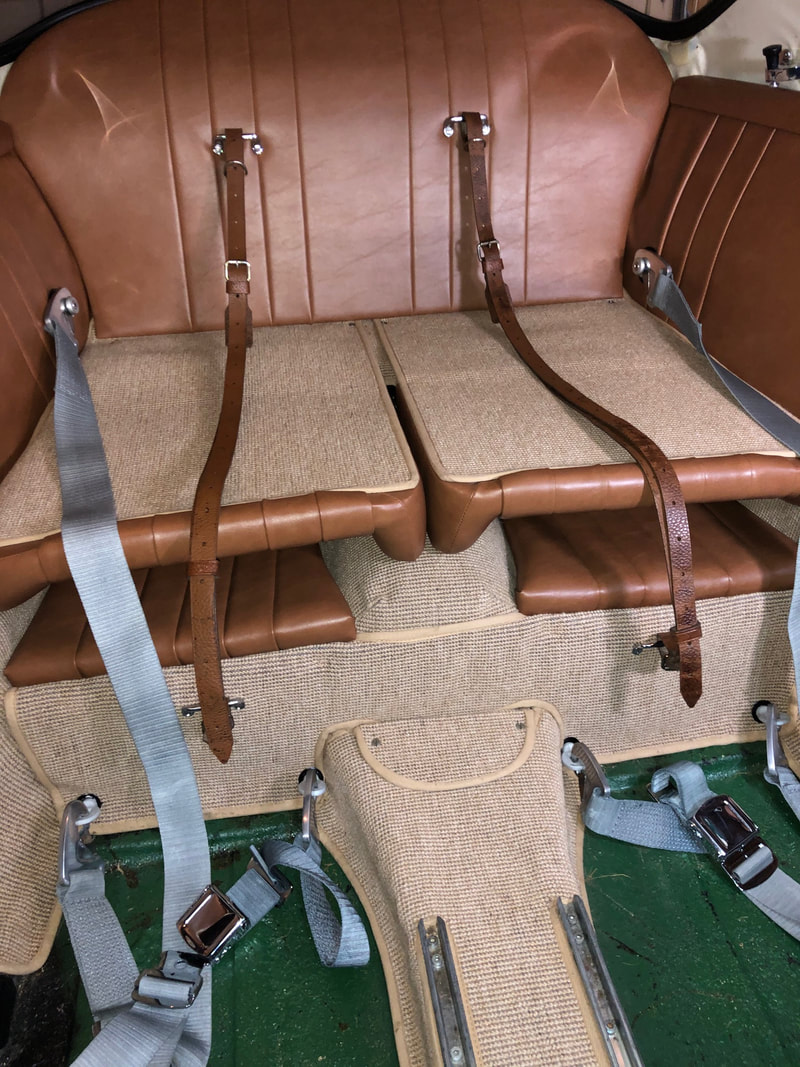
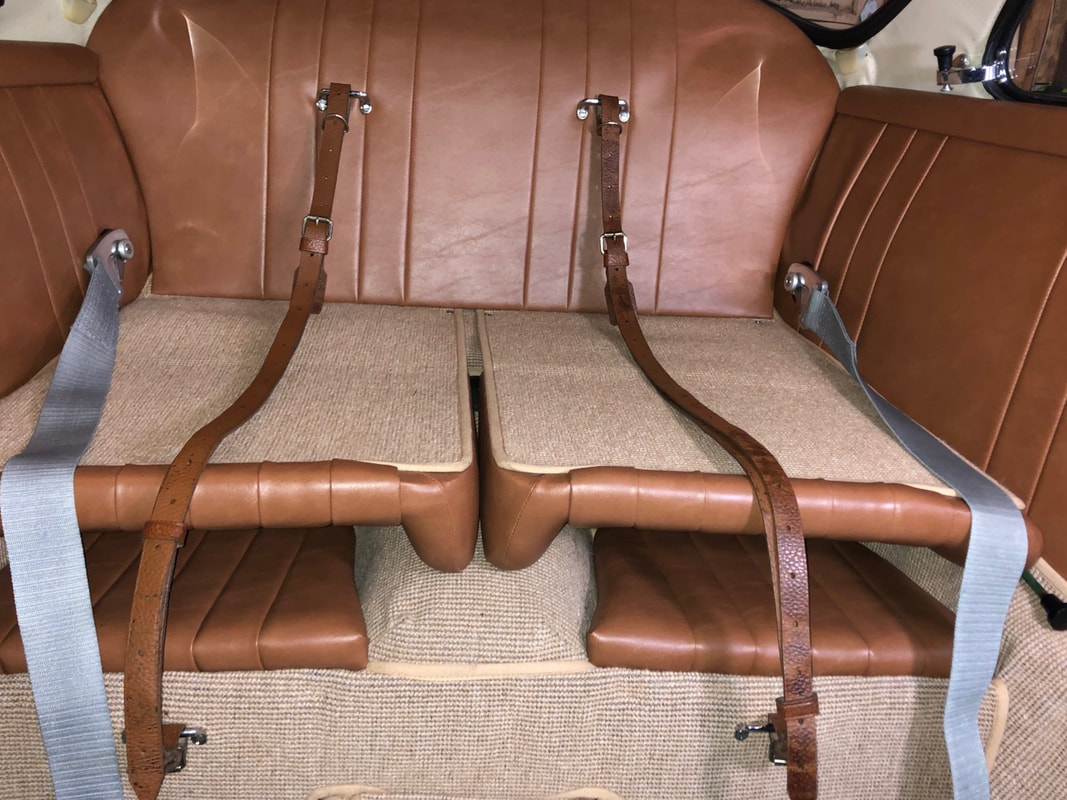
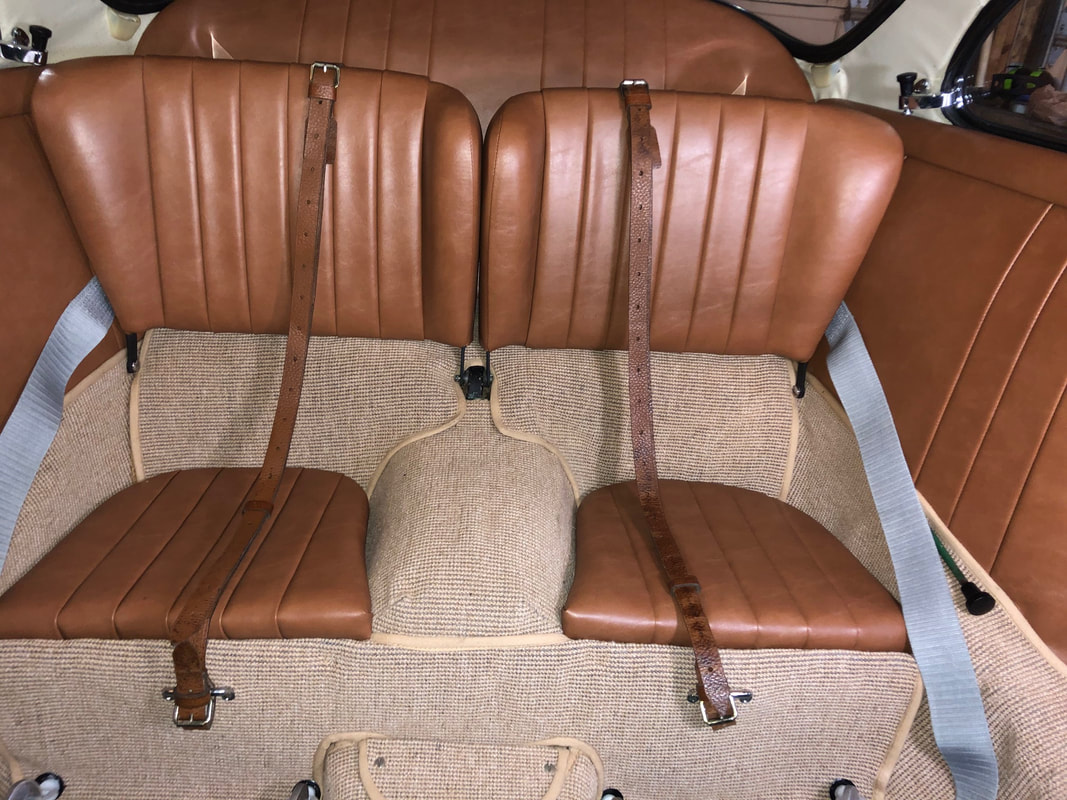
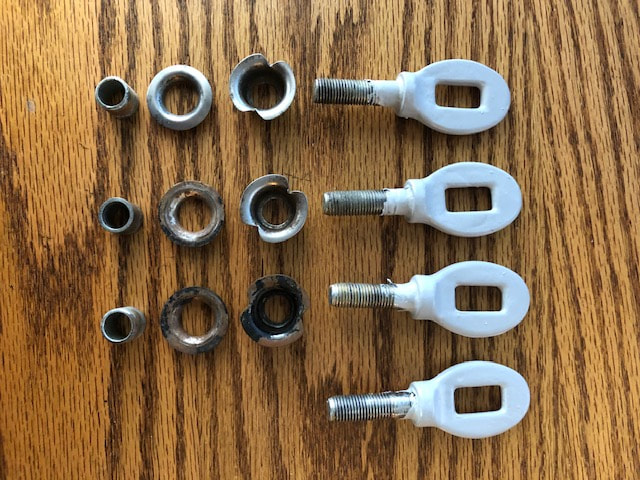
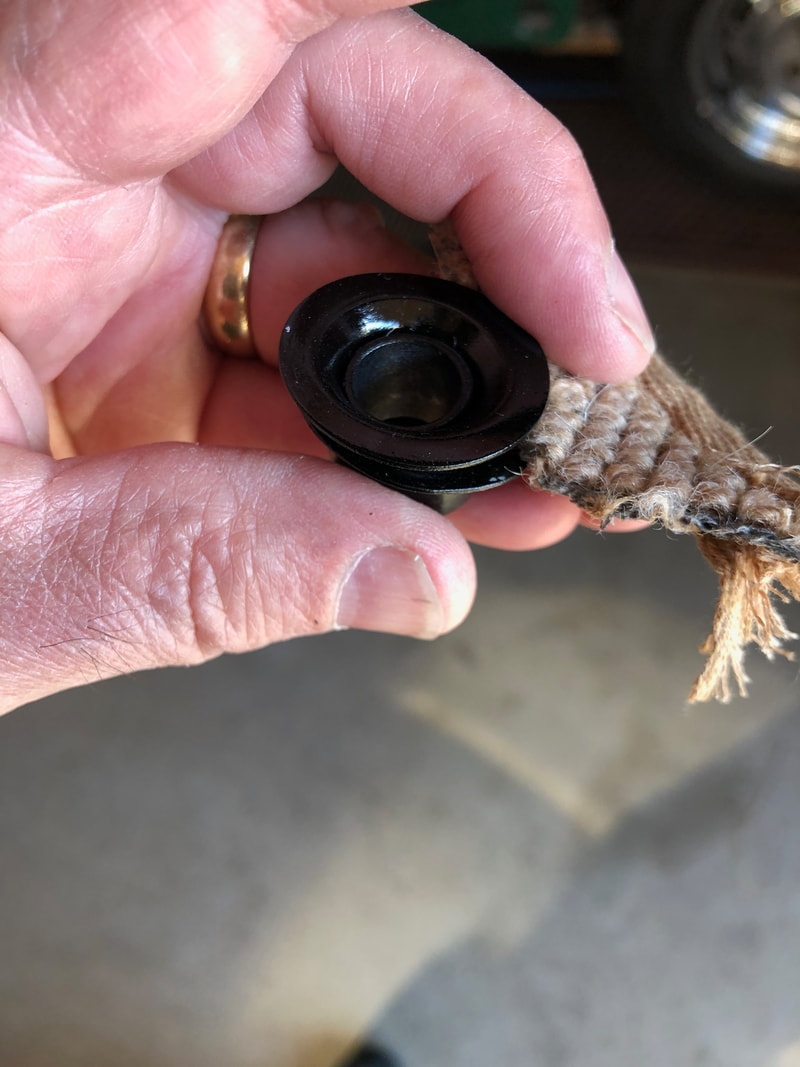
I was also able to save the original rubber pedal covers. Was able to get the seat belt anchors installed this week, so I snapped in the restored TEKA 3 -point seatbelts. I'll get some better photos later, [ NEW PHOTOS NOW ADDED] but just wanted to share that this step is complete and I am now turning my attention to the padding for the rubber floor mats and then finally, I might get the front seats installed! That will be exciting! Note, there are three pieces behind the actual anchor bolt. An outer flange, a collar/sleeve, and another flange that is hidden behind the carpet. The carpet is then sandwiched between the flanges, with the tightening being limited by the collar. First photo below shows the parts to assemble (before clean up and painting). Second photo shows how the carpet is squished between the flanges.
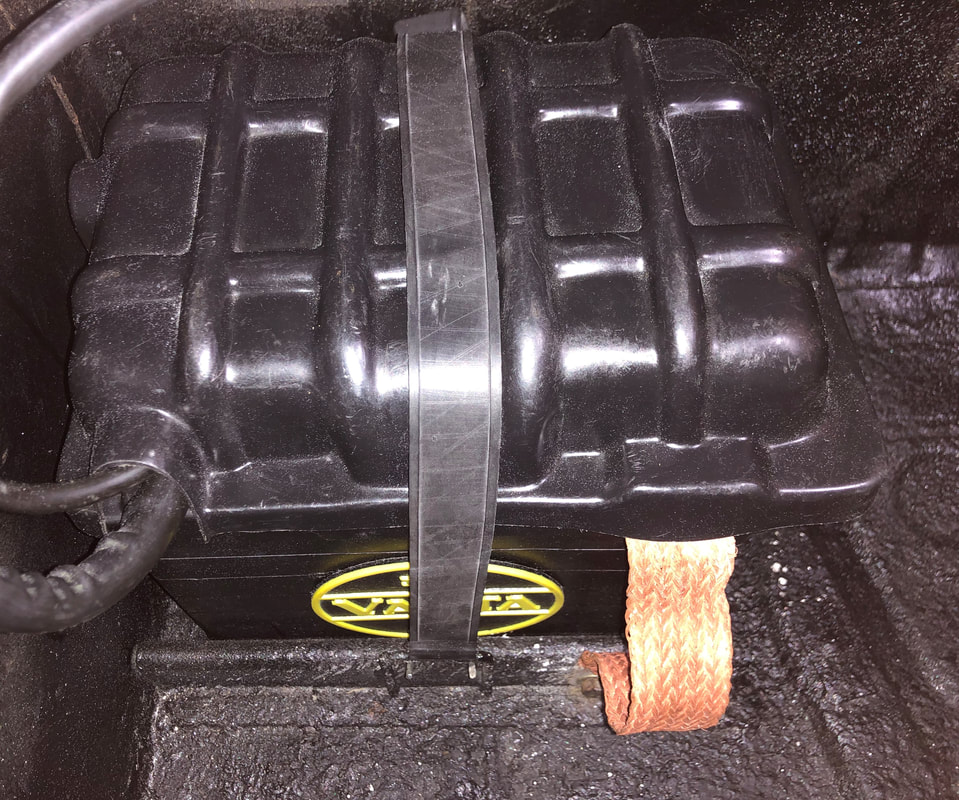
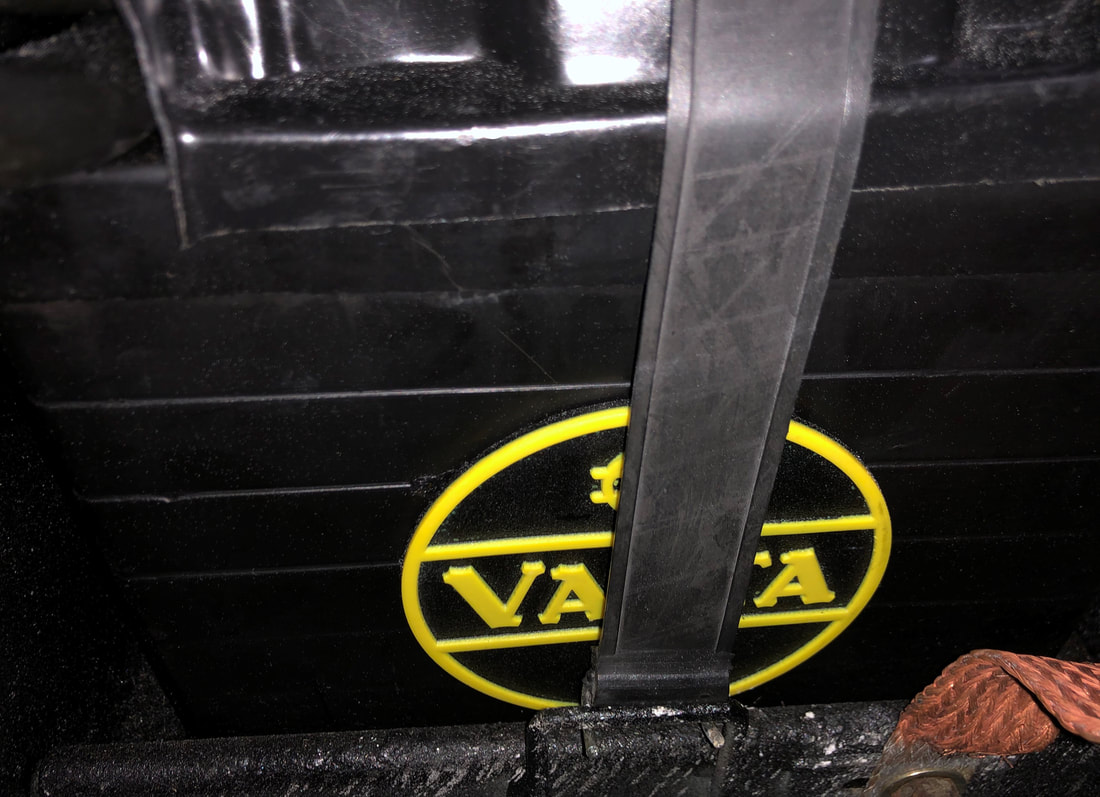
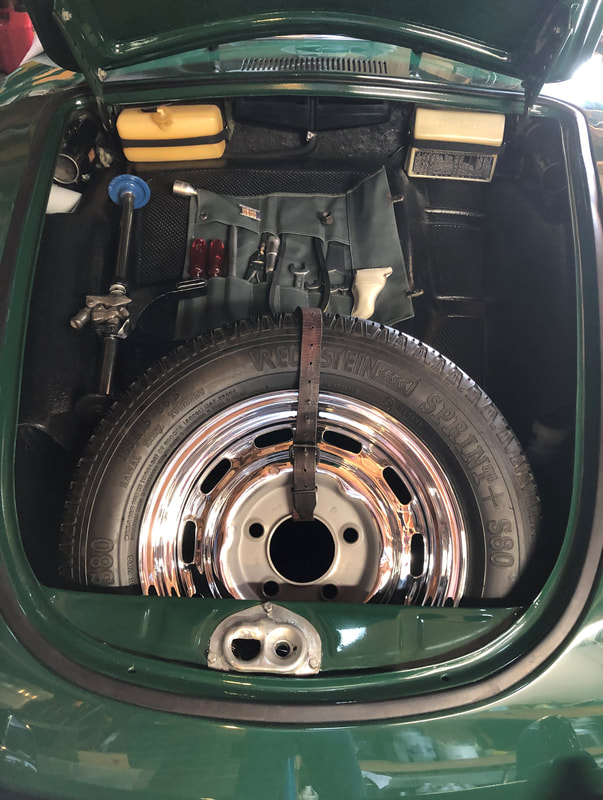
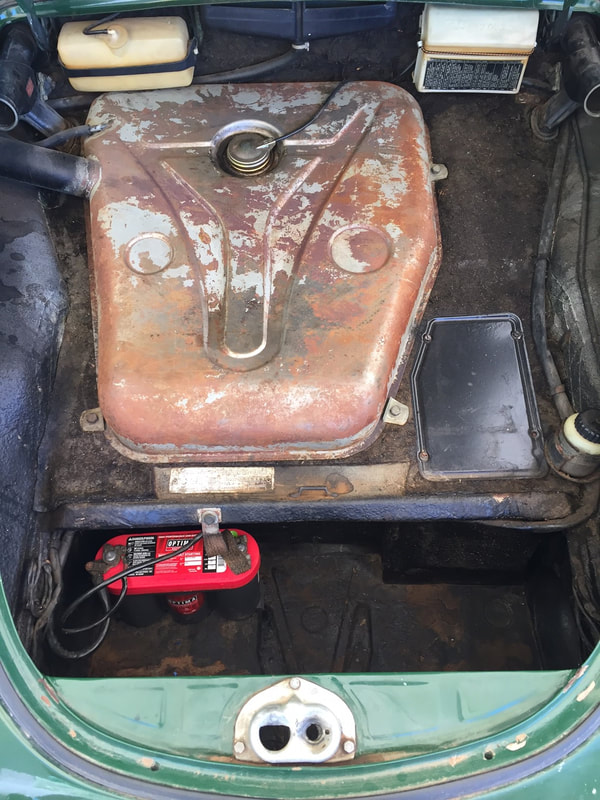
Spent just enough time working on the battery box this weekend to finalize the area. It is DONE! I installed a 6 volt battery with a vintage appearance VARTA battery logo. The logo piece is a fairly large plastic emblem (not a sticker) that I bought some years ago. The 19L battery size fits nicely. The freshly chromed rims now have Vredestine tires mounted, and the spare tire is held in place by an ORIGINAL leather spare tire strap. For better pictures of the tool kit- look here. Here is how it used to look--
|
restoration & blog Archives
July 2023
|

