|
What do you do if your an originality freak and the elastic on your glove box door liner is in pieces? The elastic is no longer available and certainly new elastic can be bought, but it is just not quite the same pattern as the original. I've totally restored the actual glove box and previously posted my restoration photos bt one is included below. The flocking of the box came out very nice, but now what to do about the elastic. For those who do not know, the elastic band has three positions. One to hold the glycerin bottle, one to hold a box of replacement fuses, and the largest section is for car registration papers. My solution was to go on the hunt for an original glove box door with 50+ year old elastic that is still good. That's the Hatfield Theory of Elasticity! And, after several years of searching I found one! I thought I would just use the new complete new liner, but when it arrived, it was slightly different in color (lighter) than my original. Must have been for a car with a different color upholstery than the Fawn vinyl in Miss April. Solution: Surgically remove the good elastic and put it on my original door liner. Result: Complete success!! This will be fun to glue on the door. Right now it's to cold in the unheated garage (lows in the 30's and highs in the 40's) so I'm patiently waiting for Spring. 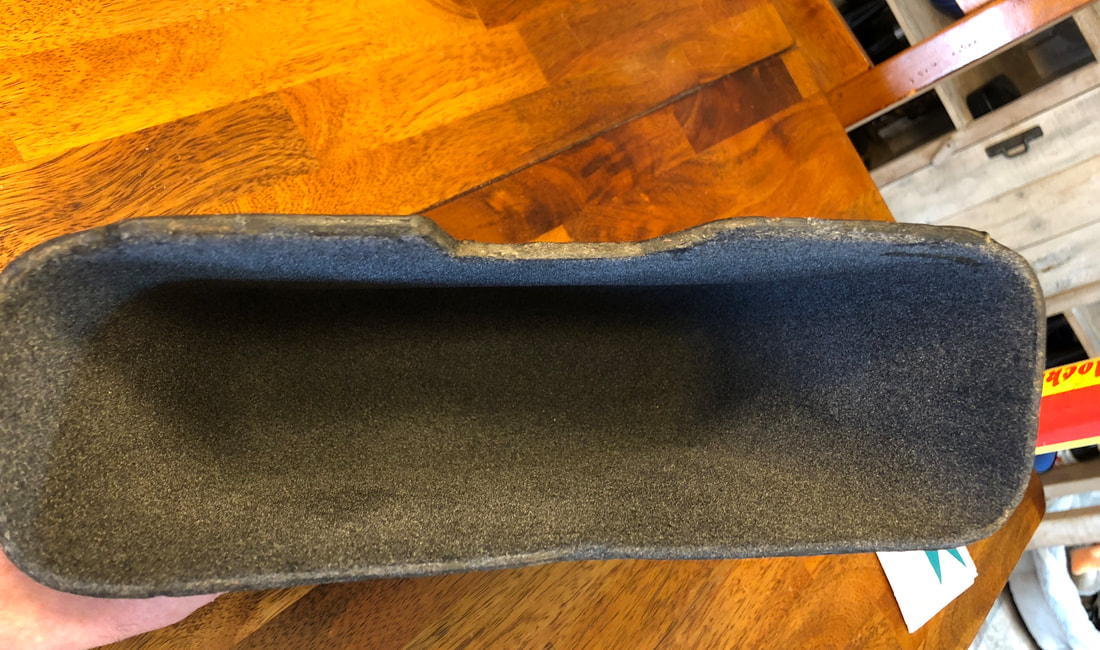 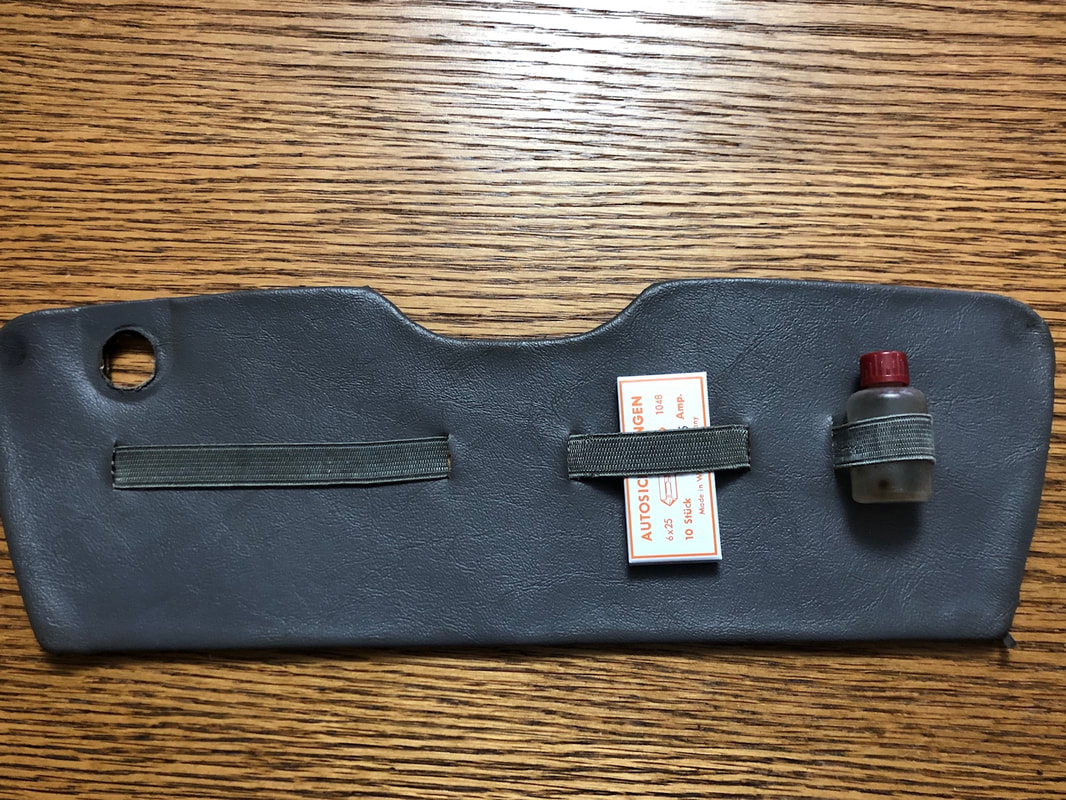
0 Comments
Merry Christmas! Hope you have as much fun as Santa! After posting yesterday about the hinge assembly, I was asked a question about the washer that is staked in place to hold the threaded ring from loosening. An eagle eyed reader noticed that one of my washers had the tab broken off. It was useless. He is right and perhaps others will run across this. So, as an addendum to the first hinge post below, here is what I did to solve the no longer available (NLA) broken part. I probably should have included this information in the first Blog posting. Take a look at the photo below, notice that the tab that points towards the center is missing/broken off of the washer on the right side. The photo shows one good washer (left), one broken washer (right), and also a lid from a small can of paint I had in the garage.  My original thought was to use a thread locker compound on the threads of the locking ring, and that likely would have worked just fine. But being an originality freak, I just had to follow the original design and make my own part from the paint can lid! I know, nuts! Step one: I started with the tin snips and cut out the perimeter. Then took the Dremel and made two parallel lines that would outline the tab. I decided to make the tab go clear across to the other side, to add some strength. 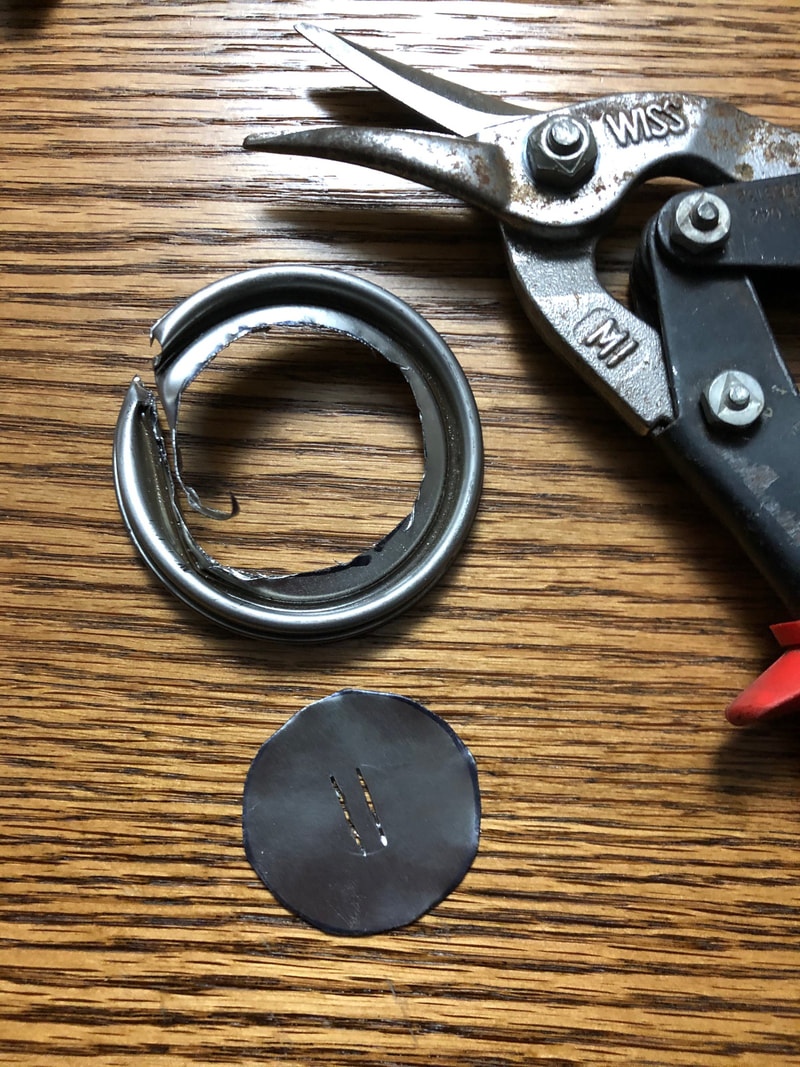 Step two: Next was careful use of the Dremel to round out the inner circle for the drive shaft, leaving my new tab in place. 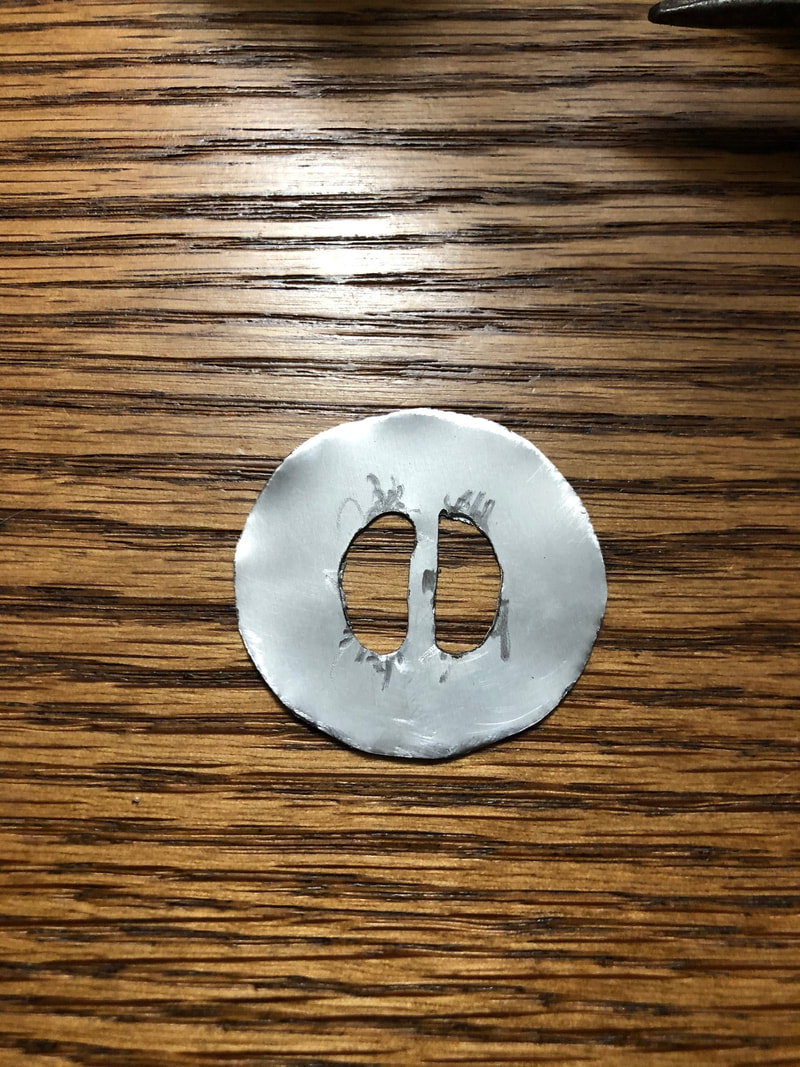 Completed!! Here it is- installed and staked into place! 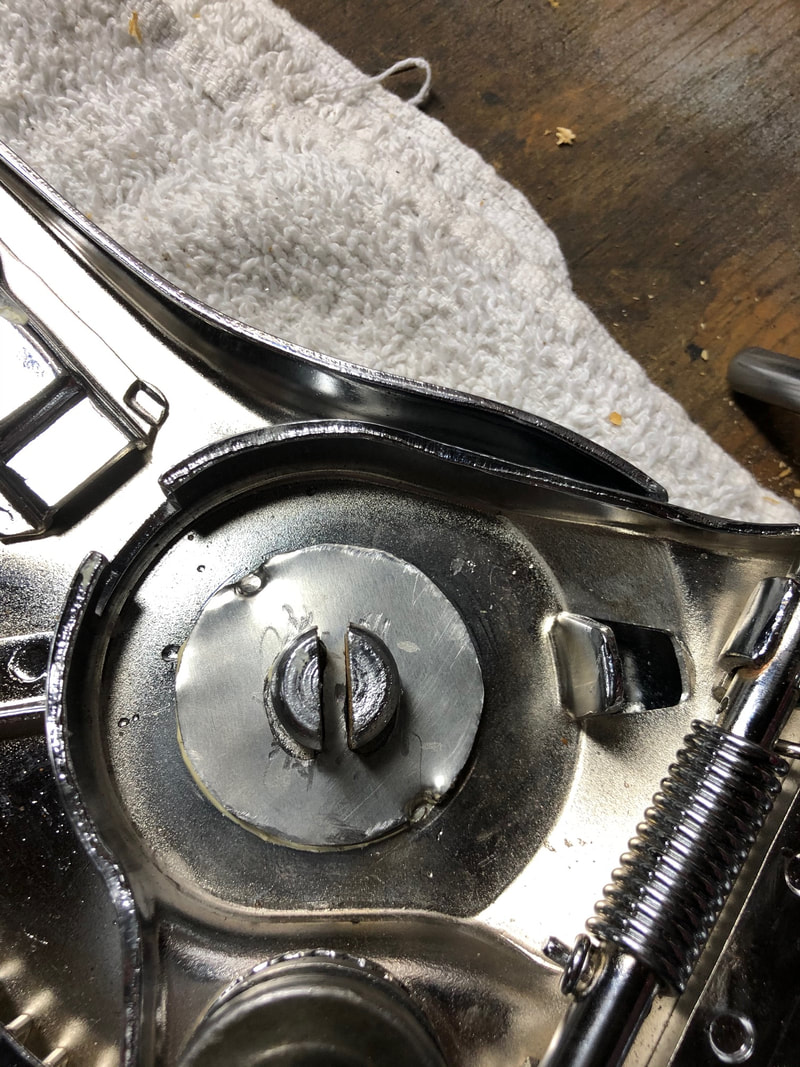 2020 has been a tough year, and it seems like a lot of people are a bit unhinged. I know I have been, but that is now in the past. Yes, no longer am I unhinged. In fact, my hinges are now restored and reassembled. I am very happy with the results. To help others who are attempting this, here is a short synopsis of the process I went through. Step one: Removal and disassembly. This is very straight forward, but take photos so you know all the parts you'll have to find later and the order to stack them during the reassembly. Mine were UGLY. 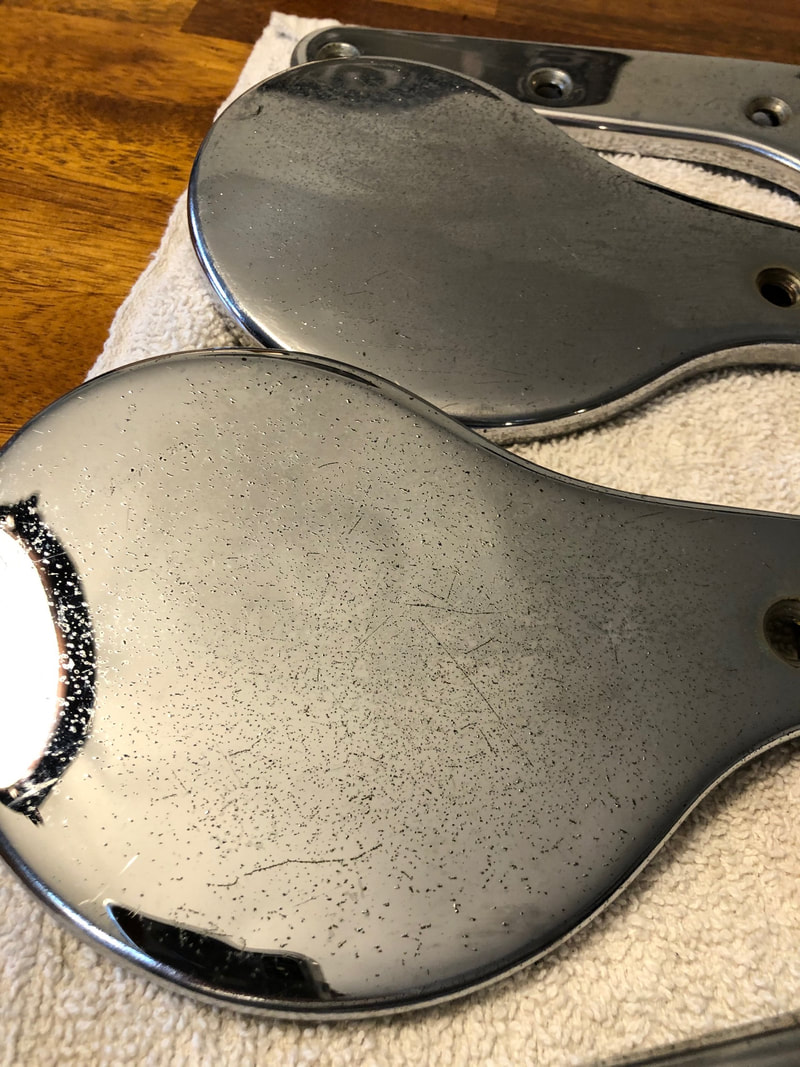 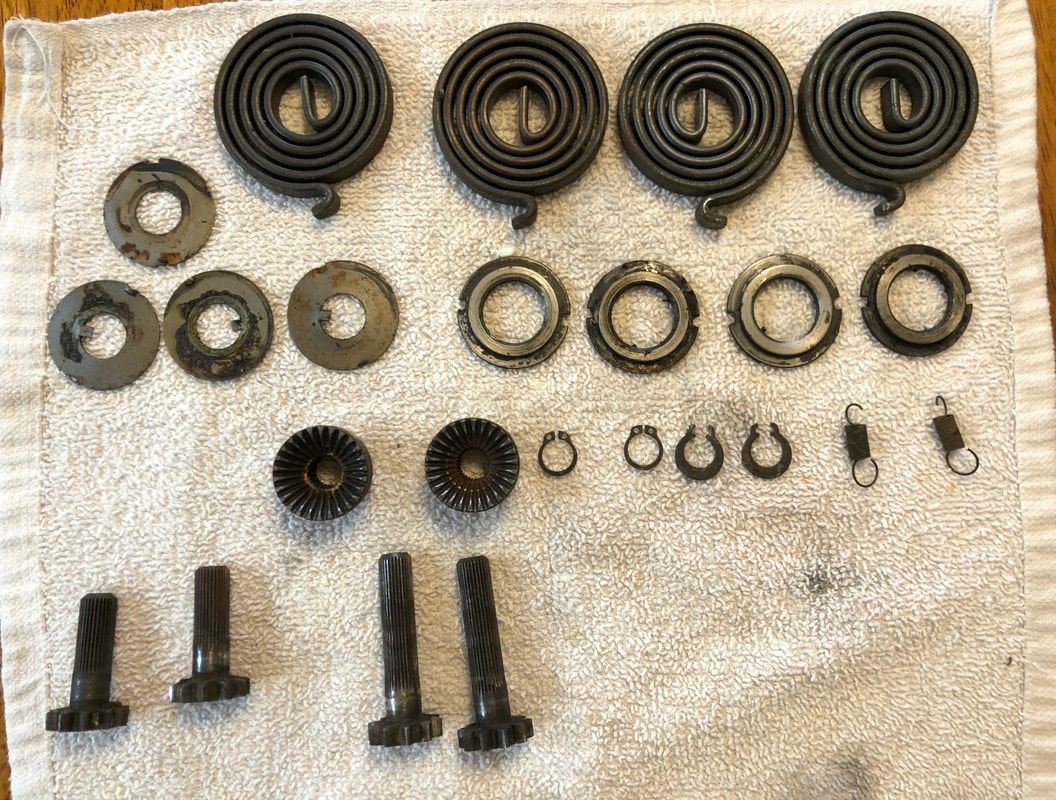 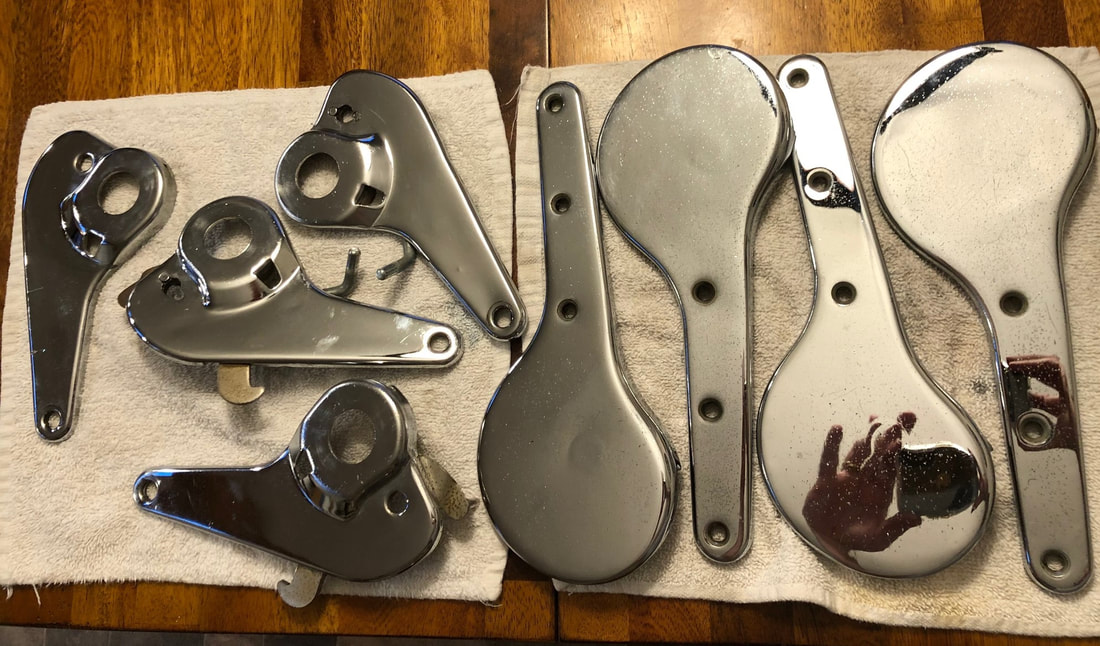 Step Two: Get multiple quotes for chrome work. These can be quite expensive to do. Expect to spend well over $1k. I sent mine to Arts Brass in Seattle. Result below. 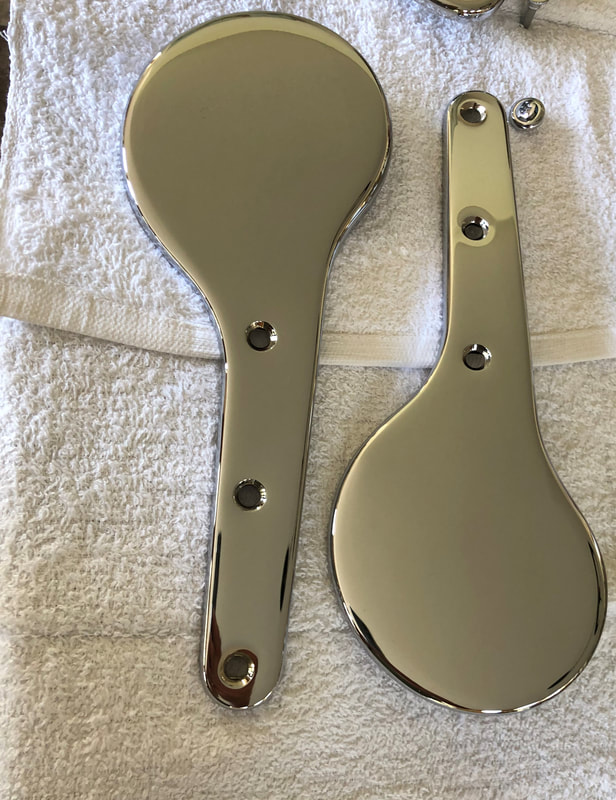 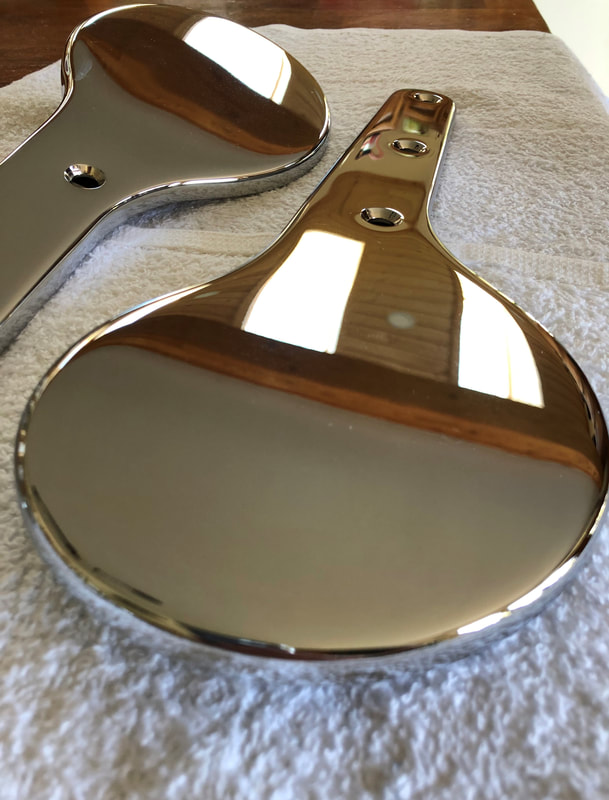 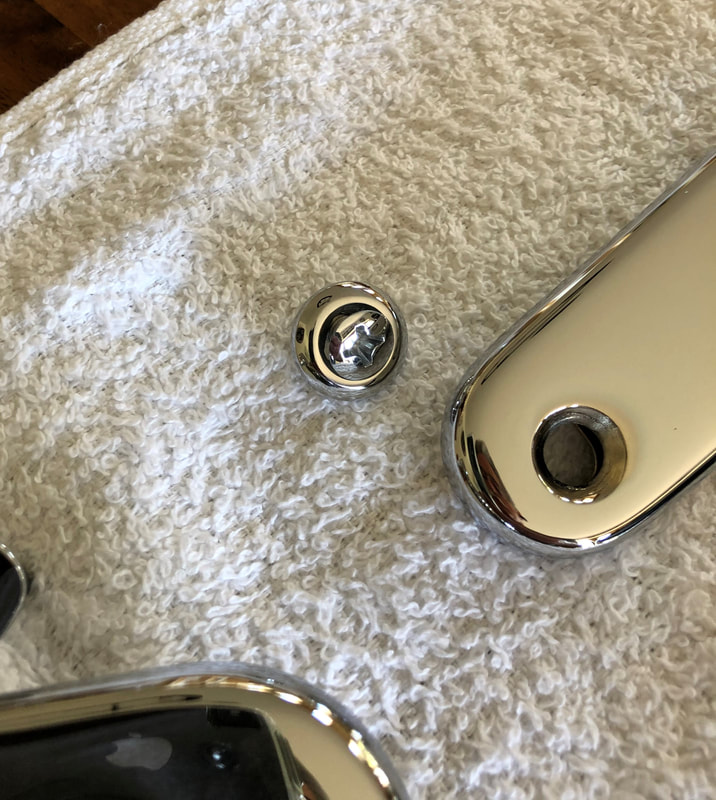 Step Three: Lubricate the parts and slide the short hinge over the drive tab on the long hinge. Tighten down the tabbed locking ring to a point where the hinge slightly resists movement and then back off to smooth movements. After the locking ring there is a washer that has a tab that slides into the drive. Flatten out the previous staking and then stake this washer to hold the locking ring in place. Note: Flattening the previous staking as simple as using a hard flat surface and hitting once with a hammer. 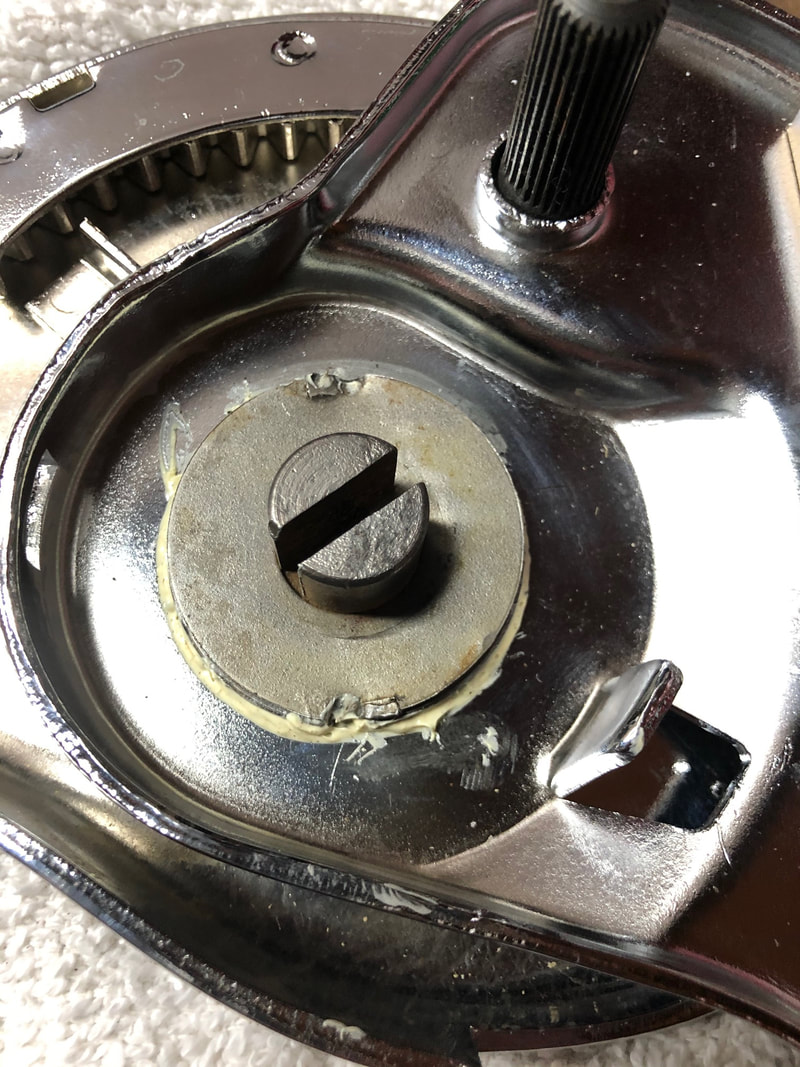 Step Four: Yes, it is time to put on that nasty/strong spring. Keep in mind the direction you want the spring to move. You want it to close the hinge naturally. In other words, when you move the seat back backwards, you want the spring to push the back forwards when you release it with the lever. The tab that the spring goes to is slanted on one side and exactly vertical on the other side. You want the spring on the vertical part of the tab (otherwise you have put the spring in backwards!) I made the tool shown on the 356 Registry site to install the spring- but then did not use it. What I did was bolt the hinge directly to my workbench. Of course, I carefully protected the chrome face with some towels, but the hinge was not going to move anywhere with the bolting through the bench. I grabbed the spring with a pair of channel locks in one hand and had the hammer ready in the other hand. Twisted it over and gave it a smack to push it down behind the tab. Worked perfect! 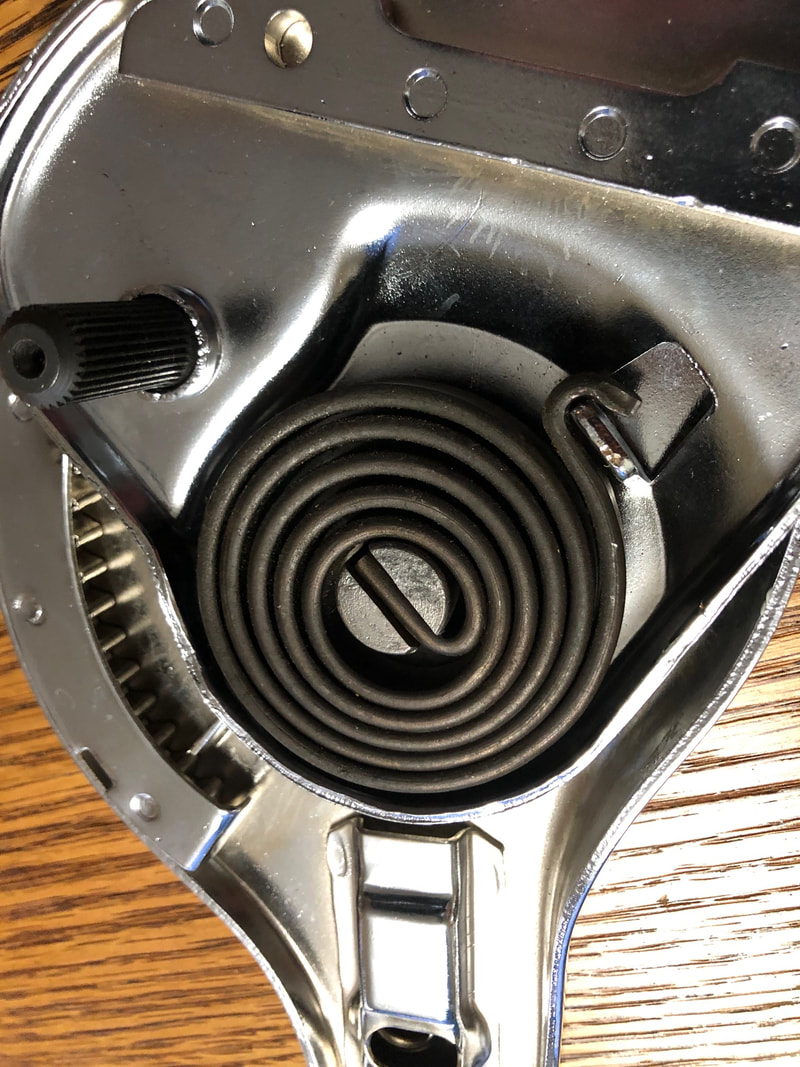 Step Five: It all gets easy after step four. Just slide on the new plastic covers and use your favorite adhesive to hold in place. 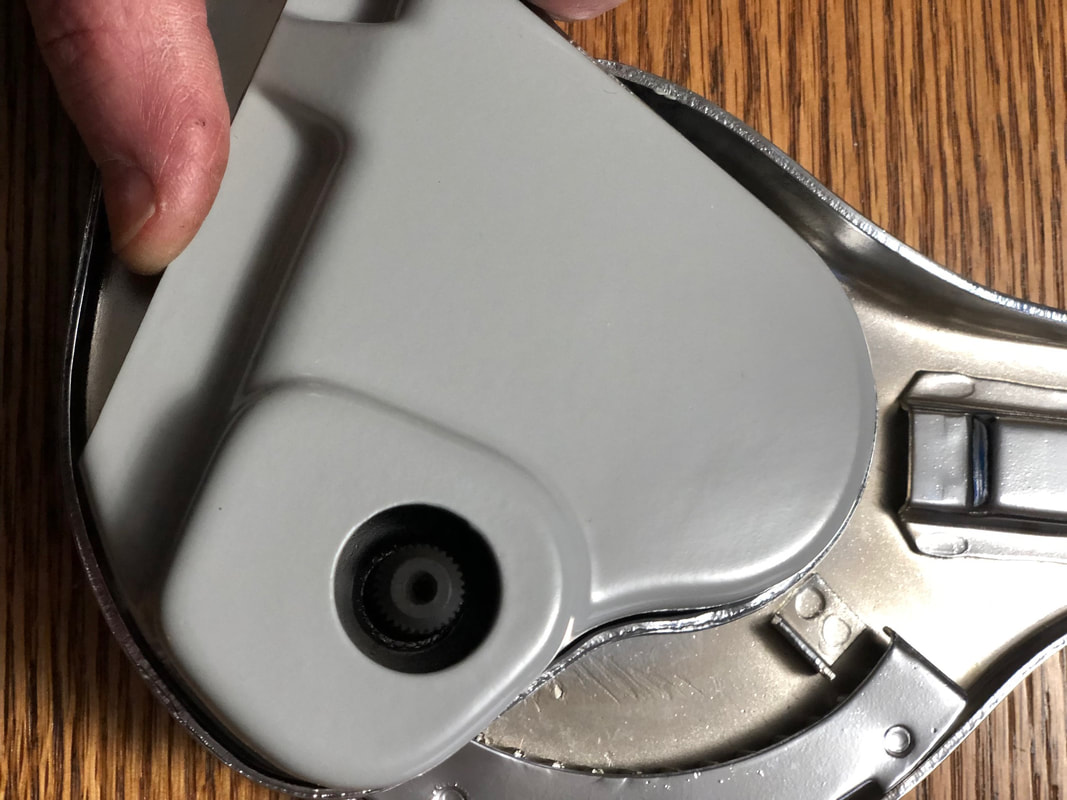 Step Six: Repeat this for the other hinges. The ones with the release lever have more parts in the short hinge portion, but you carefully work around them. Also note that the drive spindles (one for each hinge) are in pairs. Short ones are for the drivers side. 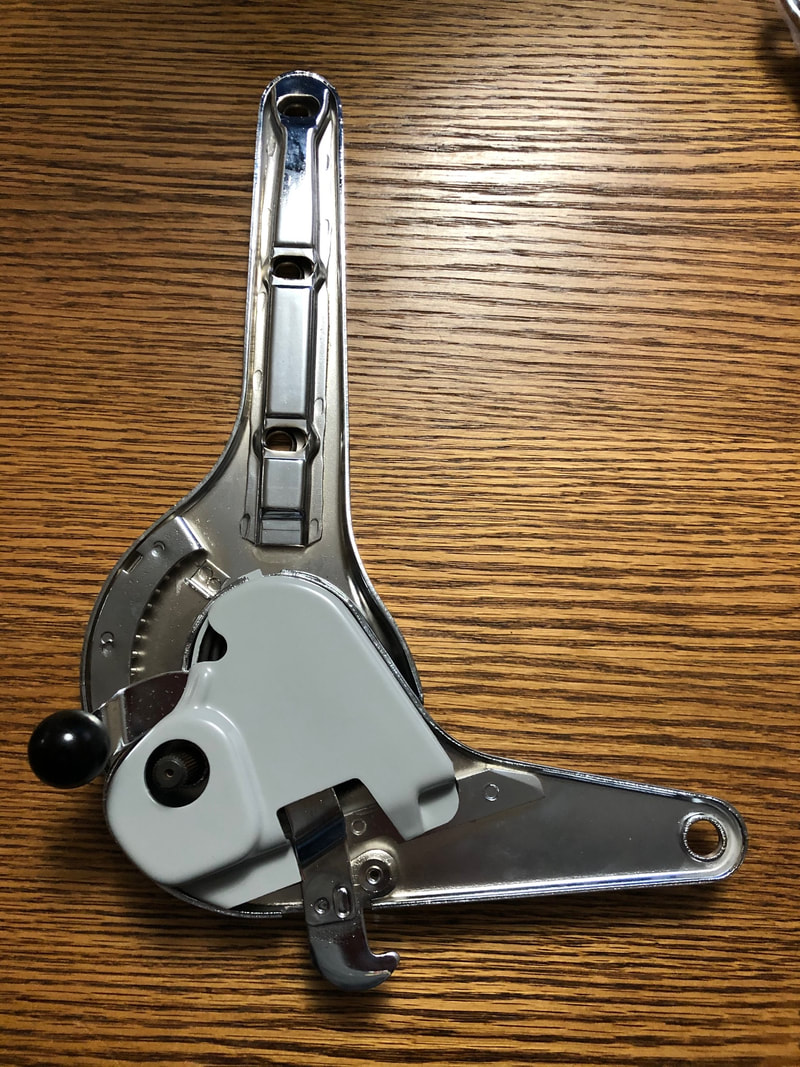 Step Seven: Celebrate! No longer unhinged! Time to put these pretty babies on the new seats! 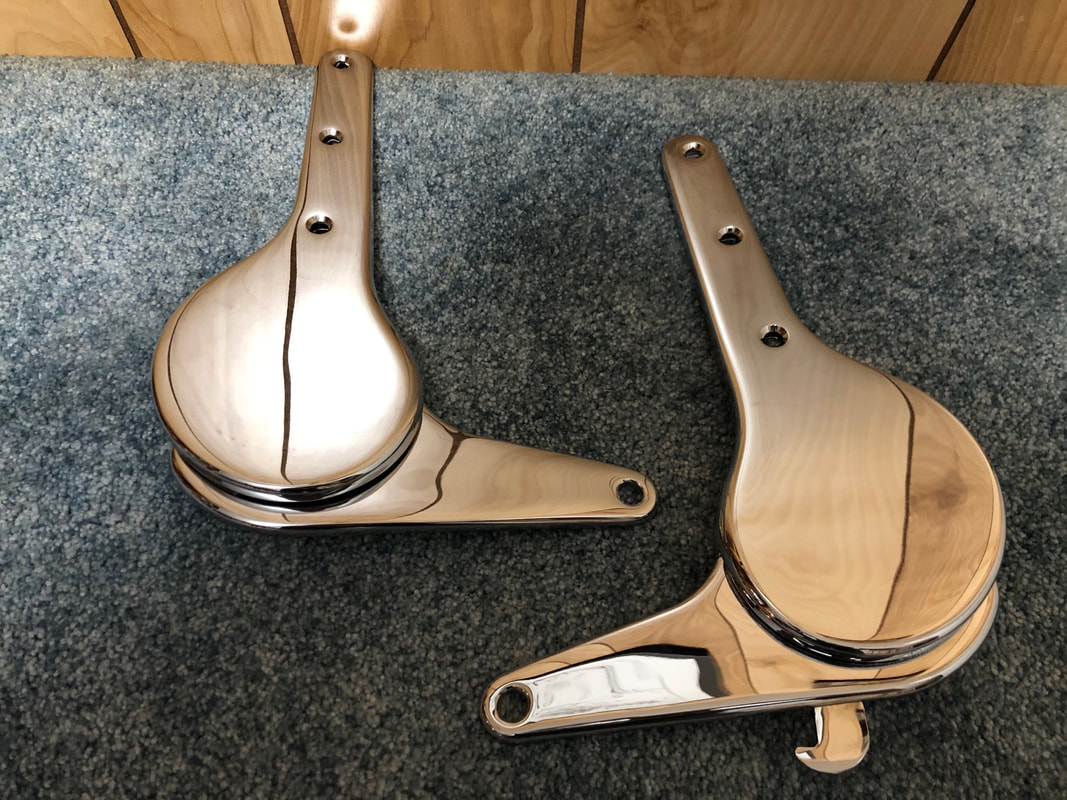 I have not been able to lock(down) the car for about 2 years because the door handles have been removed. I took them off for the paint job. Now that the handles are freshly re-chromed (they are originals), it was finally time to reassemble these gems. The biggest challenge on the door handles is the little grub screw that holds the tumbler assembly in the handle. When I was attempting to remove the screw, it broke! Both sides! Attempts to remove the threaded portion failed, and I was forced to attempt to drill them out and re-tap for a larger grub screw. I dreaded this for months- but it was time to jump in. Time to be able to lock this car up! (or is that lock down?) First step- buy an appropriate size grub screw, new tap, and a fresh new drill bit in the right size. Good news, with a careful approach, I actually found drilling in the tumbler to be quite easy. Tapping the threads went equally well. I think you can see the fresh threads in the photo below. 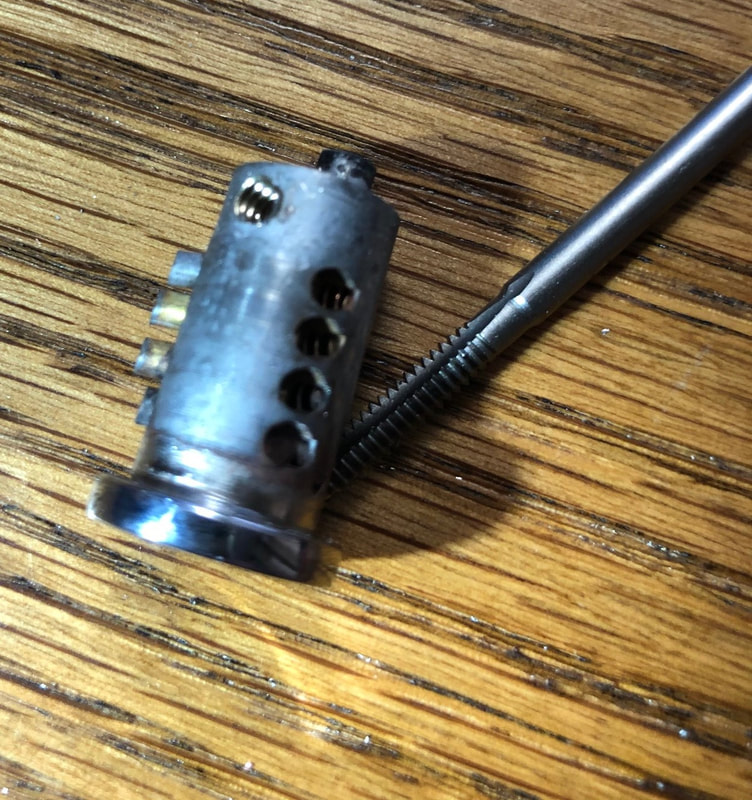 My handles are original, and so are the two seals for each handle. I re-used the originals. Photo below shows the seal that goes in the handle. 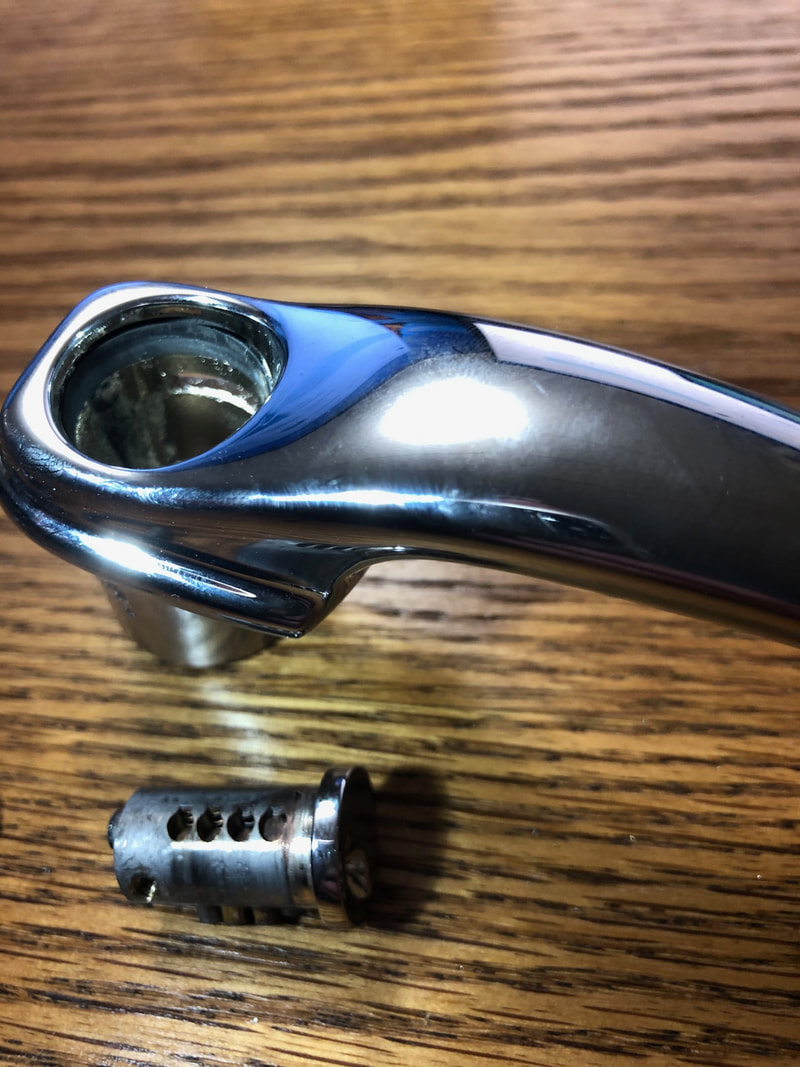 There is another seal that goes inside the cylinder that holds the tumbler. See below. 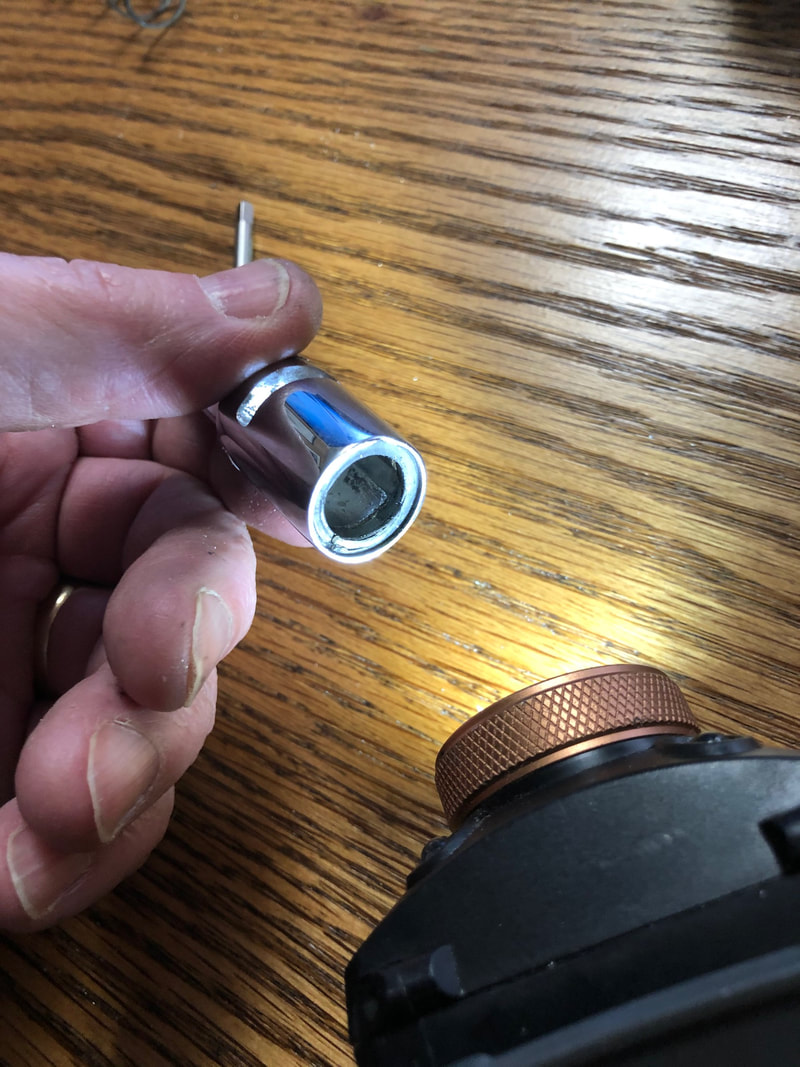 Next step is to slide the CORRECT tumbler into the CORRECT cylinder for the CORRECT handle. The parts are not interchangeable left to right. They are "handed". Make sure if you are doing this that it results in the jagged edge of the key is down when locked and pointed rear when unlocked. If it doesn't, you have mismatched the parts. Once the tumbler is installed, put in the new grub screw. I used one with an allen-head. Note in the photos above, the locking plate has to be slid in prior to the tumbler. This is the part that you see to the left of the new allen screw and facing towards the bottom of the photo. This plate also only goes in correctly one way- the hole in it is not in the center. If it does not work, turn it around! The full plate is shown in the right photo. Of course, it is not as easy as described above, because these are freshly chromed parts. I had to get out the hand file and Dremel and clean things up a bit so that they would turn easily. Photo below of some of my "filings". 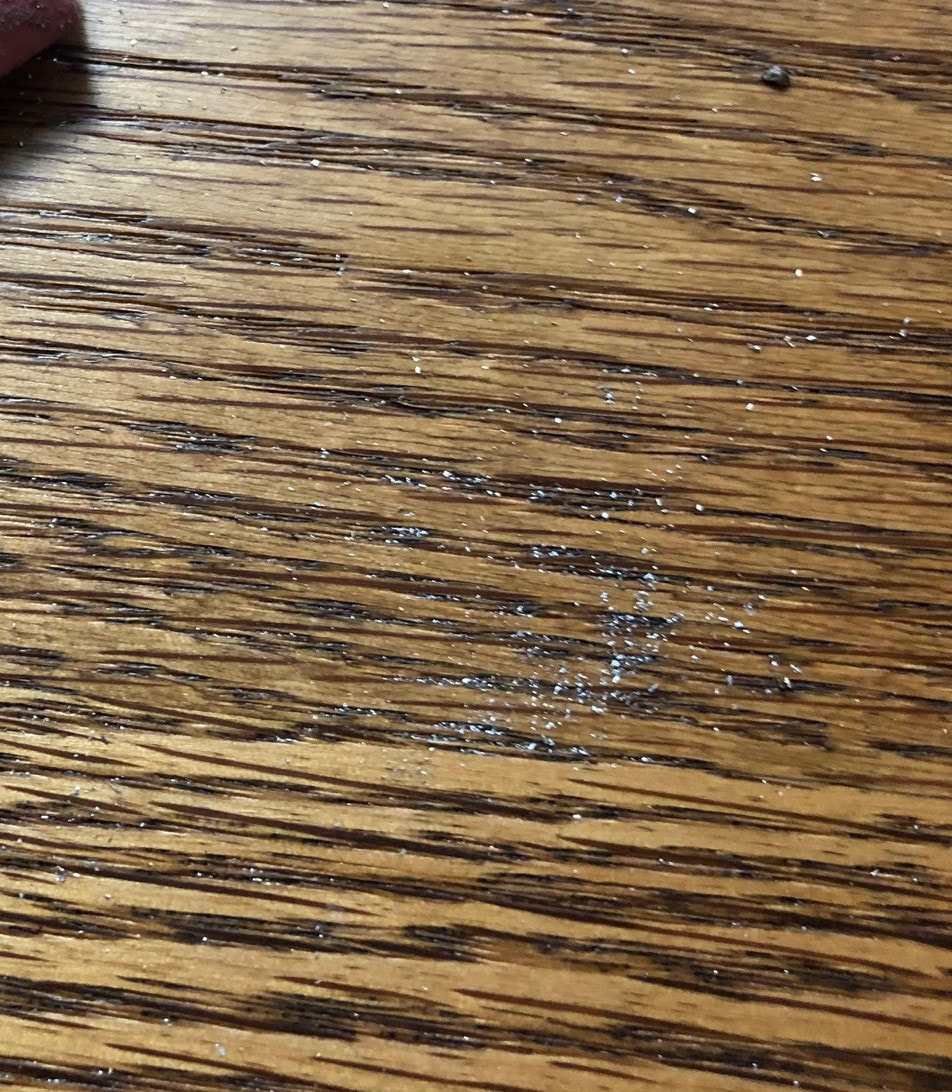 Once the tumbler is installed, test it with your key several times for smooth operation. Then it is time to install the cylinder into the handle. In the photo below, note the long spring that rests on the cylinder and slides into the handle. 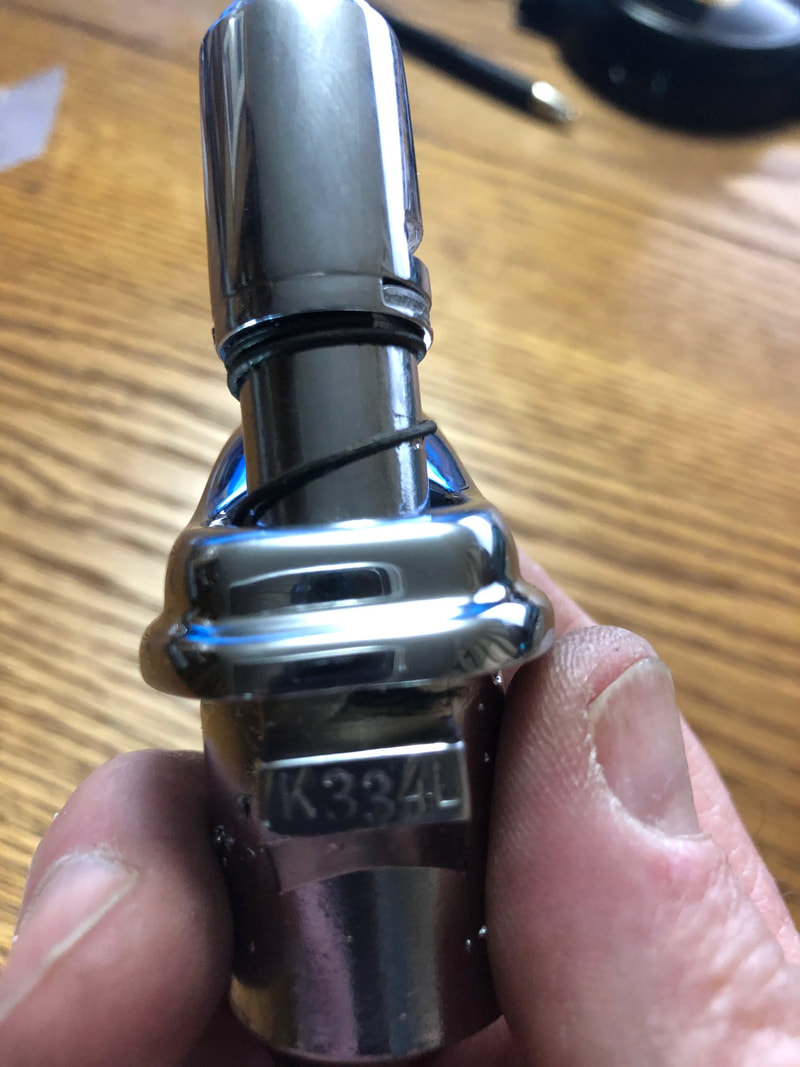 This is a good time to remind yourself that the handles have a L and R on them. They are actually the same, but the lock assemblies are different. Remember, you want the jagged edge of the key down when locked, toward the rear when unlocked. 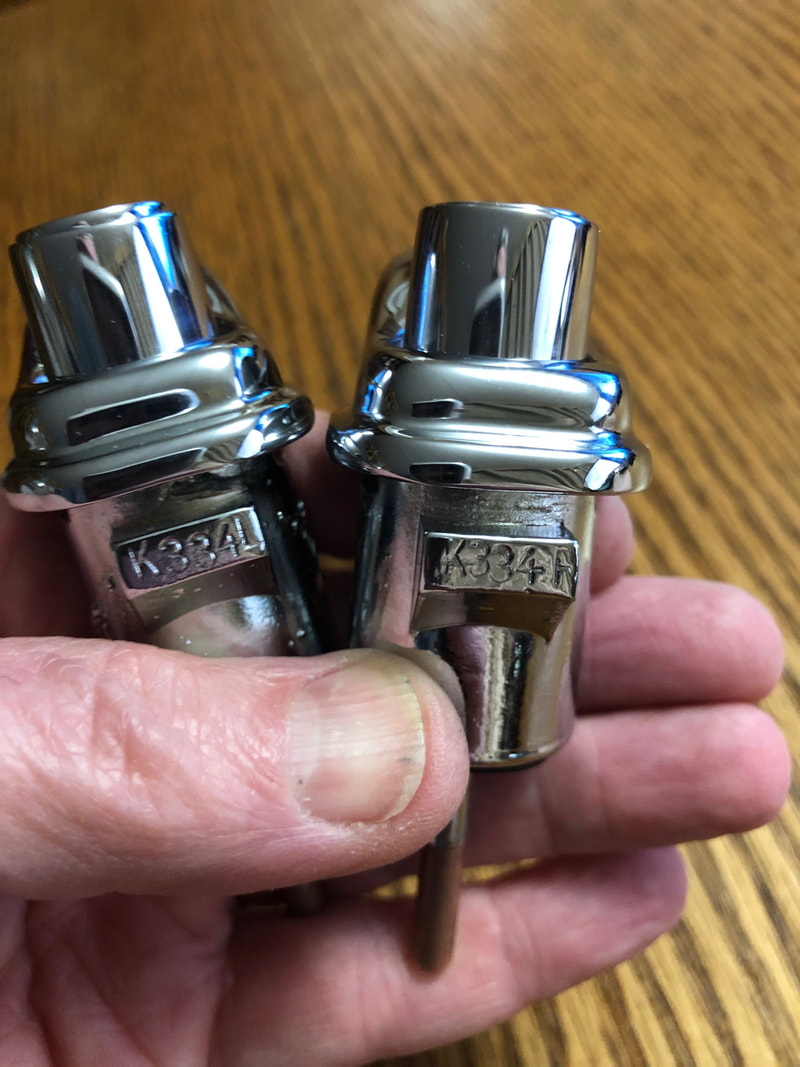 The cylinder and plunger are pushed through the handle and on the opposite side of the lock you install a rubber washer and a lock ring. Yahoo, done! 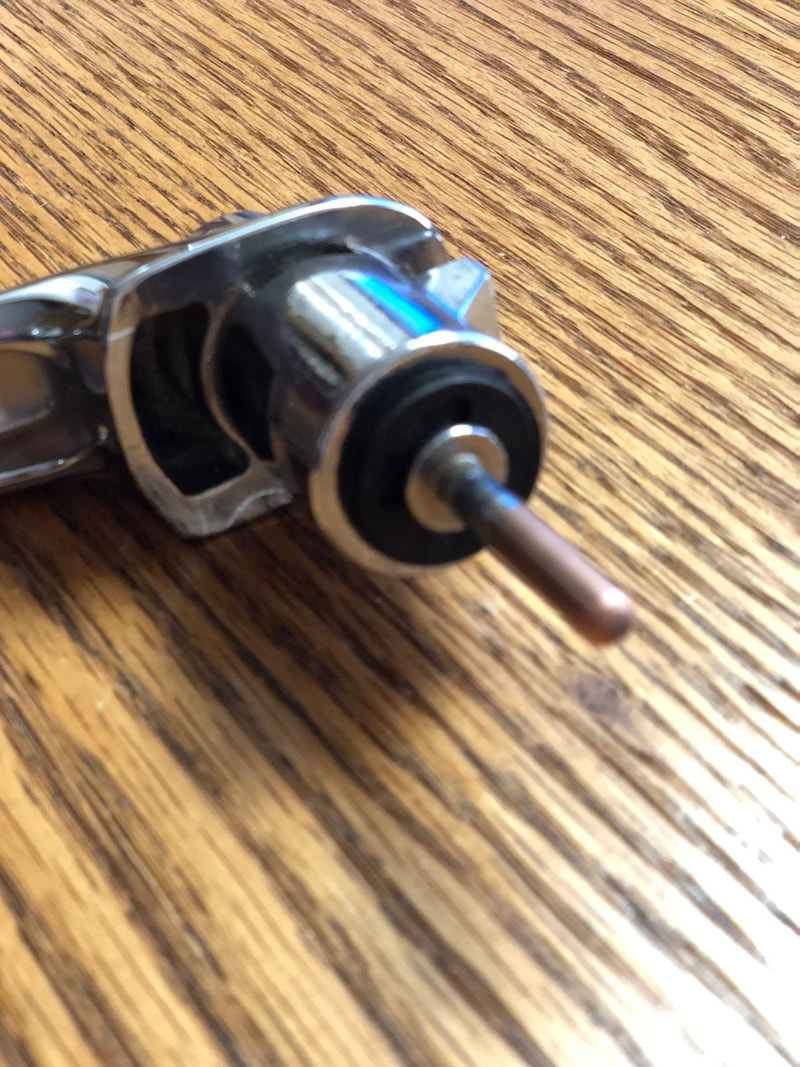 I did all of this with dry, clean pieces. When done, I took them all apart again for lubrication. These are fairly intricate devices, but give great service for years. Now I can lock the car! |