|
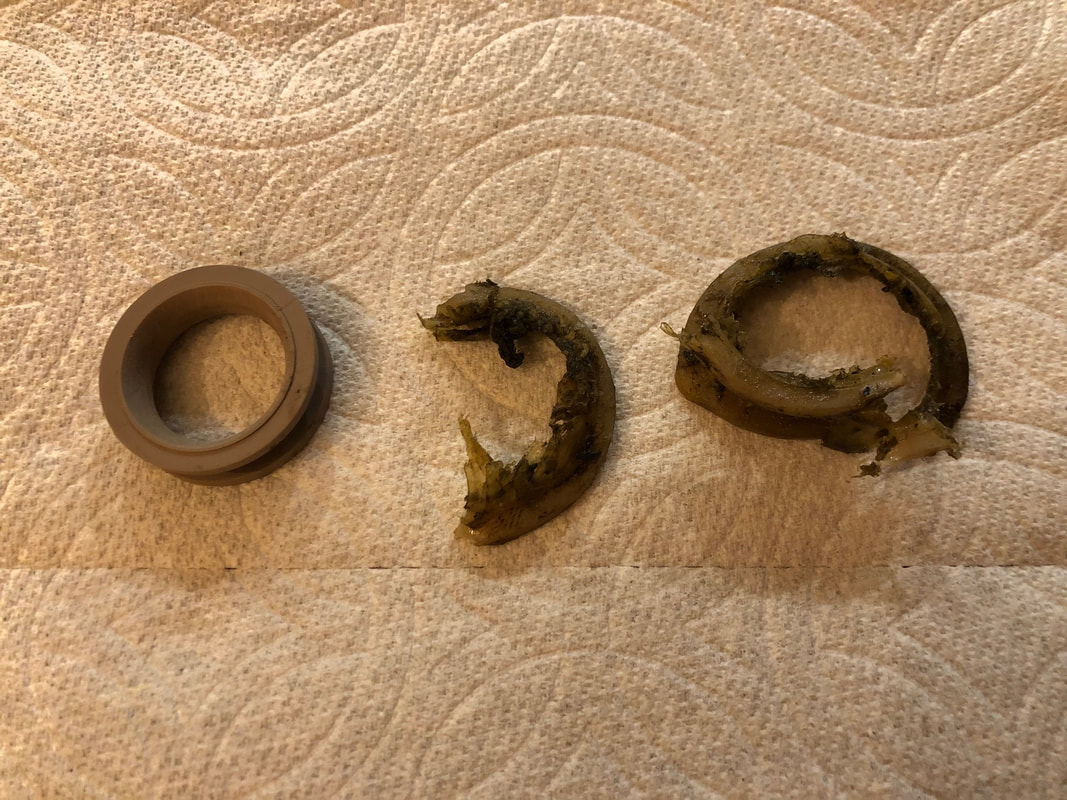
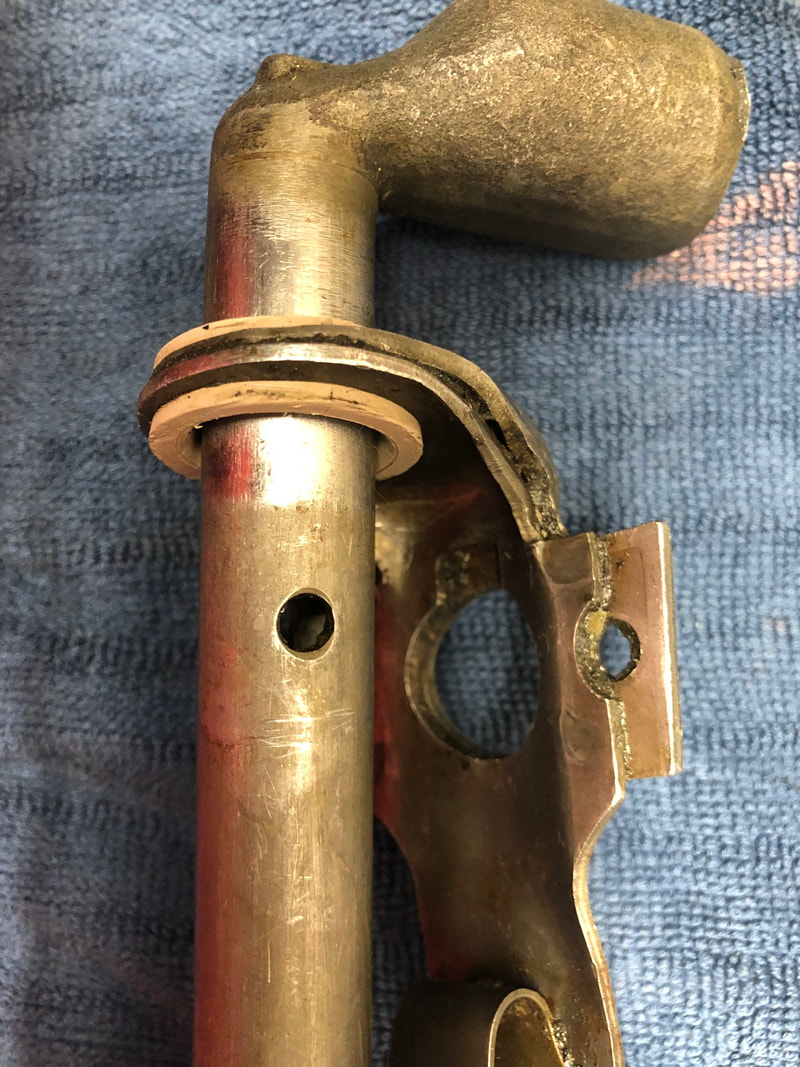
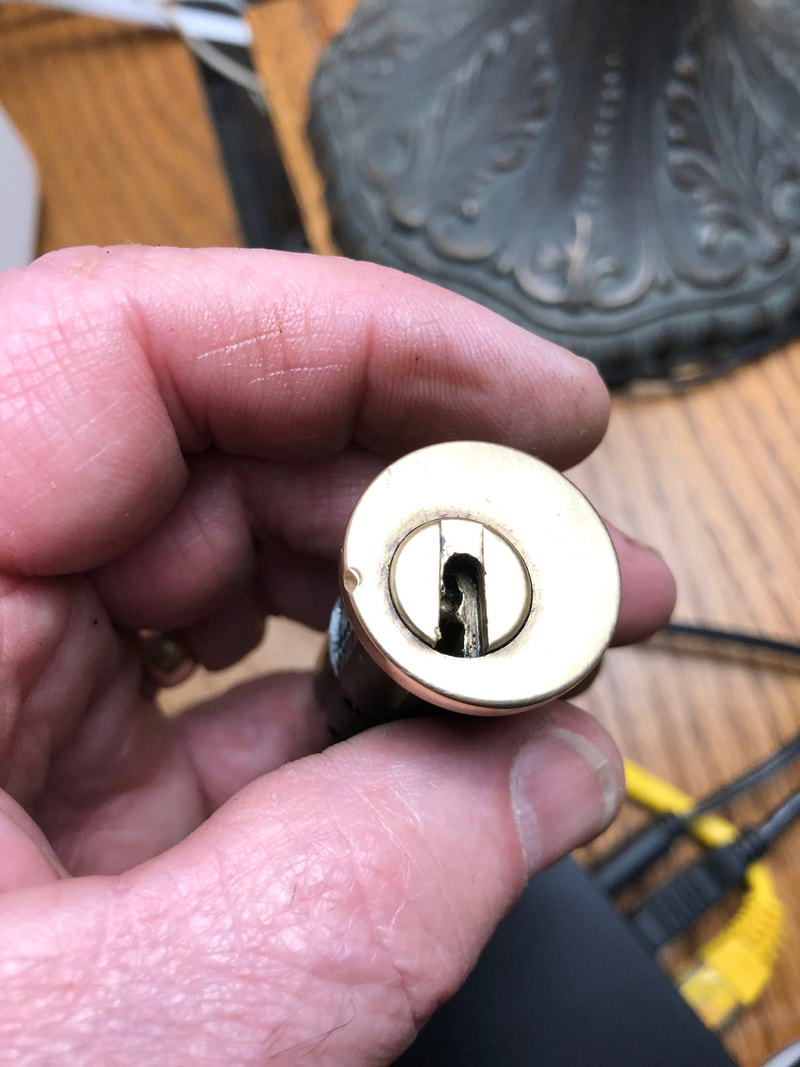
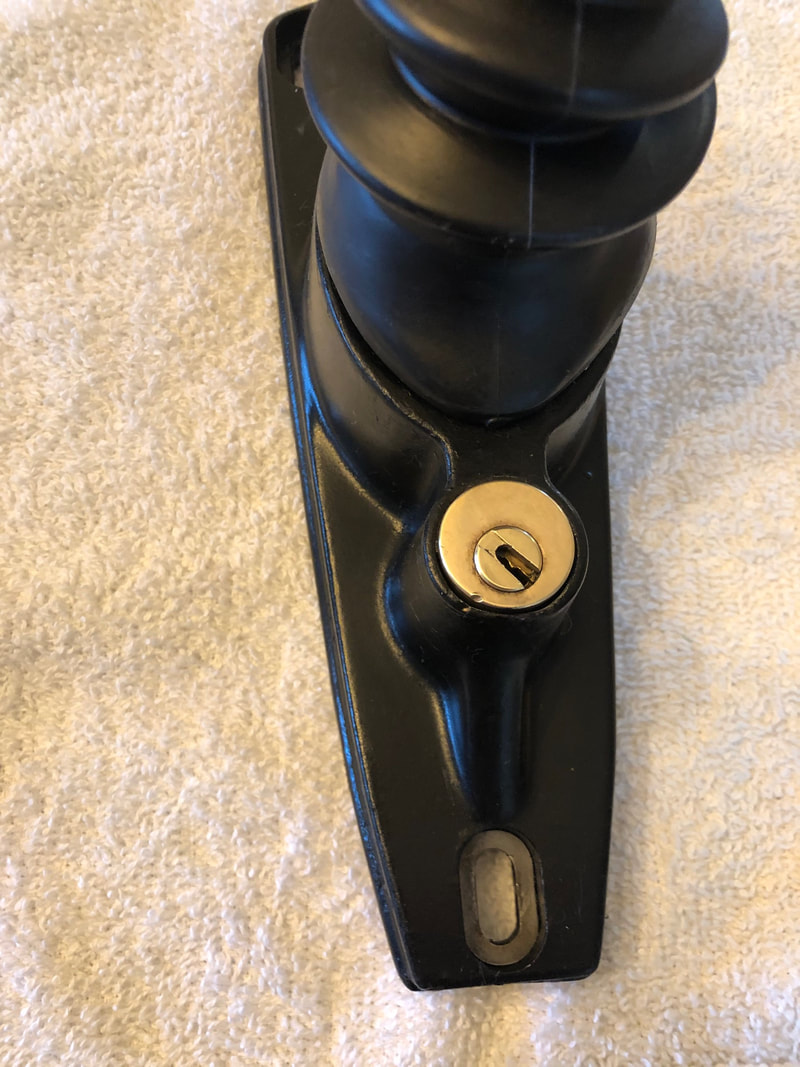
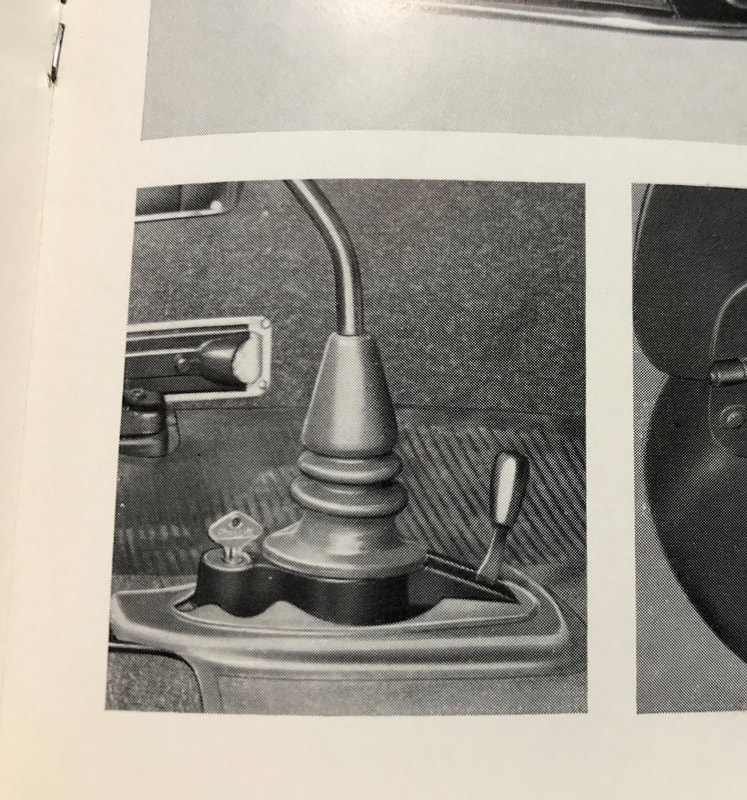
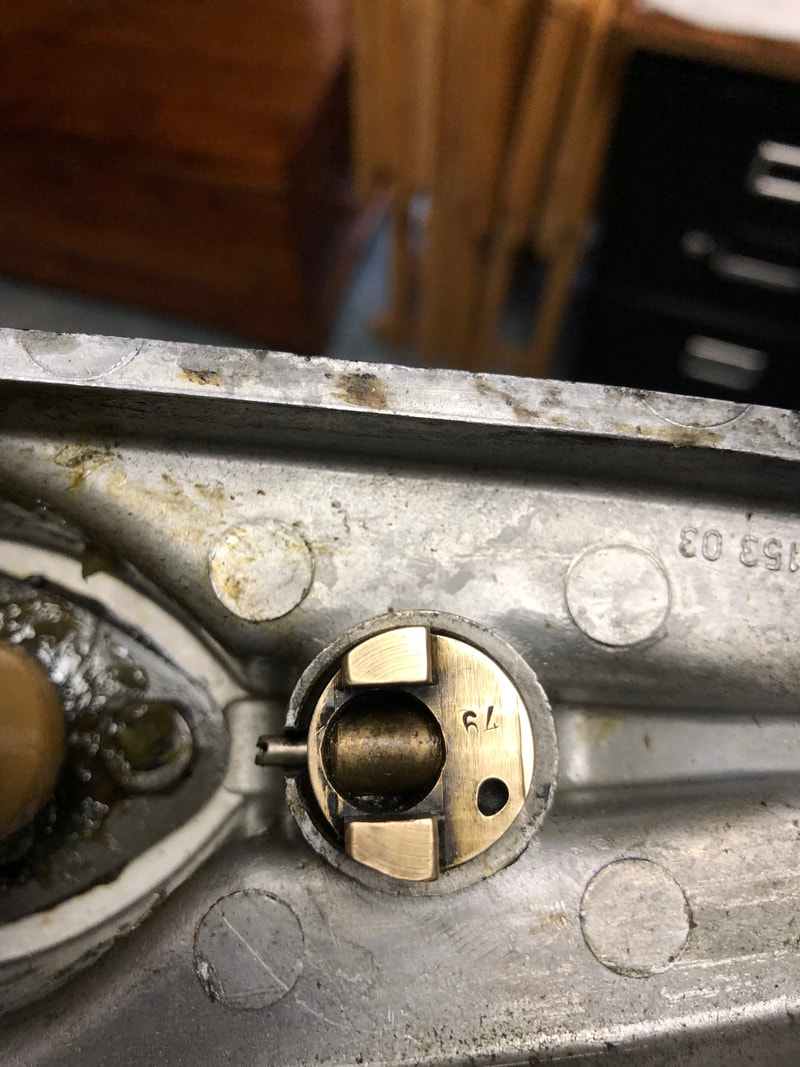
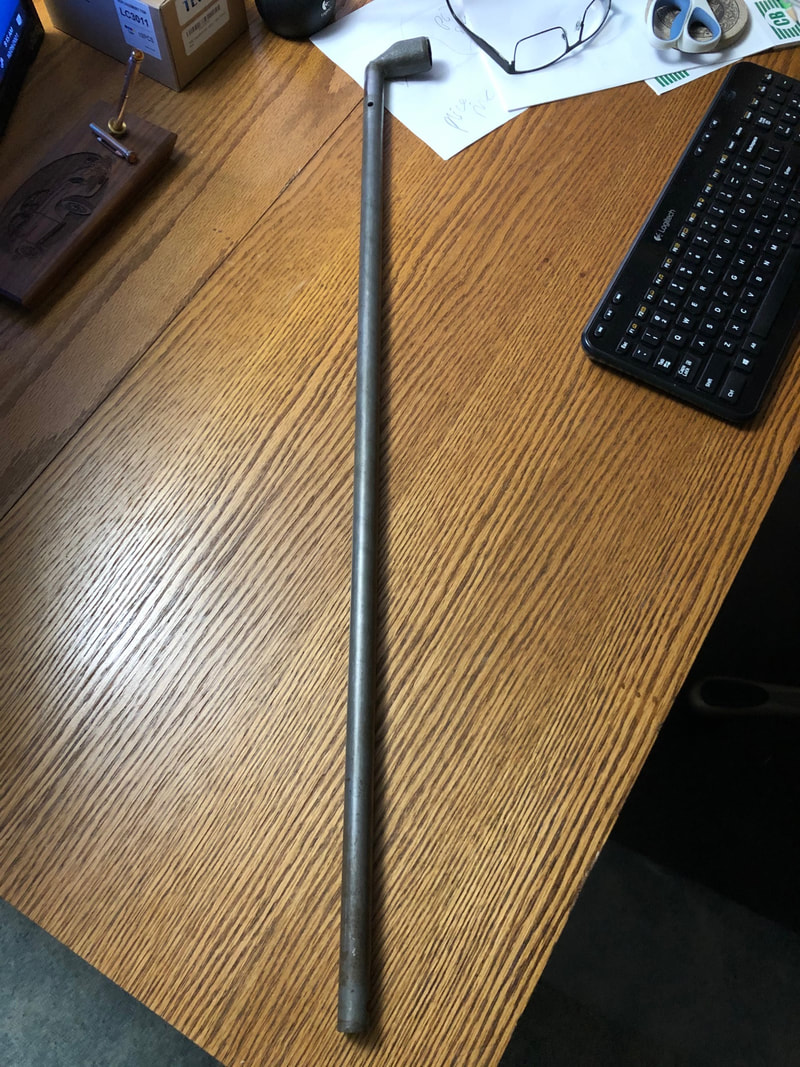
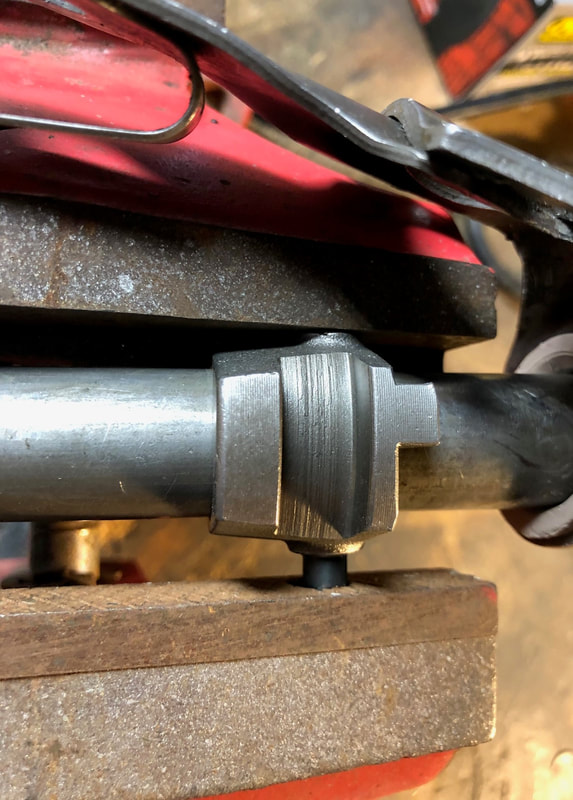
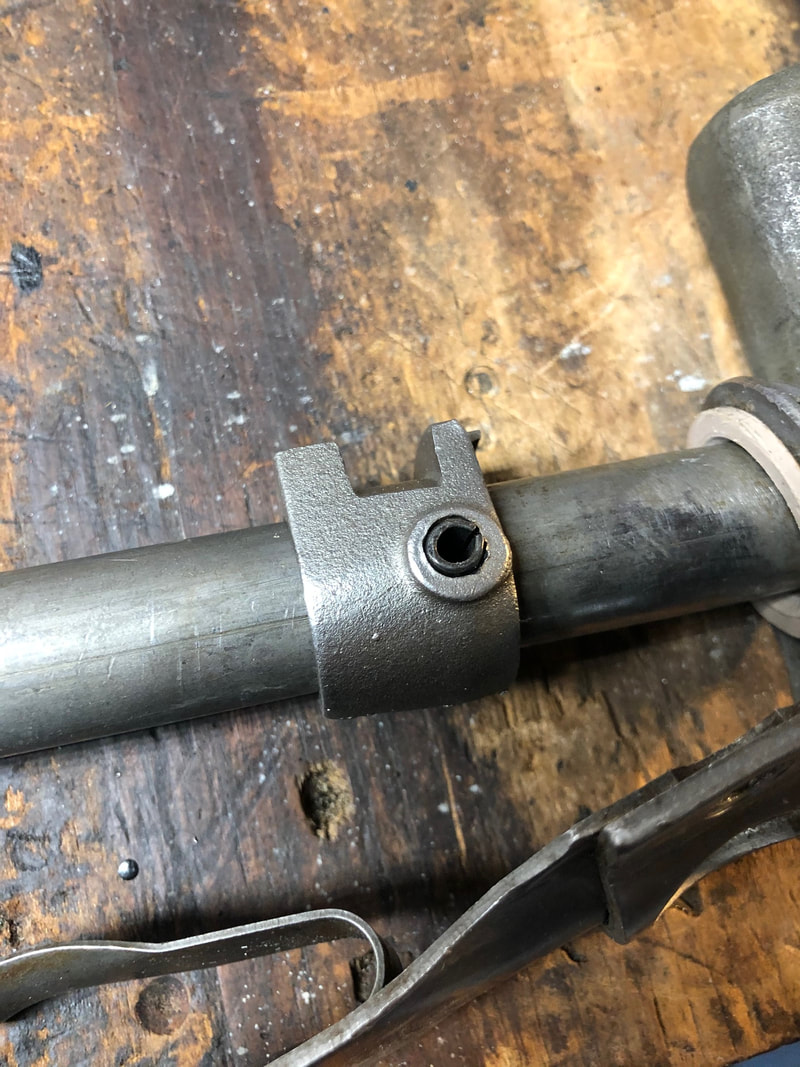
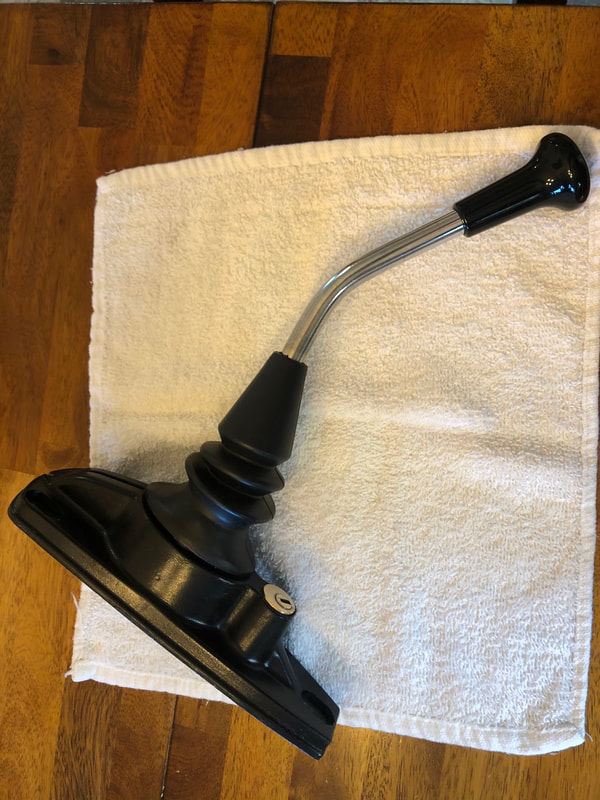
It's been a pleasure being able to drive Miss April. Cruising at this years West Coast Holiday in Bend we put a couple of hundred miles on the car. One thing I did notice was a small (baby) rattle coming from the shift lever. It would stop rattling if I held the shift lever and start right up with my hand off. Annoying as the rattle was, I knew I what I had to do. I needed to restore the worn soft parts in the mechanism. Once I removed the three bolts and lifted the mechanism, I found the shift rod bushing was barely in place. It had become soft and pliable. It is a man-made composite of some type, and should be firm to provide support for the shift rod yet allow smooth linear and rotational movement. Here it is compared to the nice new one. It came out in two pieces. There are people who make a diagonal slit across the outer ring of the bushing so that it can be slid into place without removing the shift rod locking piece. This is an acceptable way to do this job faster, as opposed to removing the entire shift rod and then removing the shift lock collar from the shaft. My decision was made for me though, because someone had worked on this before and removed the shift lock collar and not re-installed it! Yes, mine was missing entirely! Photo below shows the new bushing installed. Note the hole in the shift rod. That is where the split sleeve goes through to hold the shift lock collar. I was able to source a shift lock collar from another owner. I bought the retaining split sleeve from Stoddard but I could have just gone to the hardware store. It is a 6mm x 32mm split sleeve. PORSCHE part number is not shown in the parts manual, but it is 900-095-022-00. While waiting for the parts to arrive, I gave the brass shift lock a super cleaning. There are some who think the shift lock should be painted black like the rest of the base. I believe this thinking comes from looking at early T6 cars. The shift lock was an option then, and when not ordered, there was a black plug in it's place. Also, many who have restored this area paint the entire base and shift lock black. I looked at original unrestored 356 C cars and also factory photos, and I think it should be left as bare brass. I have included a photo of the shift lock from the 356 C owners manual. Hard to see in the picture, but it sure looks different than the surrounding black base. One of the fun discoveries of cleaning the shift lock was found on the bottom. A date stamp. For those of you who have not worked on the shift rod, some people call this part the "peace pipe". Photo below probably explains why. The new lock collar (695.424.206.01) and split sleeve arrived and it was time to install the parts together. It's a very tight fit. I found rather than using a hammer, it was best to push it in there with my vice. A press would be the best solution, but the vice worked fine. If you are tackling this job, make sure the orientation of the lock collar is as shown below. When I was installing the shift rod back into place, it did not want to slide back all the way. Using my scope, I saw that it was hitting a small bracket in the tunnel that holds the brake lines in place. The floor of Miss June is original, and someone had managed to put a dent upwards on the floor, right under the tunnel, bending this bracket. Once I got the bracket bent back into shape, it slid right into position.
One more bit of advice on this job is that when installing the shift assembly back to the tunnel, make sure to depress the key lock down before tightening the three bolts that hold the shift assembly to the tunnel. This centers everything so that the shift lock will actually work! No more baby rattle. Back to driving! |
restoration & blog Archives
July 2023
|


