|
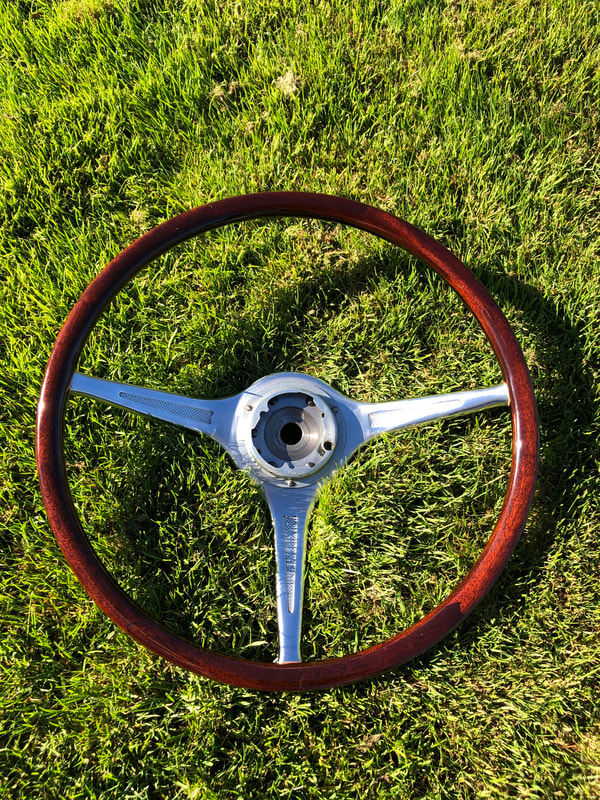
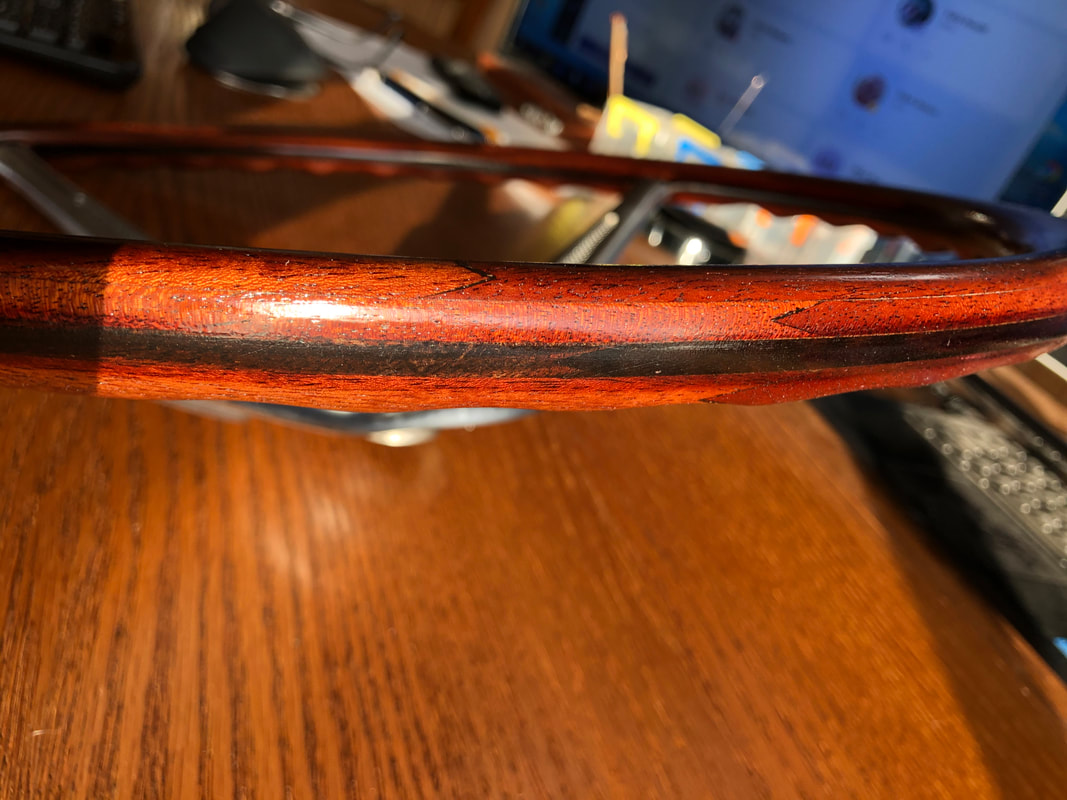
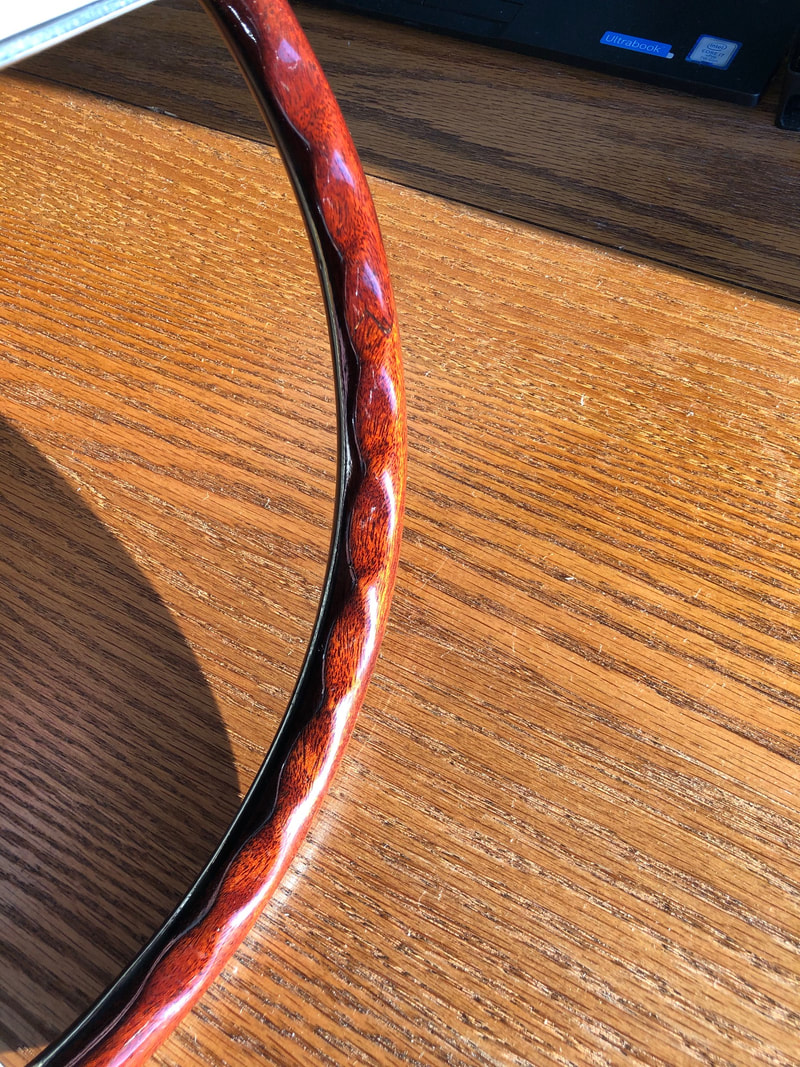
I hope it is obvious that I love originality and strive to keep Miss April full of original parts. However, there comes a point where this is my car to drive and I want it to have my "touch". One thing I really liked about my last car was the steering wheel that I had Bruce Crawford make. It looked wonderful and a vintage feel to the grip while driving. I thought it was a thing of beauty.
I have a very very nice black plastic rimmed original steering wheel, and despite telling myself that it would keep the car looking the same as it did the day it left factory, the wheel just misses the personal feel that I really want for MY car. So, look at what arrived in the mail yesterday! Time to sell the nice black plastic original steering wheel.
1 Comment
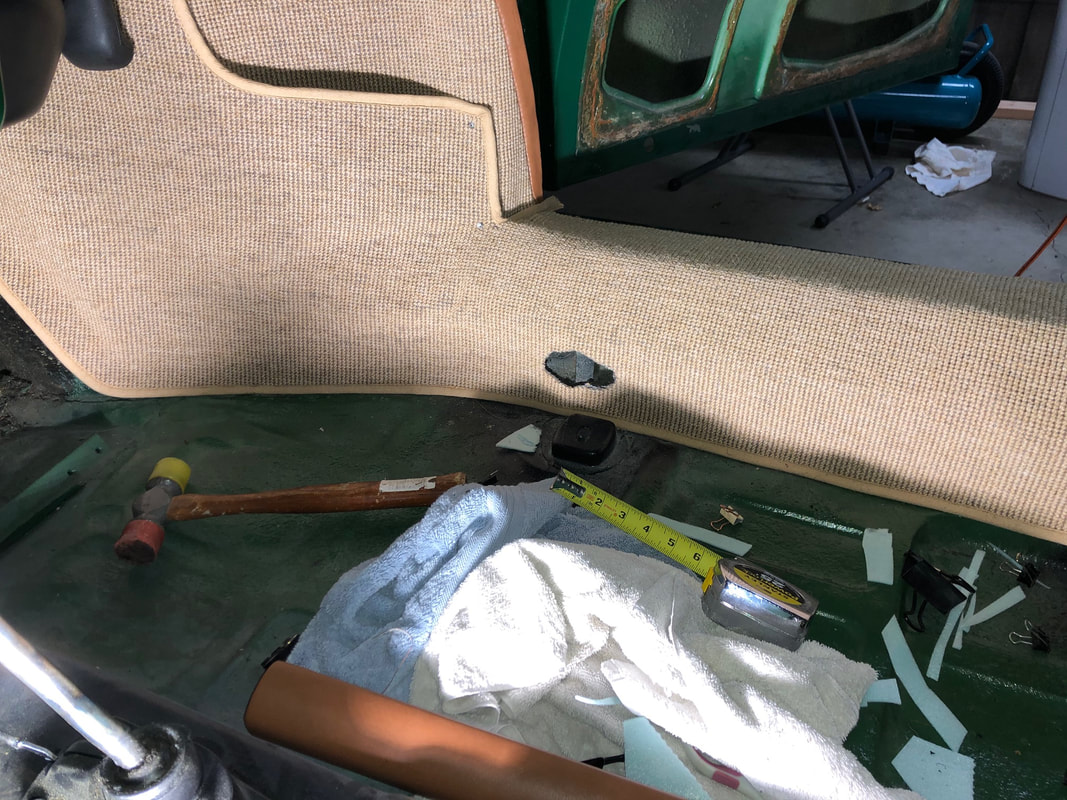
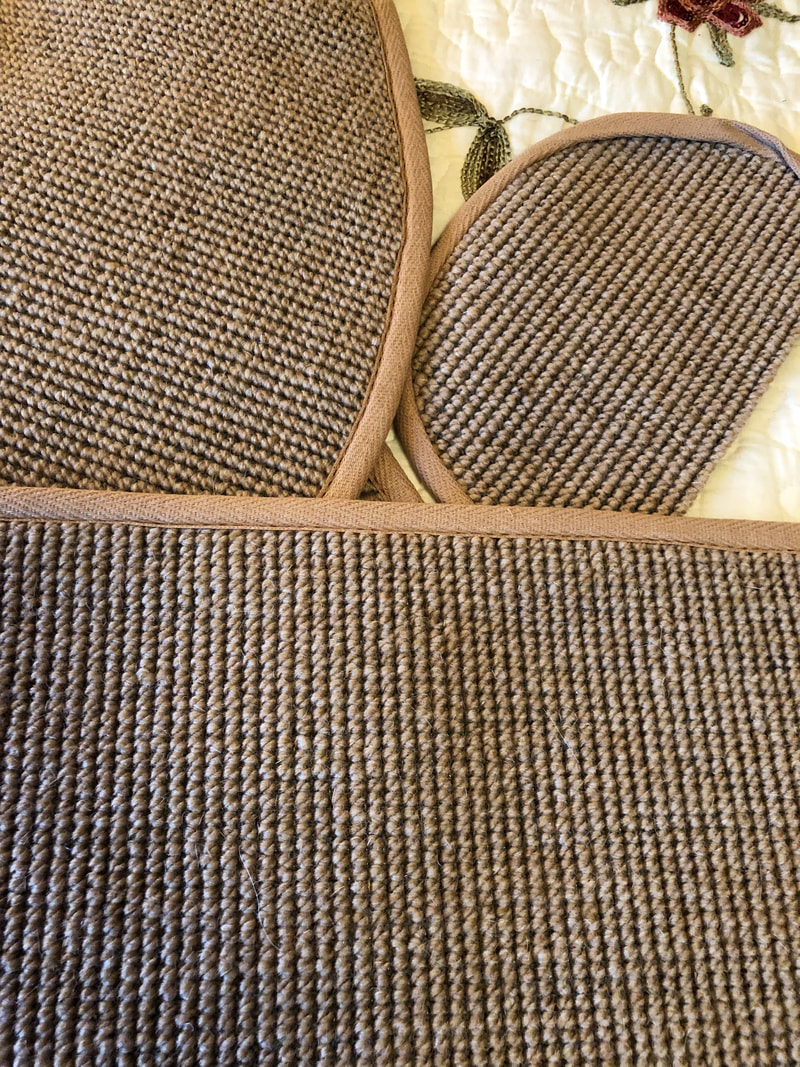
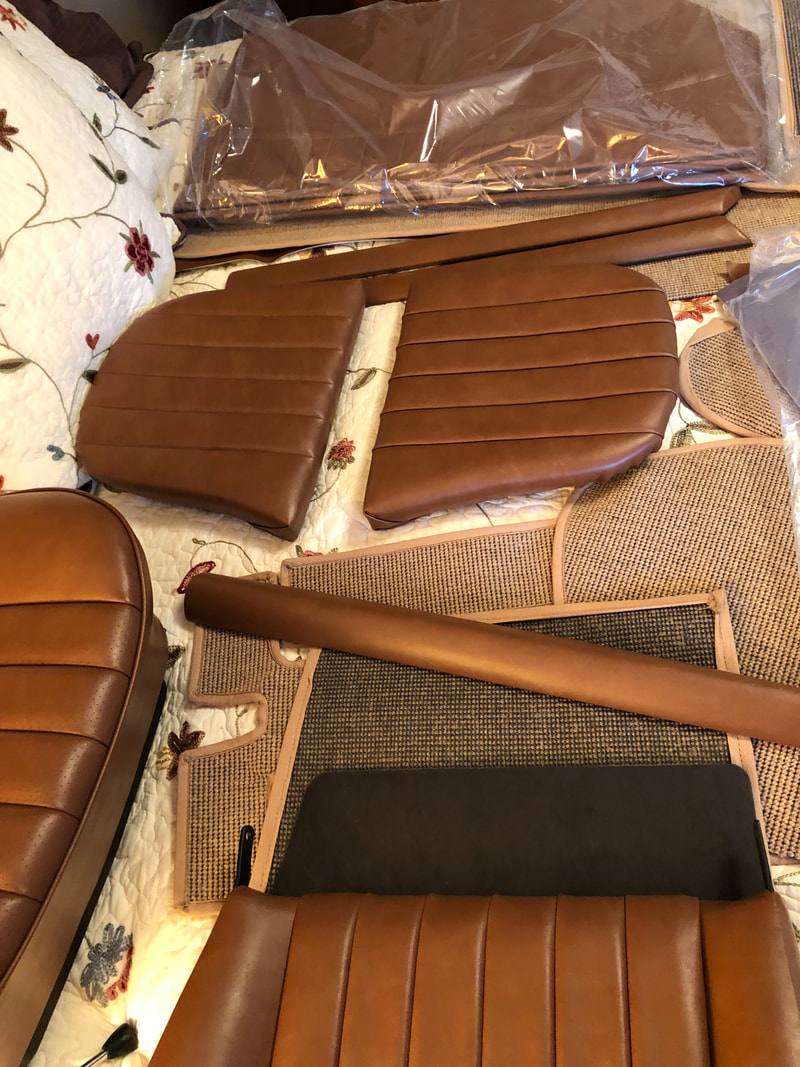
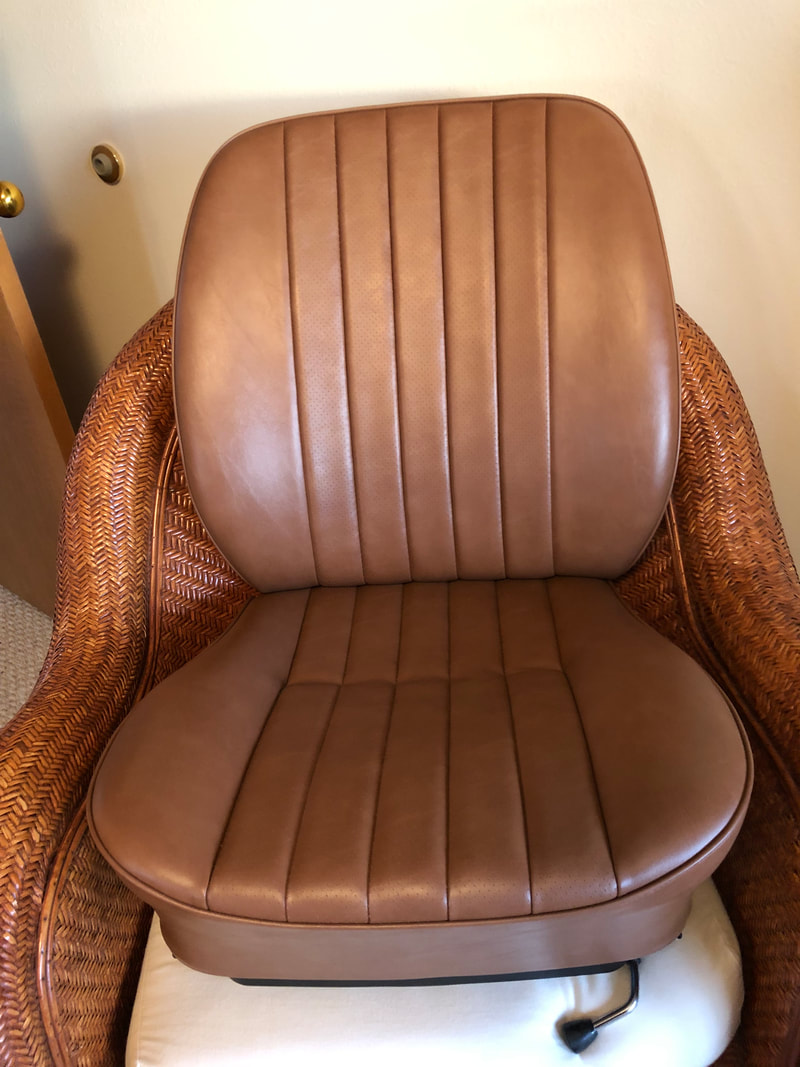
Ok, I admit it. My progress on some projects for this car is sloooooow. Glacial speed. However, this weekend I did make a little progress. I started on the interior and below is a shot of the progress. Slow, but so far so good.
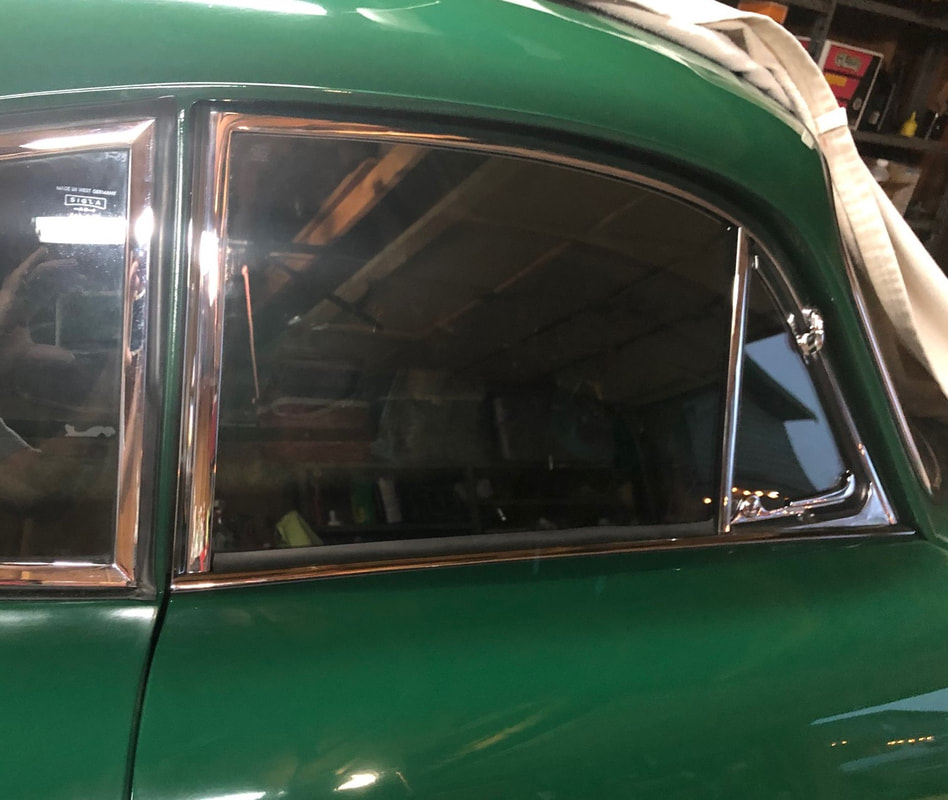
I also got one quarter panel done on this same side, but need to take a good photo to post. Much more to go! Drivers side door glass is now also done! I am moving my efforts to the interior of the car. I have cleaned up some messy stuff under the dash, and largely I think the big dirty stuff is done in there. Still have to replace fuel line in the tunnel, but with everything already out of the car this should go quickly.
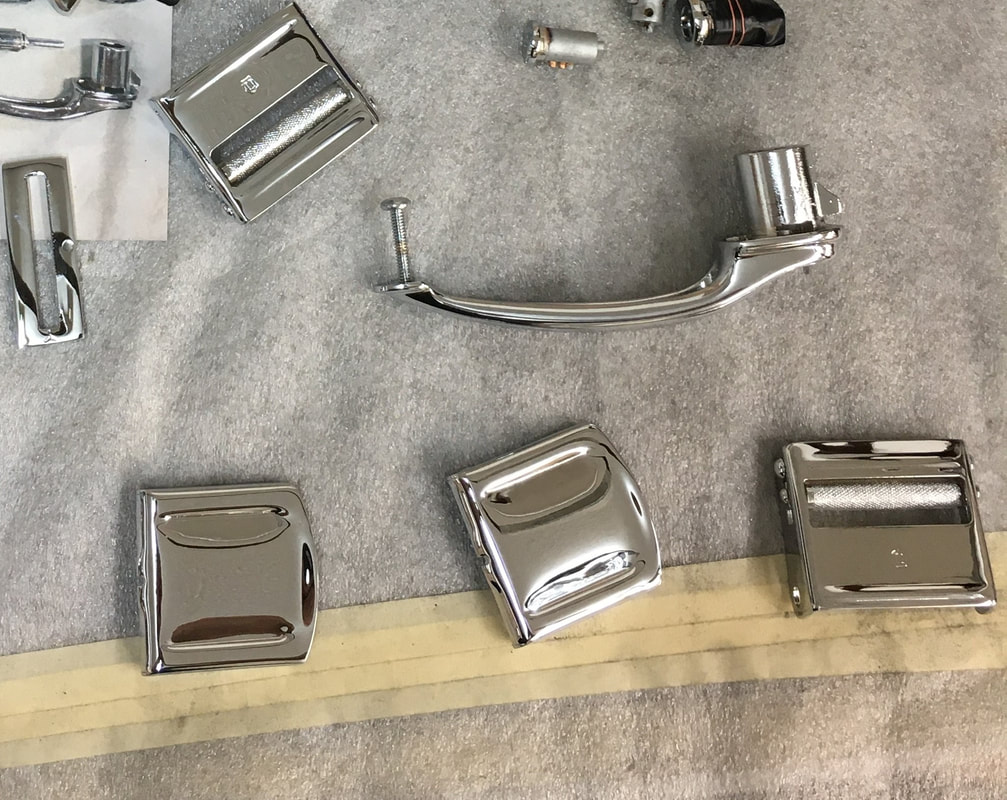
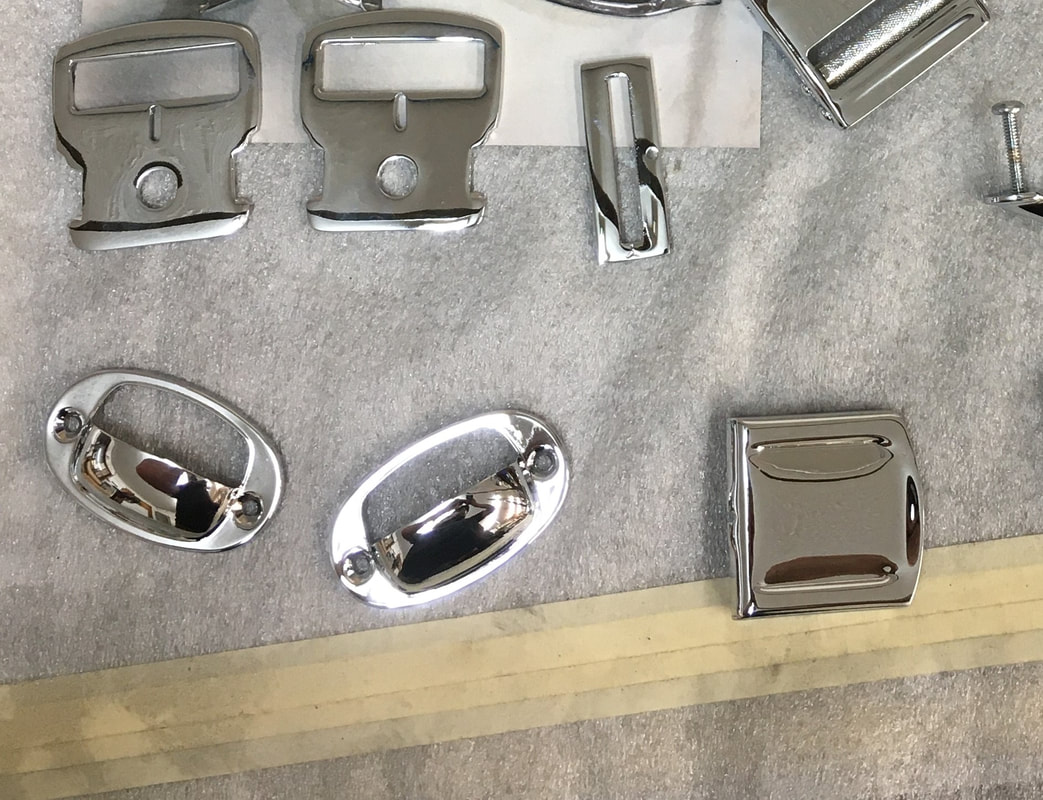
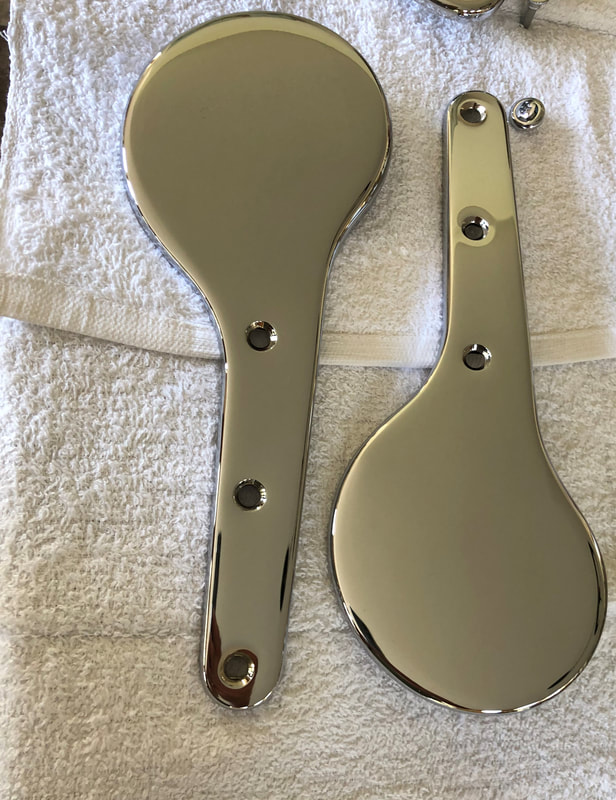
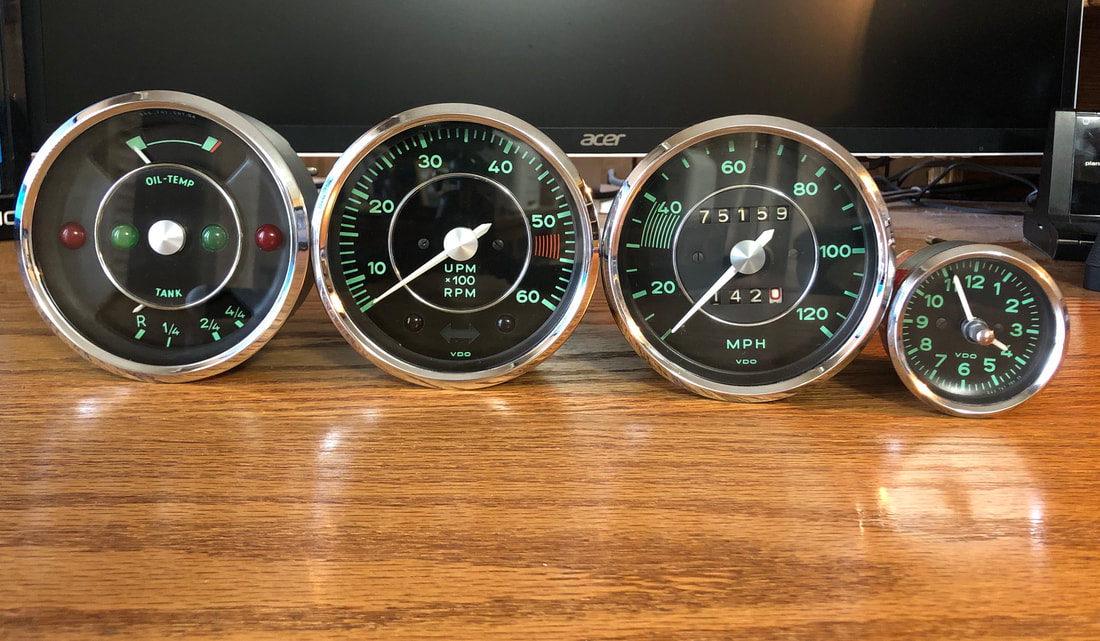
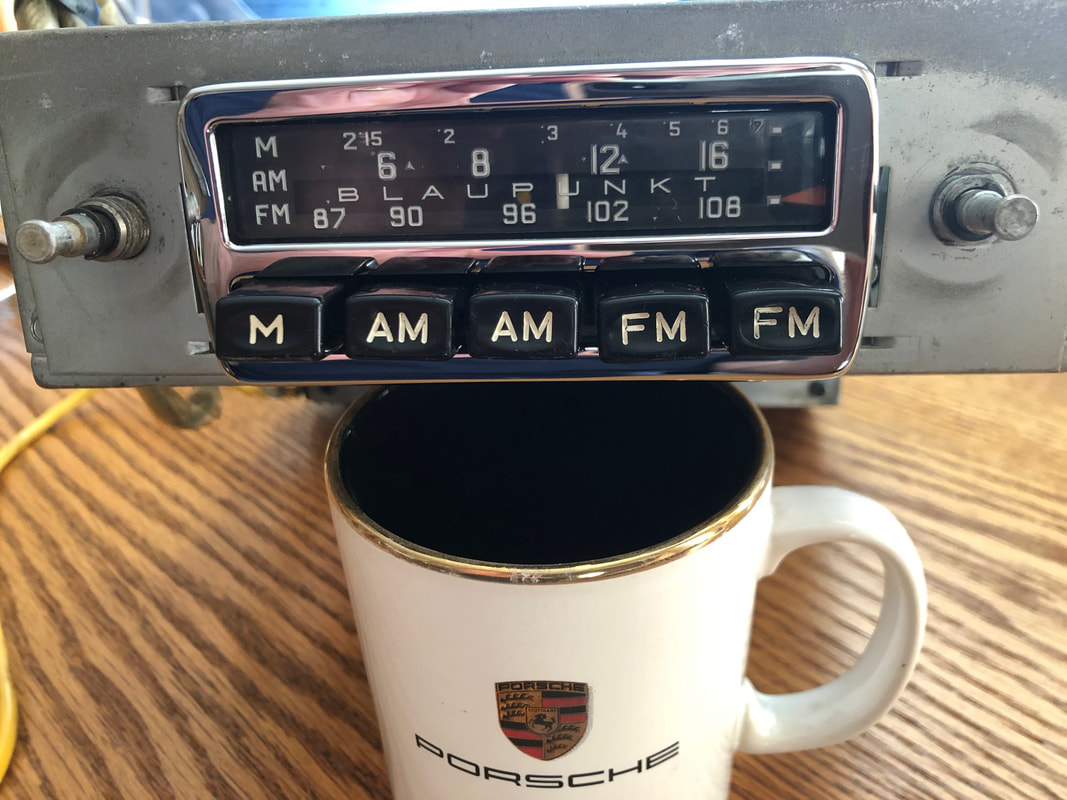
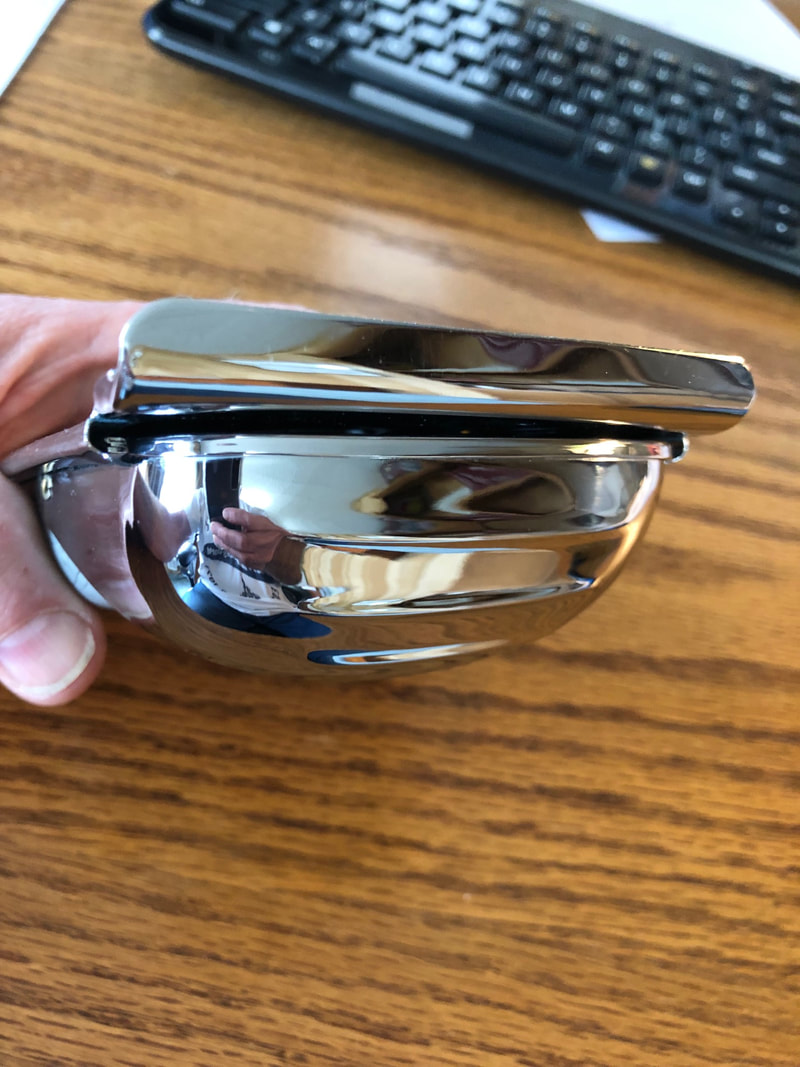
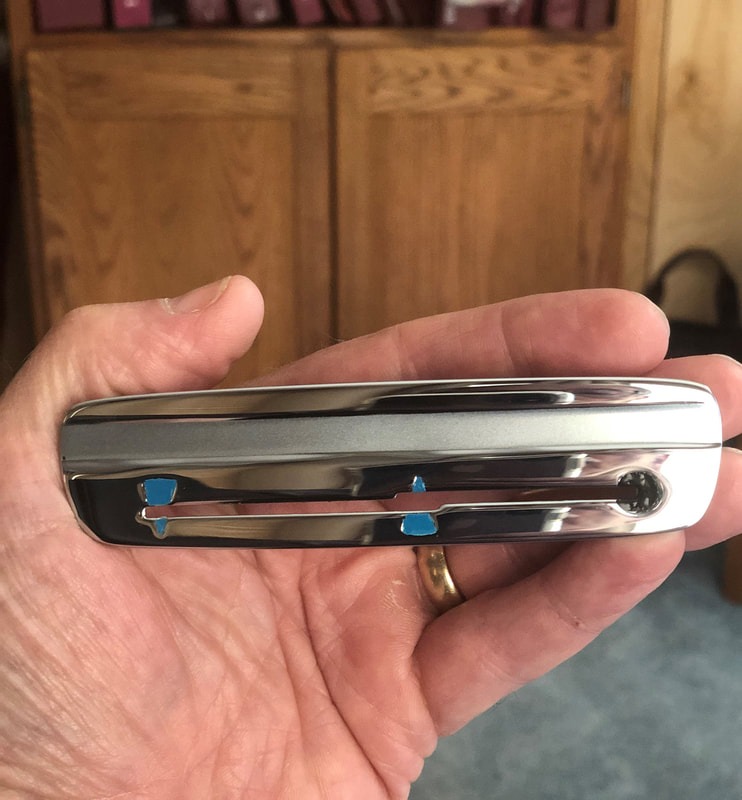
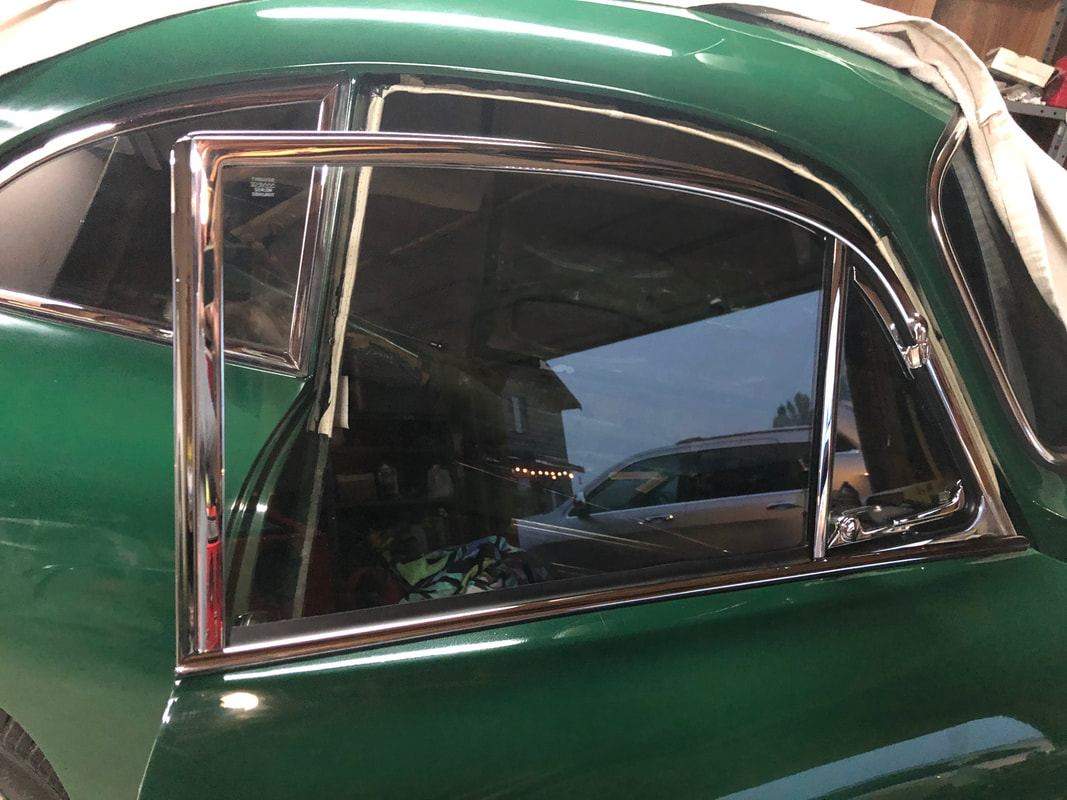
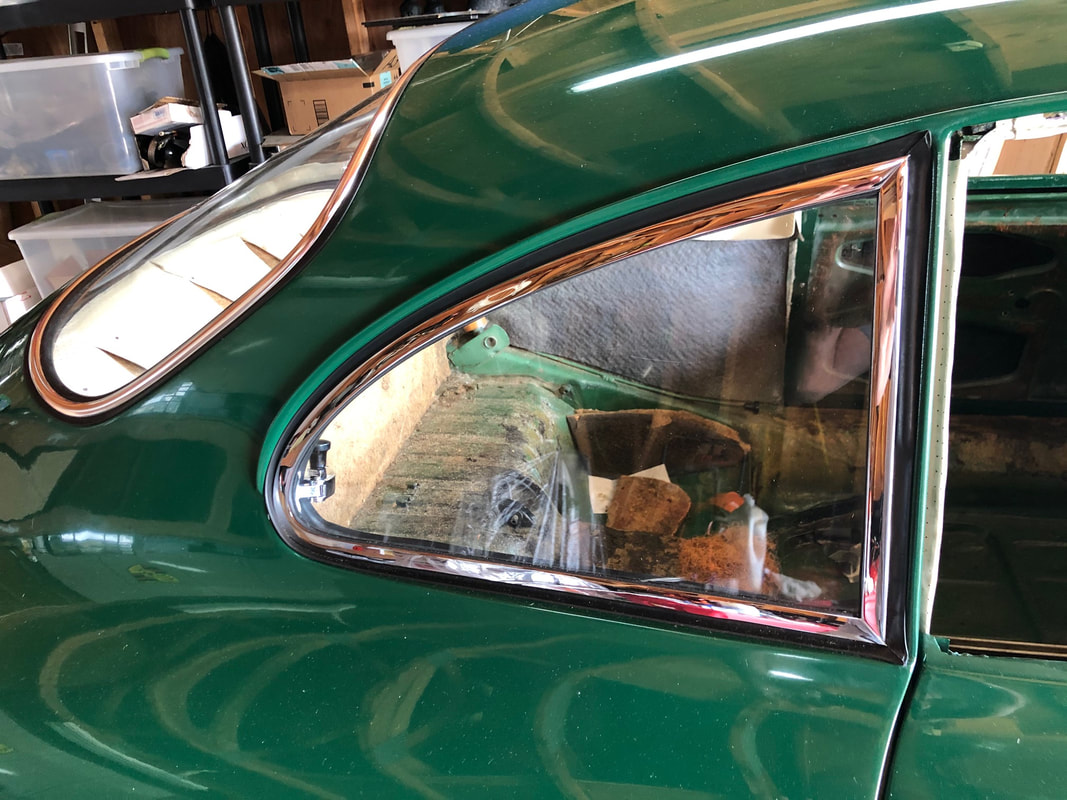
So, what is next? It is time to install some new upholstery that arrived almost a year ago. Yes, I hope to start tomorrow on the rear quarter panels and then begin the process of installing the carpeting! No jokes about glue sniffing, I haven't started yet. All the interior pieces are here, and have waited patiently in the spare bedroom. The process of getting all the chrome done continues. Updated shots from the shop are below. There are other pieces like the turn signal bezels but they have to re-do one of the door handles, so no shipment till next week. Excited because once those door handles are back and installed, I can put on the nice new door panels. Gauges are all ready to slide in and be wired as well. Yahoo, the passenger side door glass is complete! Proud to say it looks quite nice and the window even rolls up and down!
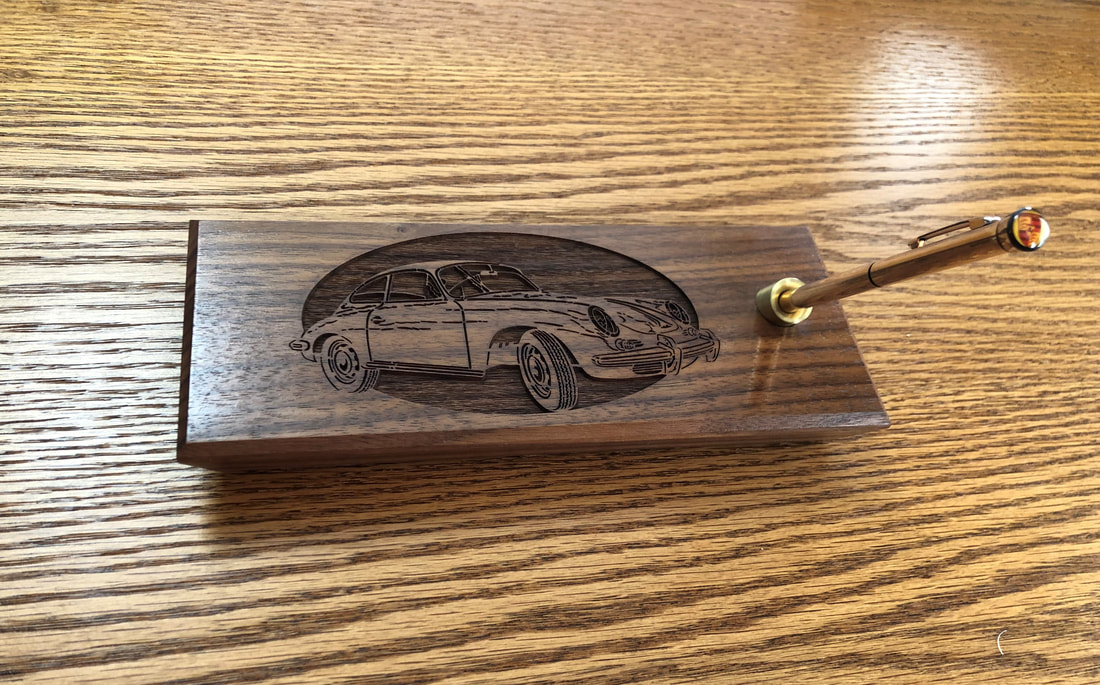
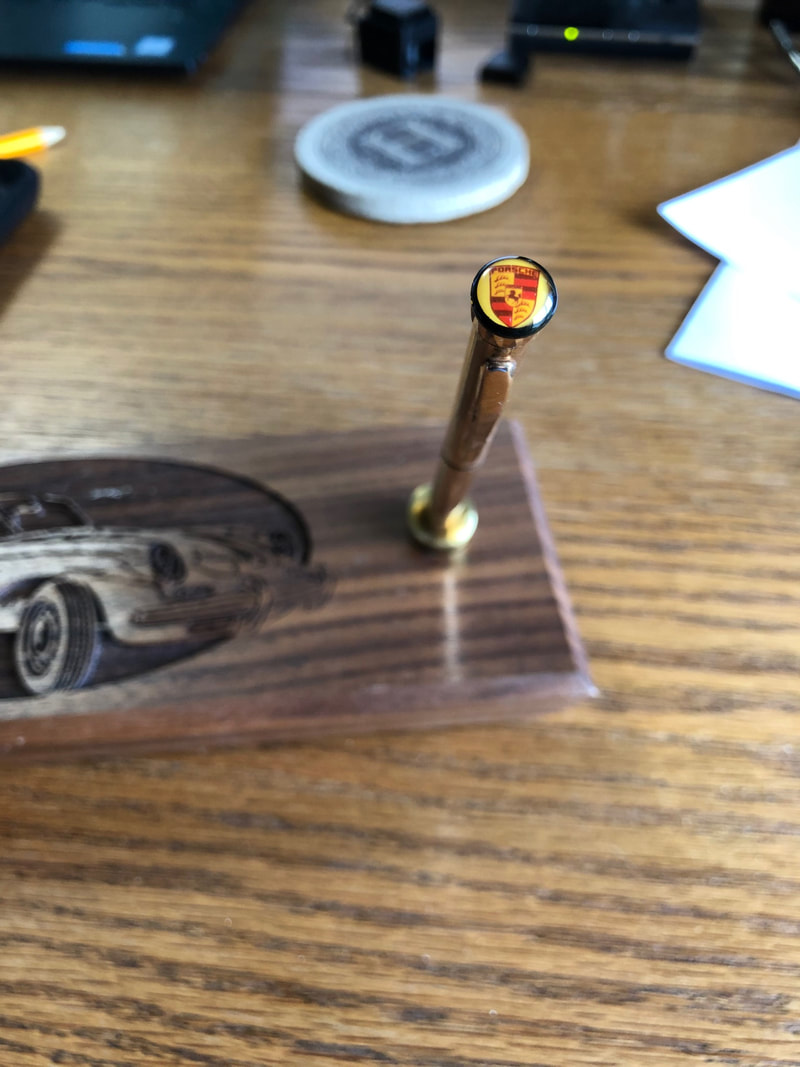
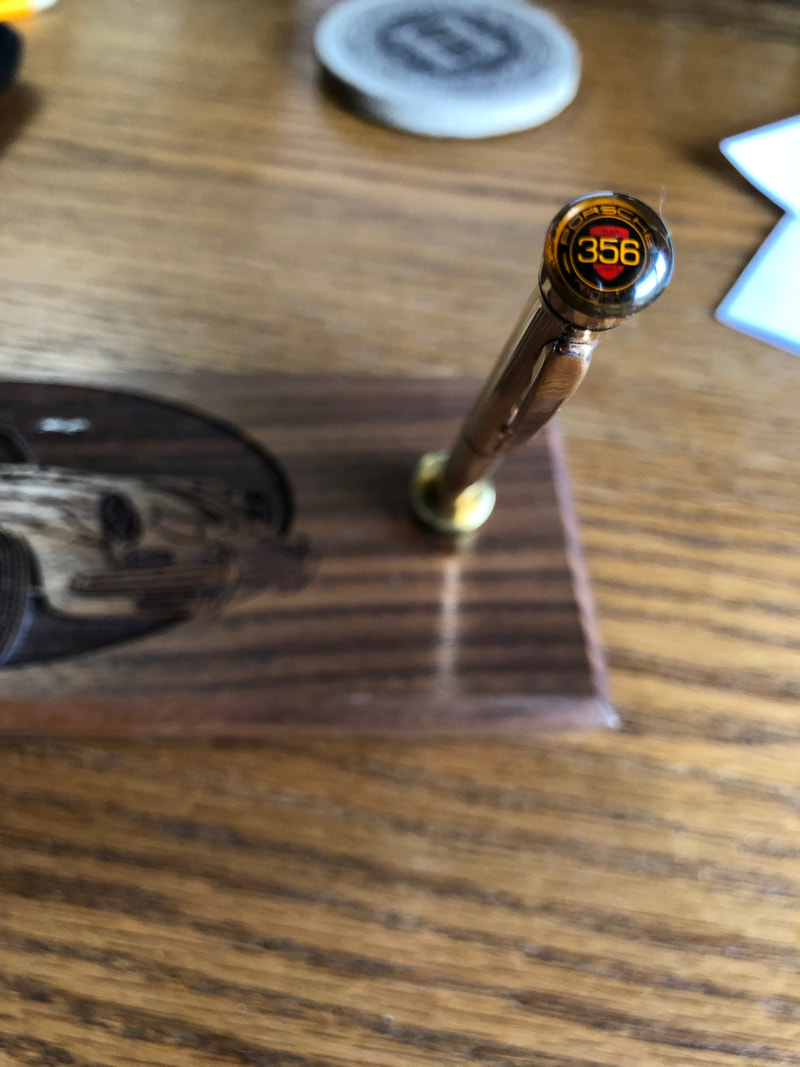
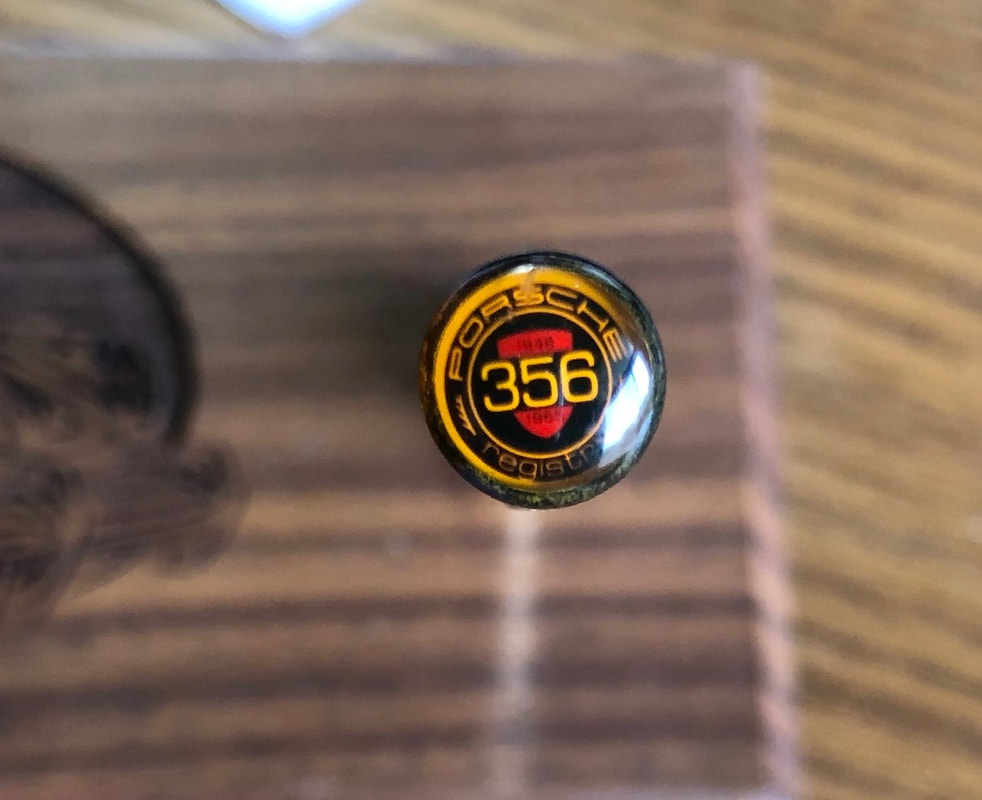
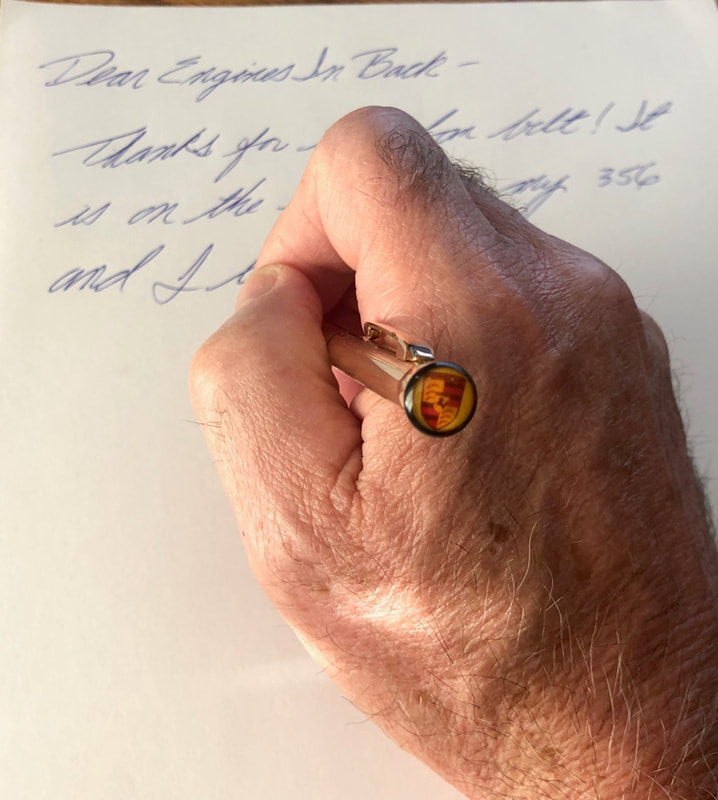
I won't bore readers with a progress report when the other side goes in (soon), but that will be the last of the glass effort. I have some tidying to do under the dash, and some work on the tunnel boots, but after those things are done, I will begin the interior installation! In one of my previous Blog postings, I wrote about a 356 desk pen set I was lucky enough to purchase. I am showing it on the uppermost photo below.
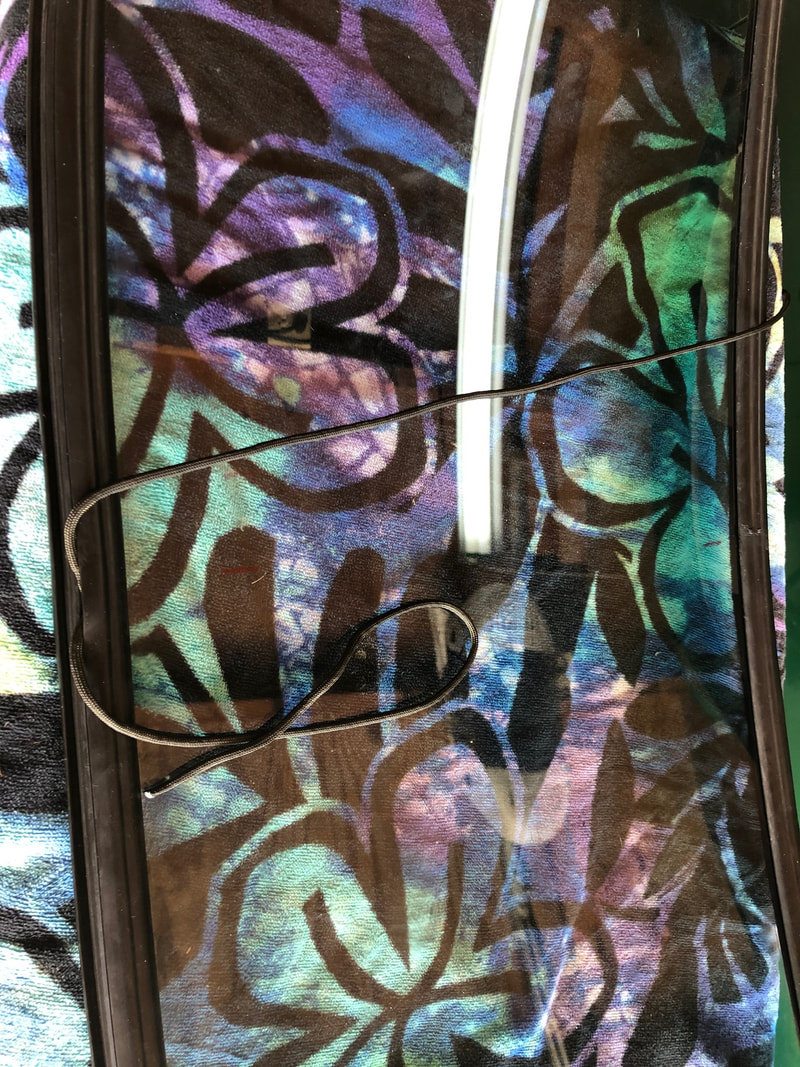
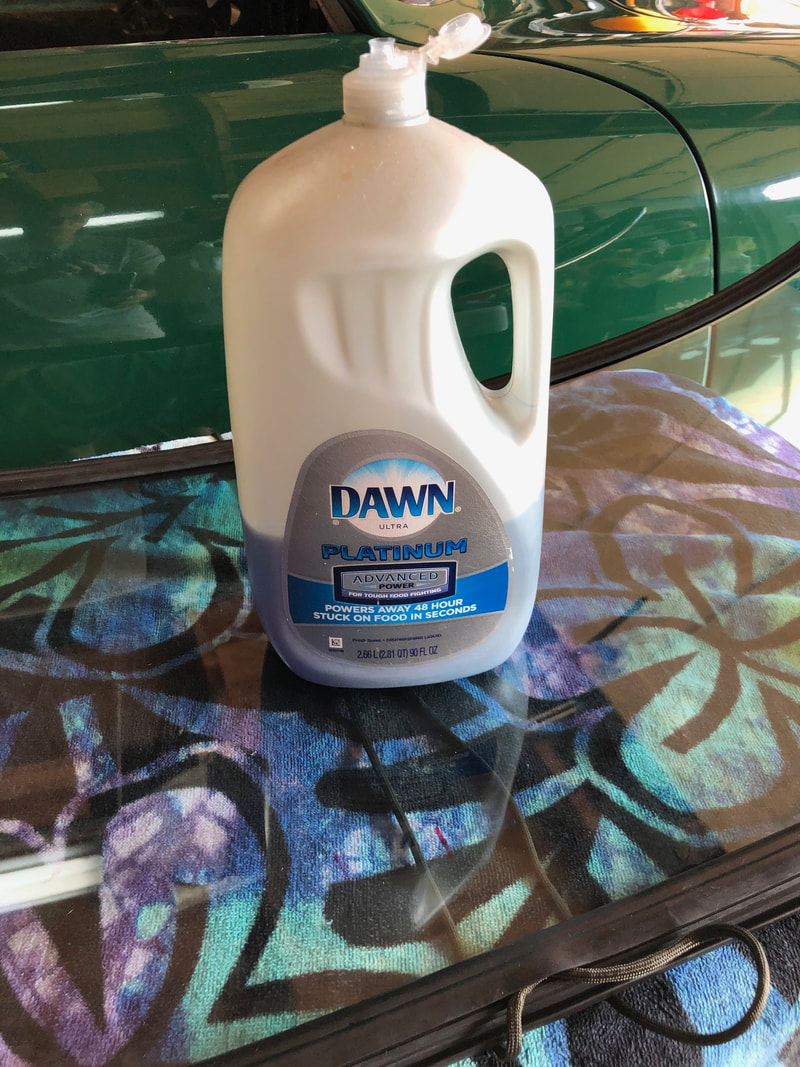
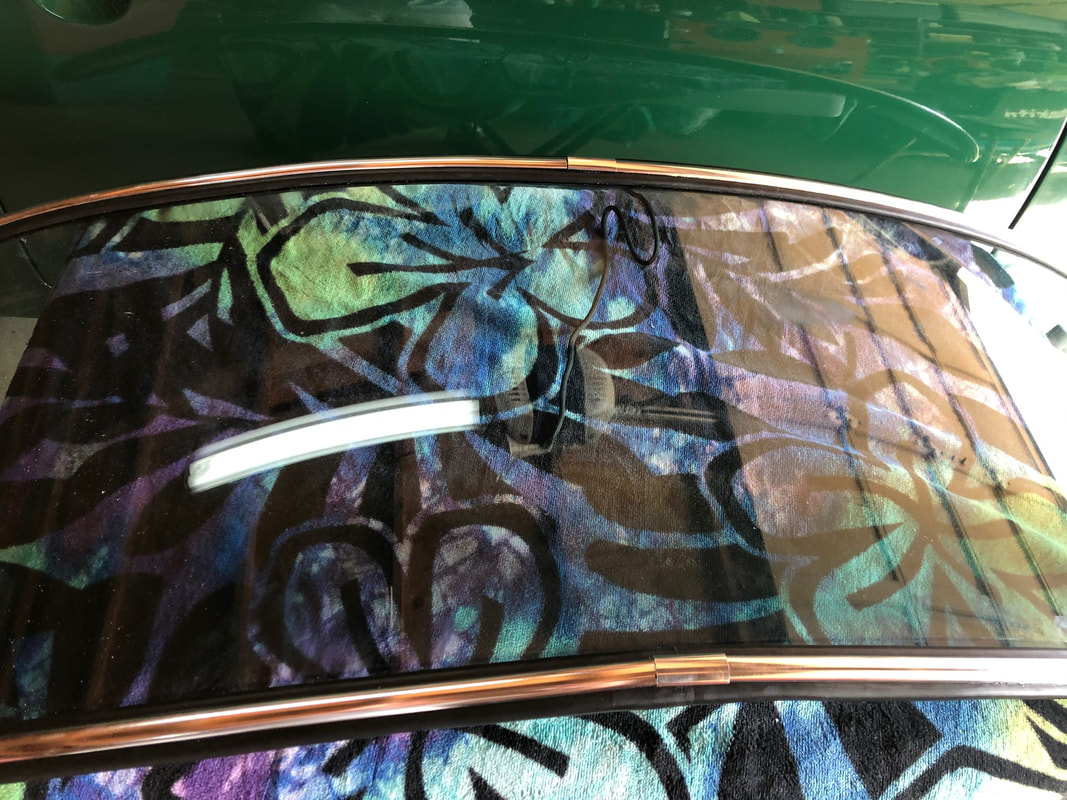
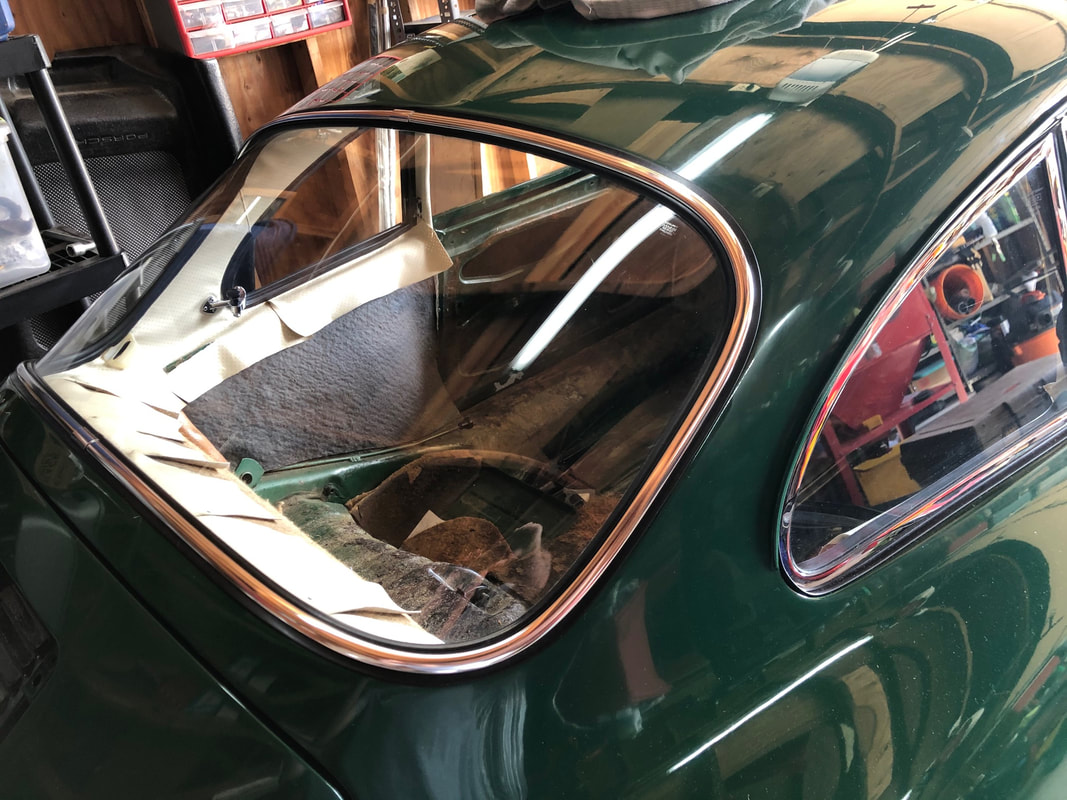
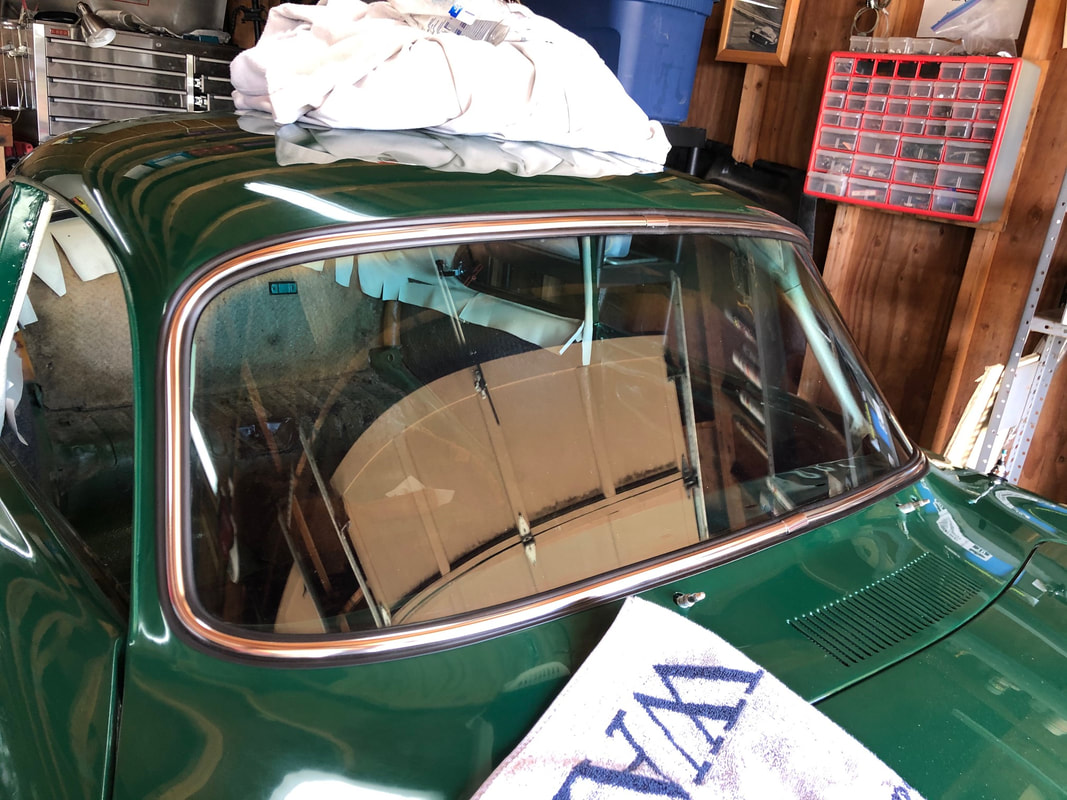
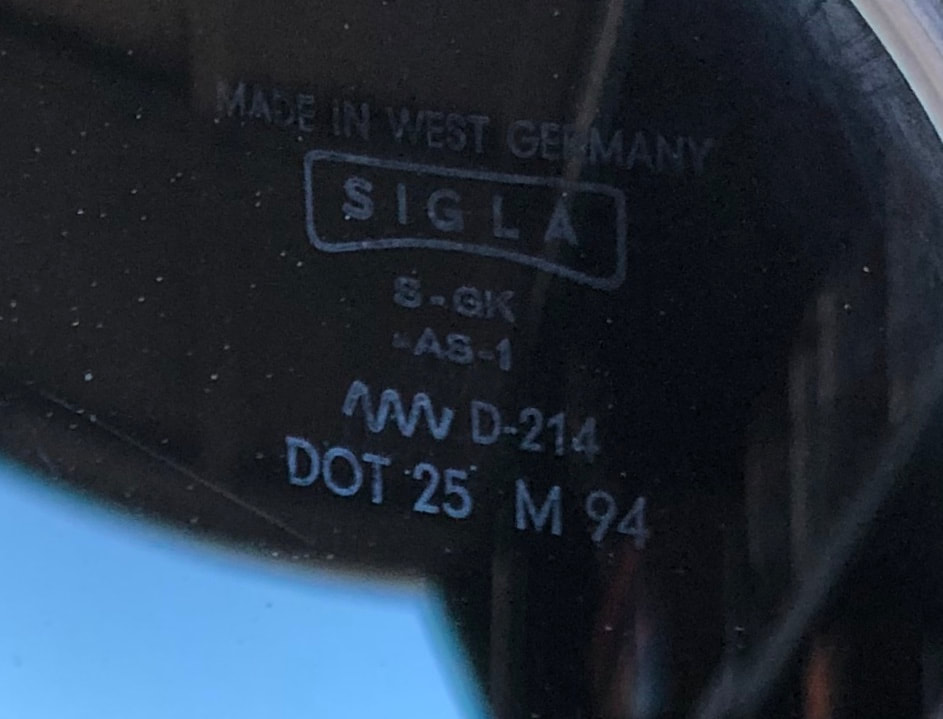
Well, here is the rest of the story... I found the perfect mate for the PORSCHE pen! So what do parachute parts and PORSCHE parts have to do with each other? Well, besides being associated with something exciting, I will answer this below. By the way, if you never have taken a parachute jump from up over 20,000 feet- DO IT! It is a thrill you will never forget. I had the good fortune to do this a few years ago and loved it. See the photo at the bottom of this post. Now, back to reporting on Miss April's progress. Thanks to a long Labor Day weekend and help from my wife, FOUR of the windows are now installed. One of the rear quarter windows was already done, and installing the other side went smoothly. It was then time to install the front windshield and rear glass. The steps I took were: On a small table covered with a beach towel, I installed the new rubber seal which I lubricated first with Dawn soap Second step was to fit the new aluminum trim. New trim comes too long, and you have to measure to find the middle of the glass Cut the new trim so that about 1/2" gap is left to install the small "coupler" When installing the trim into the rubber, I used Dawn dish soap again on the rubber. Next I lubricated the slot for the parachute cord. Insert the cord so that it goes all the way around the rubber and overlaps at the bottom Place the glass in the opening and with one person on the outside and one inside, pull the rubber lip over the flange on the body. Outside person is holding the glass from shifting, not pushing. Try to keep it even by working a little towards one side and then doing the same movement to the opposite side. You will end at the top center. My wife and I accomplished this and I'm really happy with the results! By the way, I re-used the glass. Front windshield has some "patina", but overall it is in very nice shape and is a SIGLA windshield with tint. However, I believe it is a replacement unit based on the stamping shown in the photo. Here is a shot of me in the parachute jump.
|
restoration & blog Archives
July 2023
|

