|
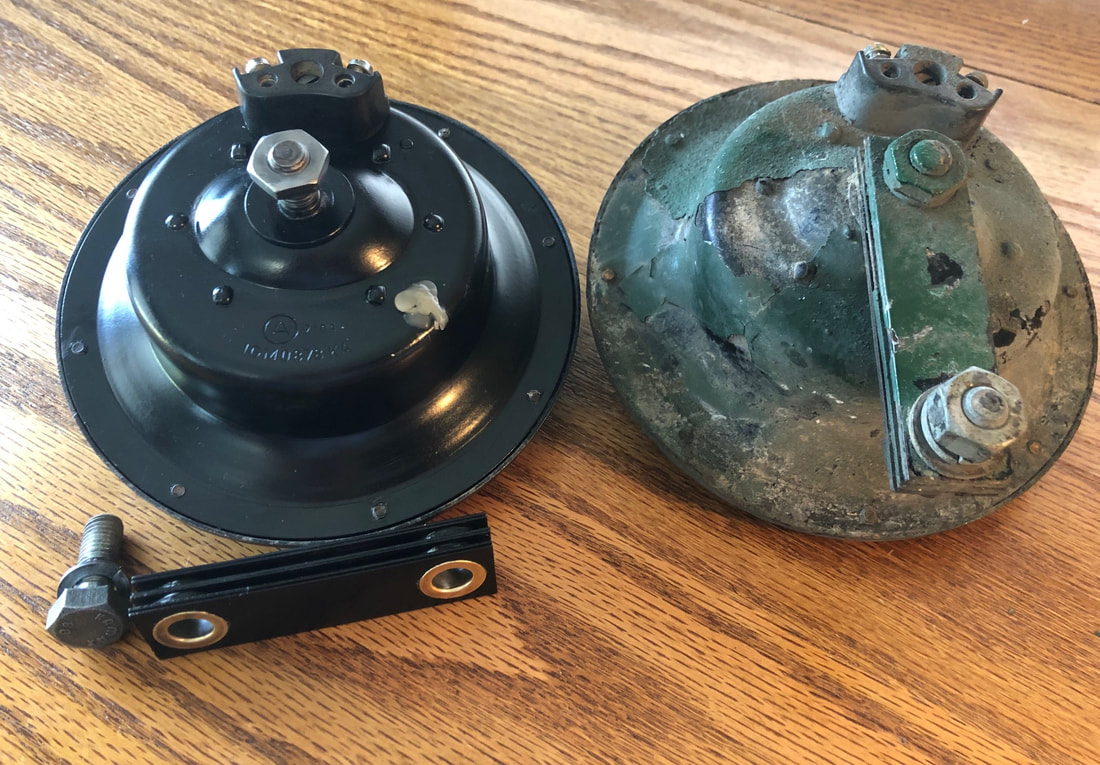
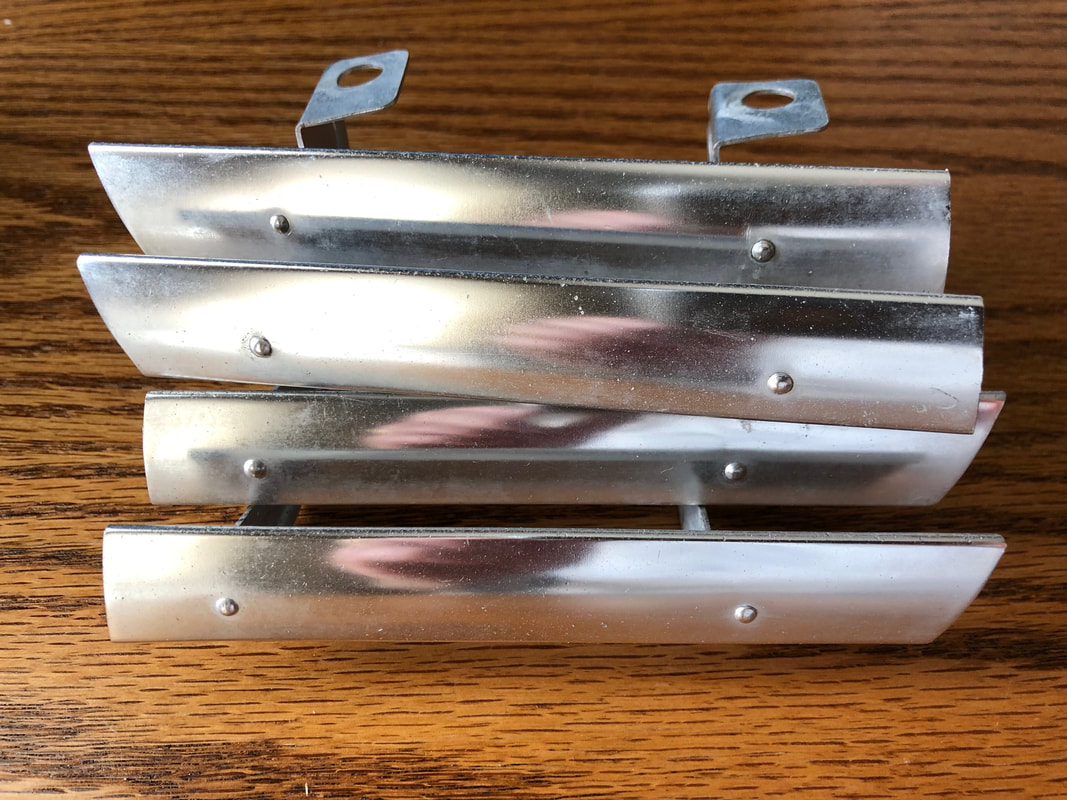
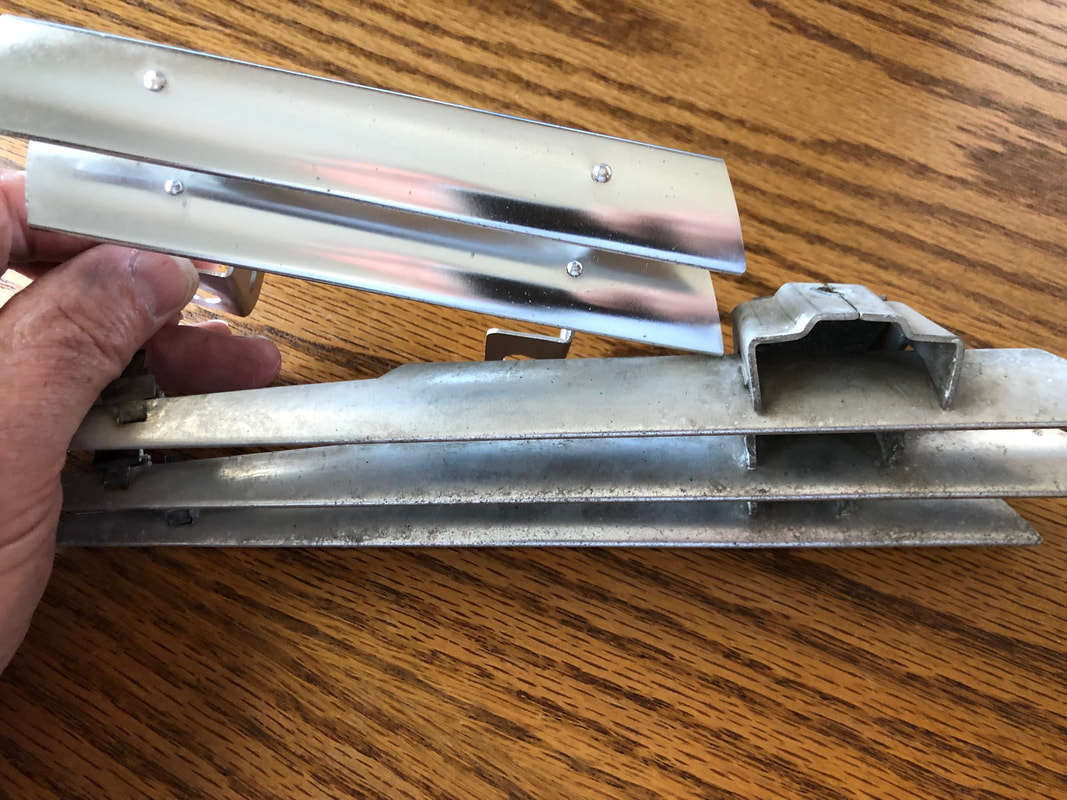
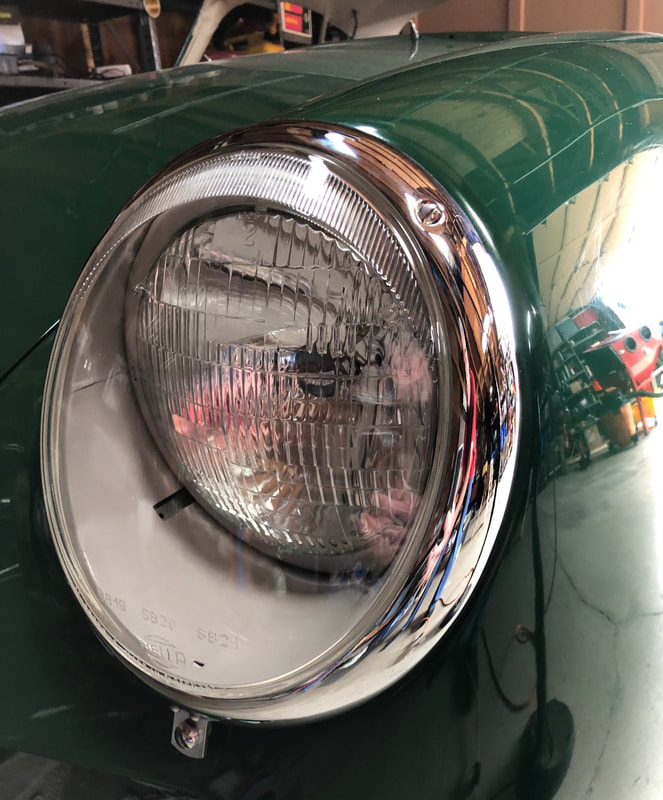
Passenger side done. Next time it will be seen, will be through the horn grill on the car. Same process will be followed on the drivers side.
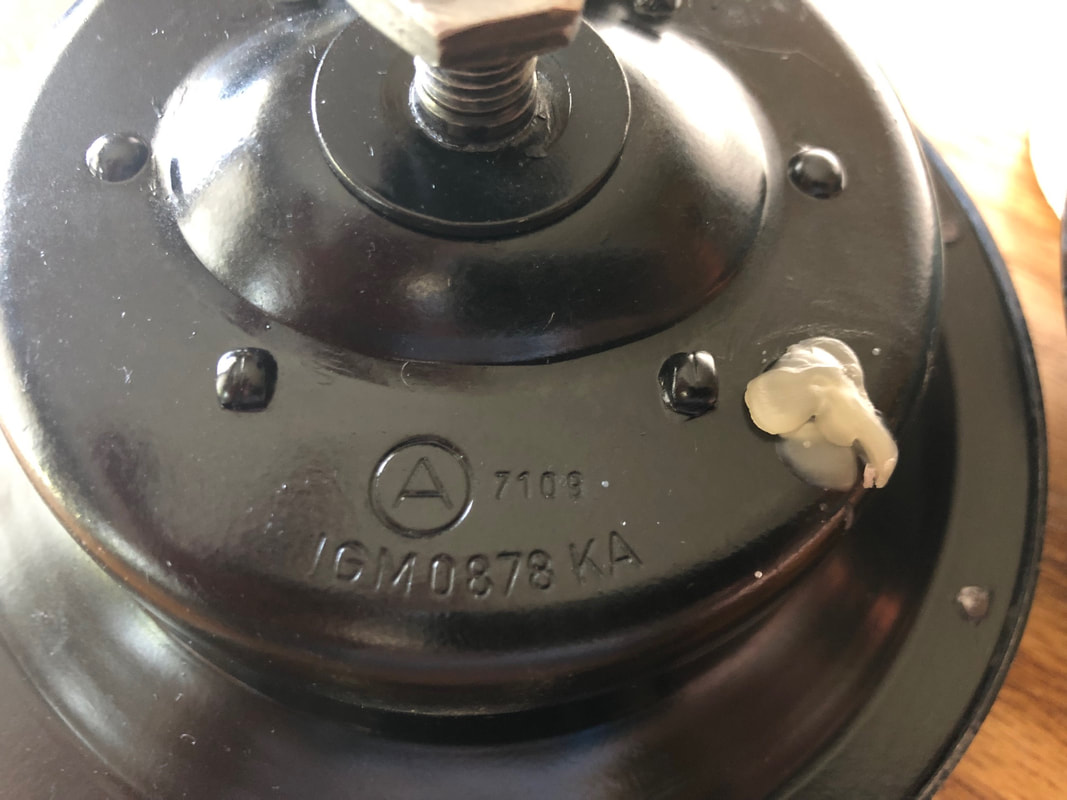
You might wonder what the blob is on the back side. That is a wax seal over the adjustment screw- same as original. Few guys put that final touch on.
0 Comments
Friend of mine sent this to me. This guy not only is singing but painting with both hands! Enjoy and Happy Independence Day!!
On the last car I took the original horns apart, cleaned painted and reassembled. They then sounded terrible, so I sent them to Julian Hardy for tuning, and he did a great job.
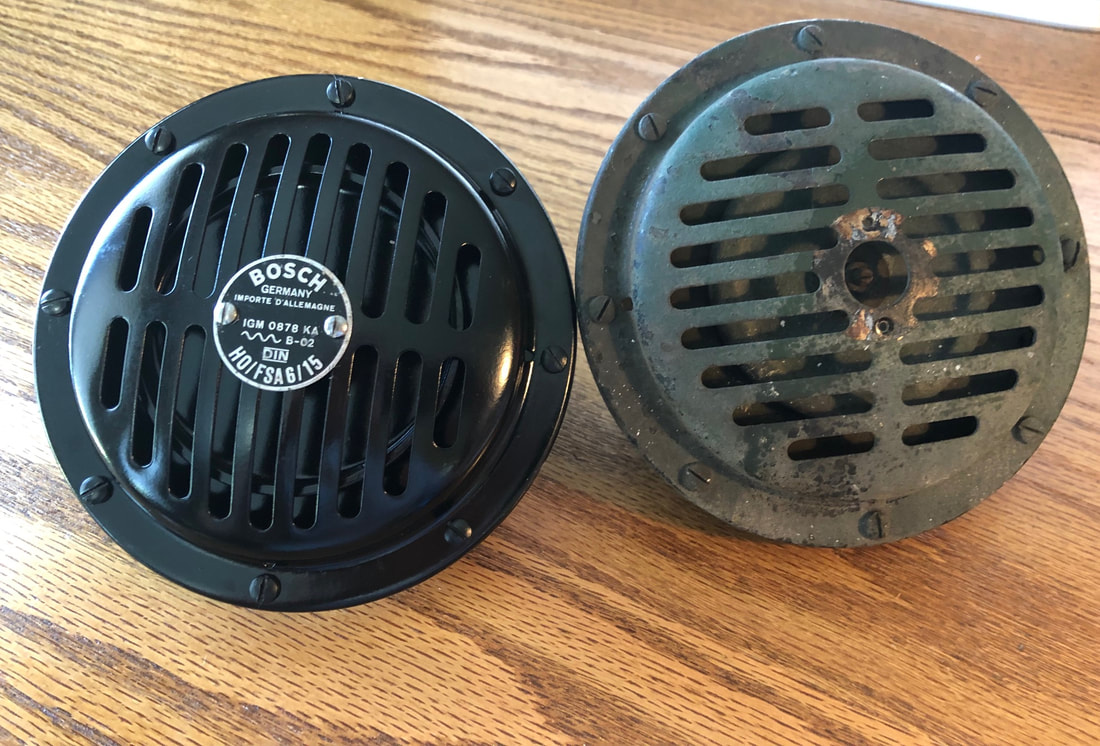
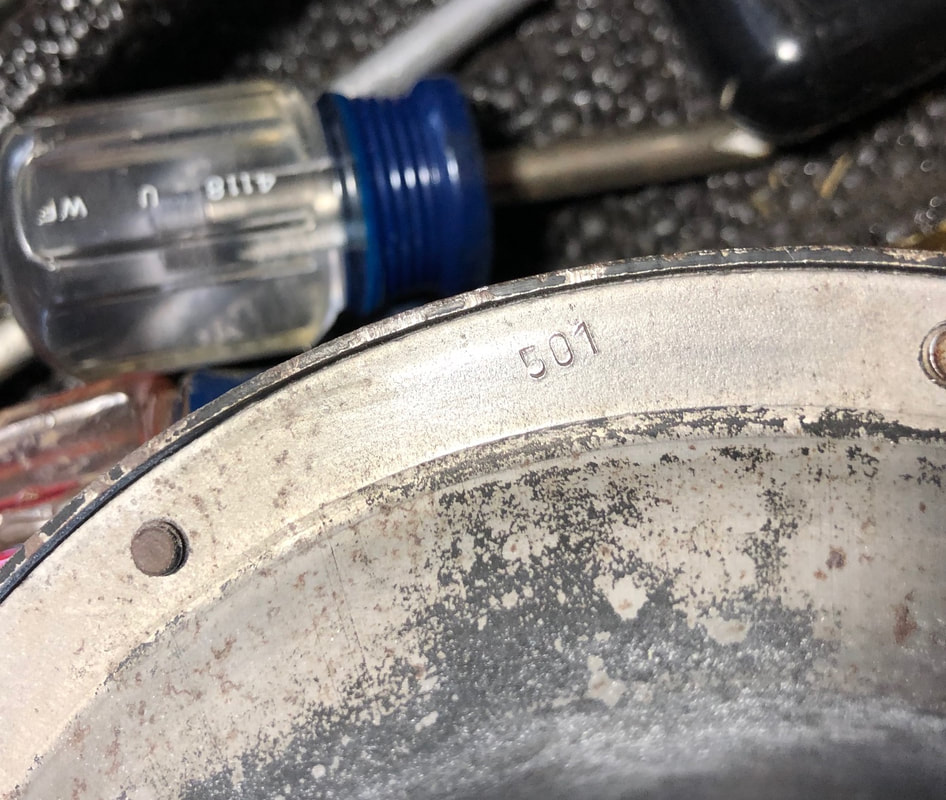
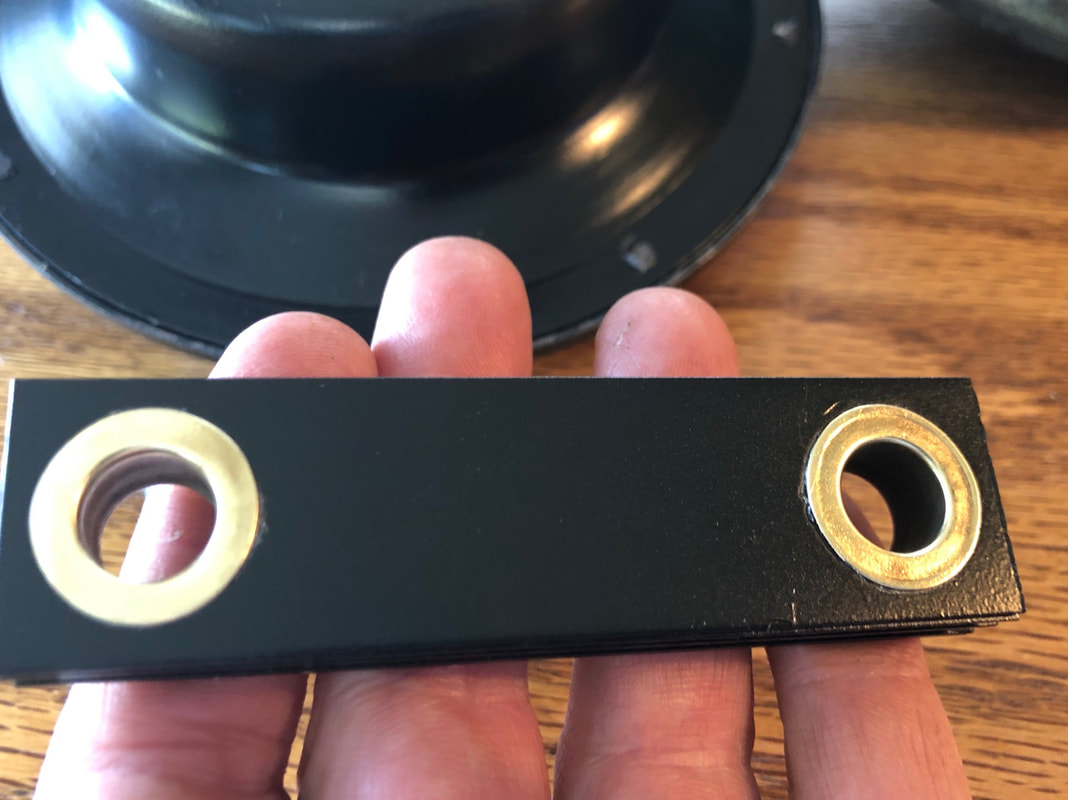
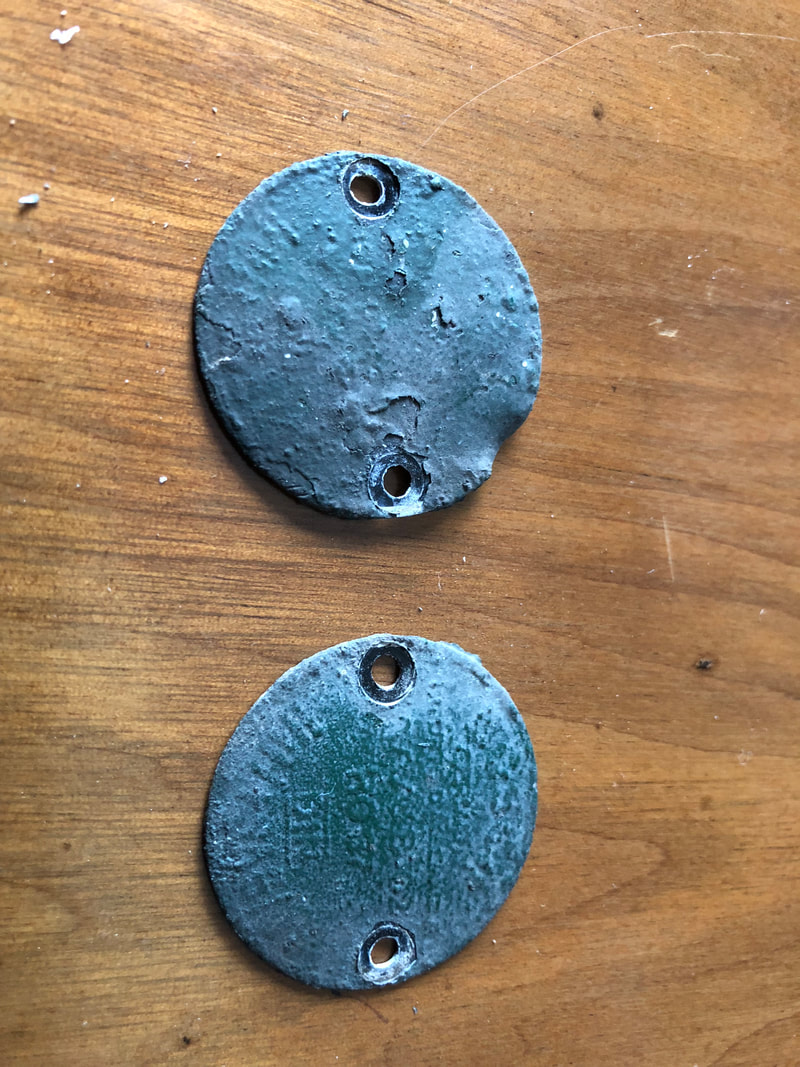
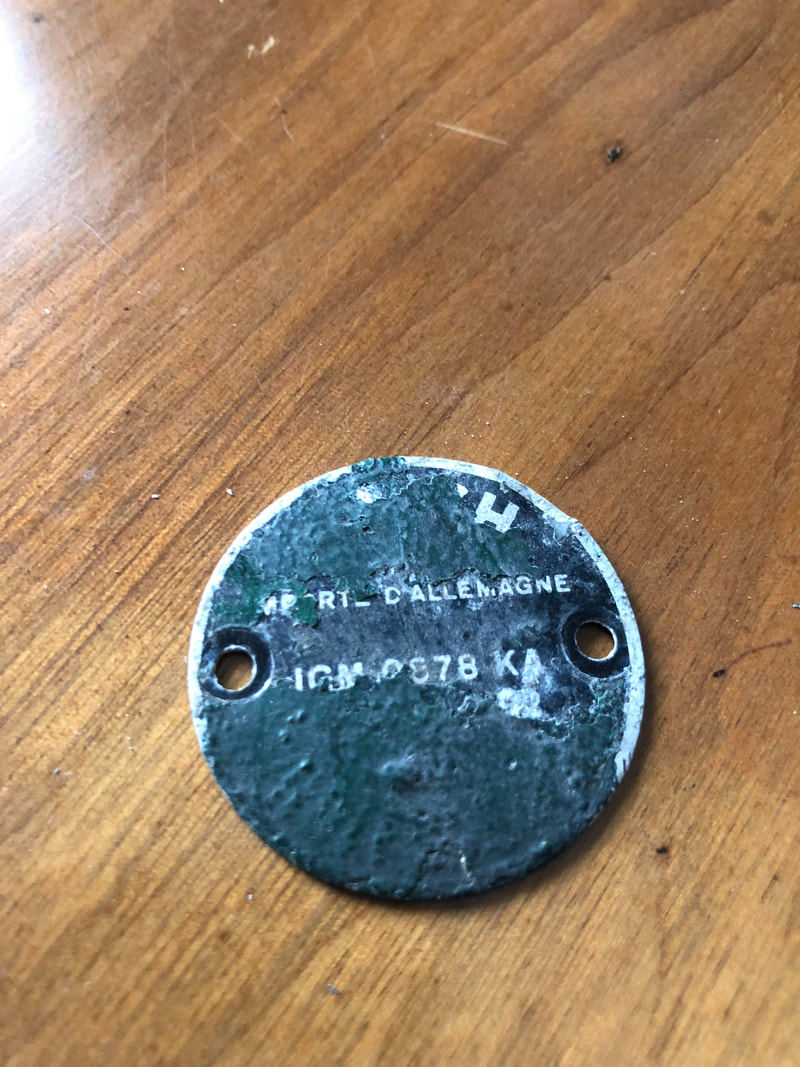
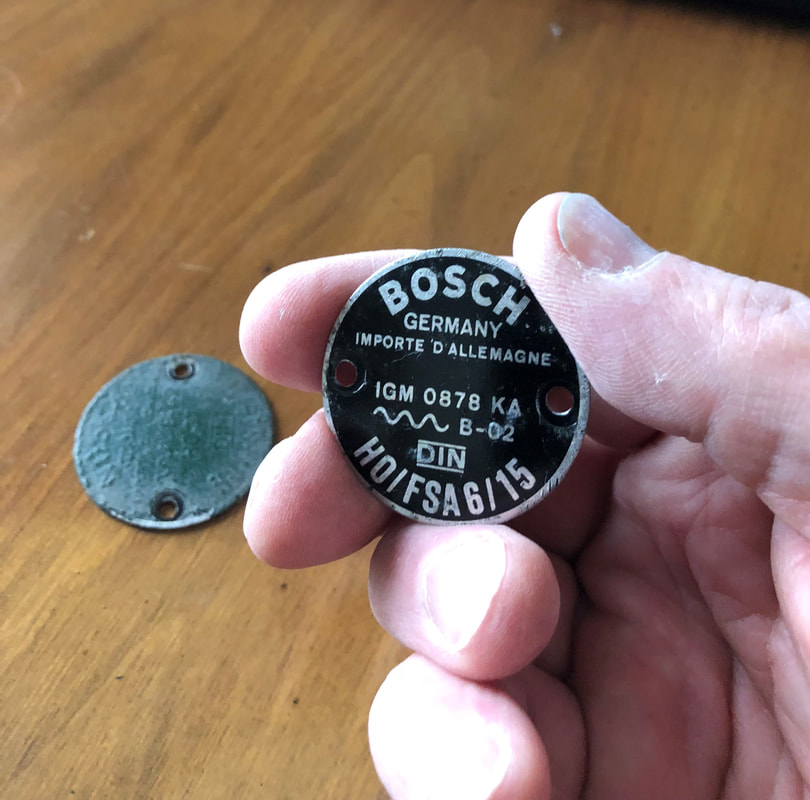
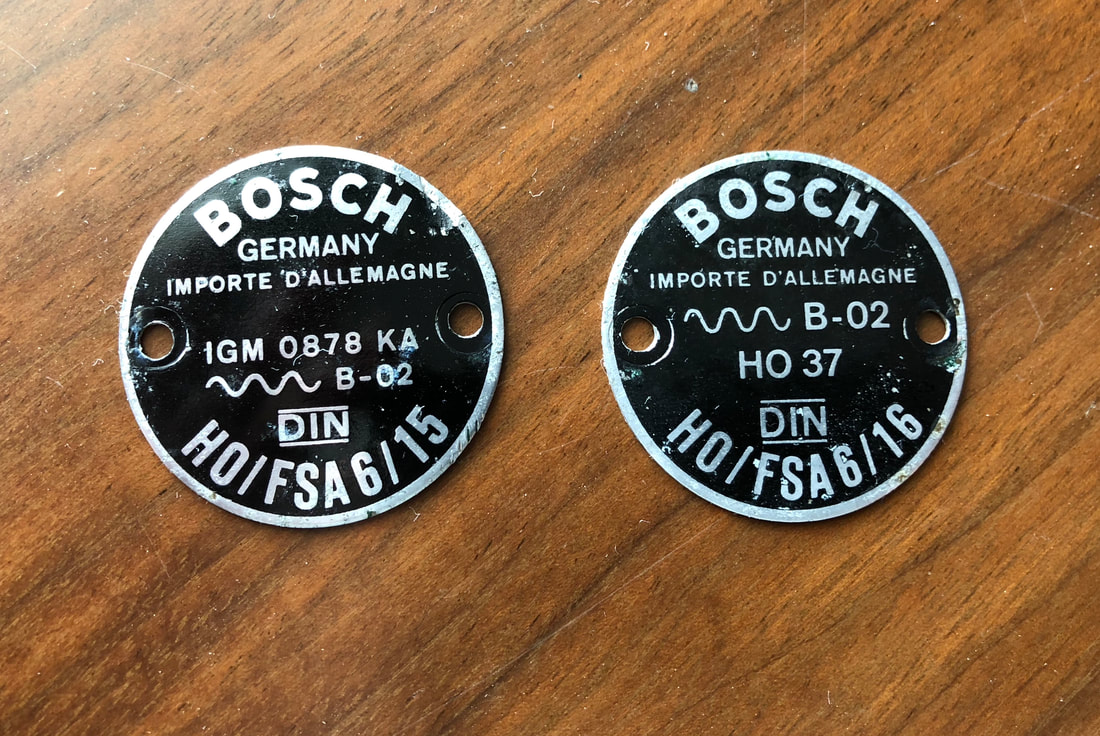
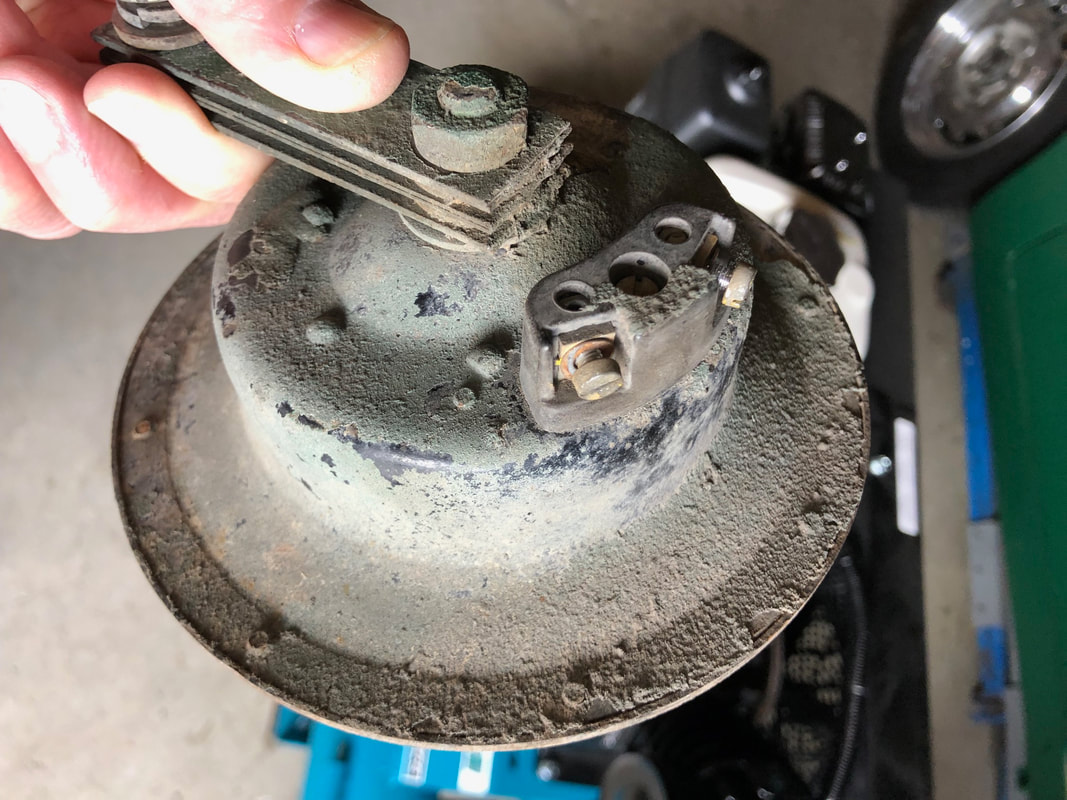
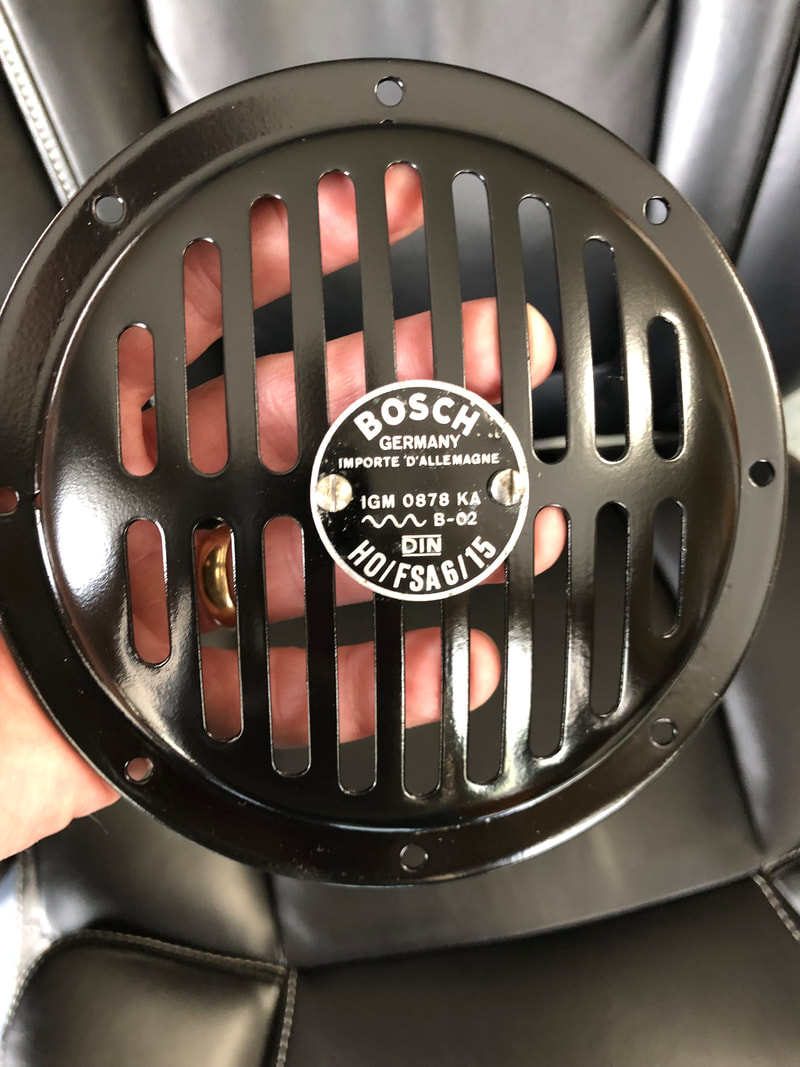
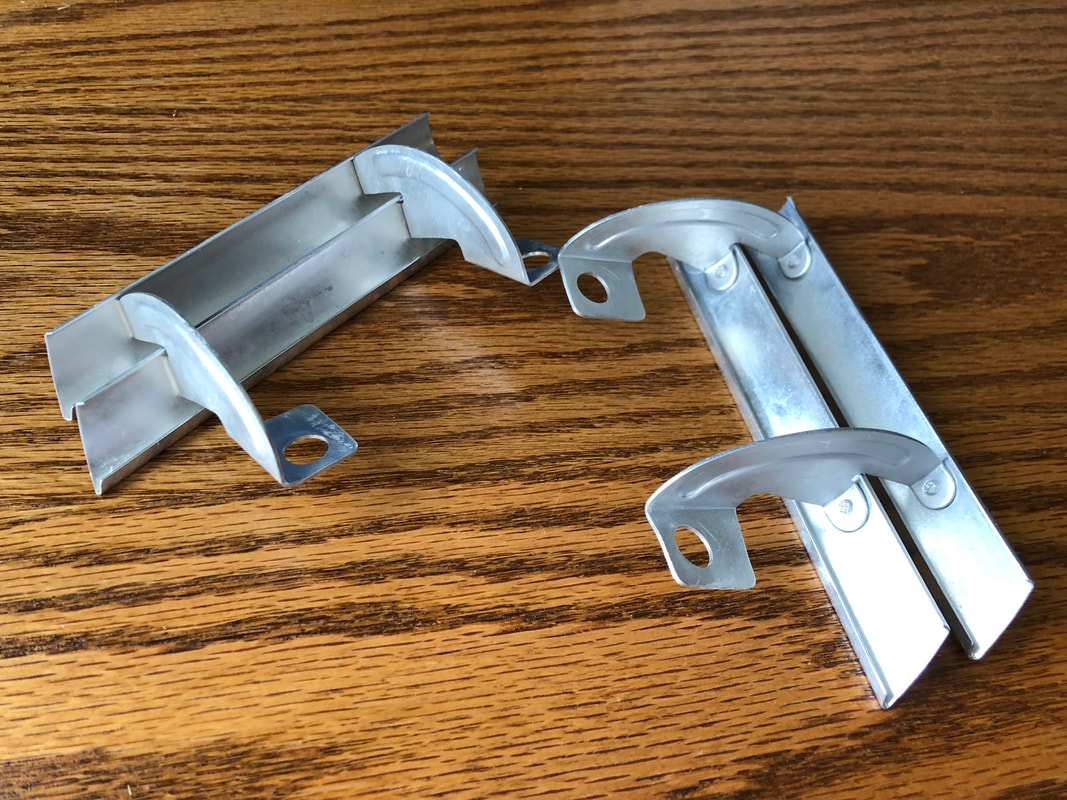
Learning from last time, I will not take these apart. Simply will remove the front grill, sand all parts, primer and paint. Tuning will all stay the same- because they already sound perfect! Some notes: I have already removed the original data plates on the front of the horns and carefully restored them. I'm really happy with how they came out. There are replacement data plates out there, but they are not correct for 356 C cars. Below are some photos of the data plates right after I removed them. Covered in layers of paint and crud. Not wanting to sand off the actual data on the plates, I had to carefully chip off the paint and then polish. They came out very well. One of the photos shows the "before shot" of the back side of one of the horns- yuck! Note the date code stamp of 501. Both horns have this same stamp, which represents January of 1965- definitely the original horns! Now it's time to make them beautiful again. Bottom shot shows one horn face in final/restored condition. Really pleased with the look. This one is 6/15, which is the low tone horn and goes on the passenger side. 6/16 is the high tone and is for the drivers side. Going to work on the horn grills and then restoring the original Bosch horns. I am fortunate to have original horn grills that have the small rivets. Rivets larger than the ones in the photos below are a real "tell" of reproduction units.
So, 50+ years of grime to remove, and much easier to do these when they are off the car. I soda blasted the back sides, which got them nice and clean. No blasting on the front, just lots of washing and 3 - 4 rounds of polish with Mothers aluminum polish. It is not advisable to try anything more harsh, as the bright anodizing will come off. They are not perfect, but this is another place on the car where a little "patina" is ok. Of course, I forgot to take a "before" shot, but the bottom photo shows what I started with. It is a shot of the horn grill and the lower grill. The horn and lower grills (where the fog light would go) were in the same condition. The cleanup of these is a ton of work, and unless you are afflicted with originality disease, i recommend just buying reproduction ones. Cheap and pretty. Lots of 356's out there with Hella 128 fog lights. In fact, more than ever were on there when first sold. Ebay is full of reproduction lights, reproduction switches, and modern relay's can be used.
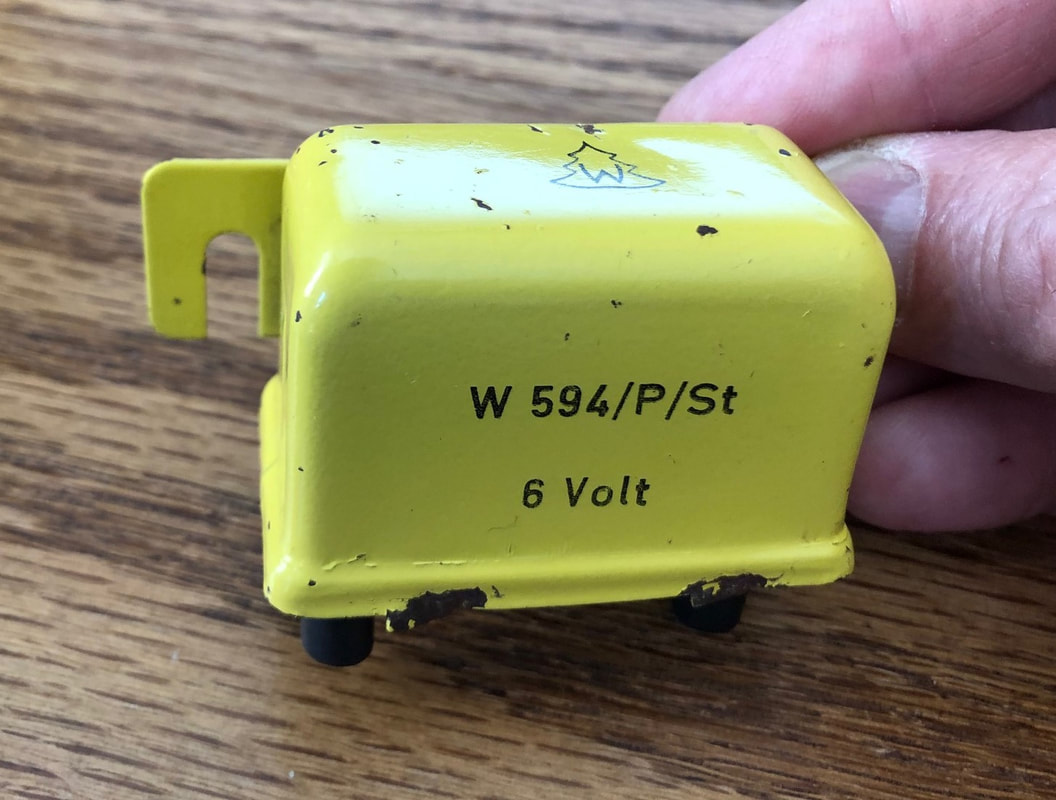
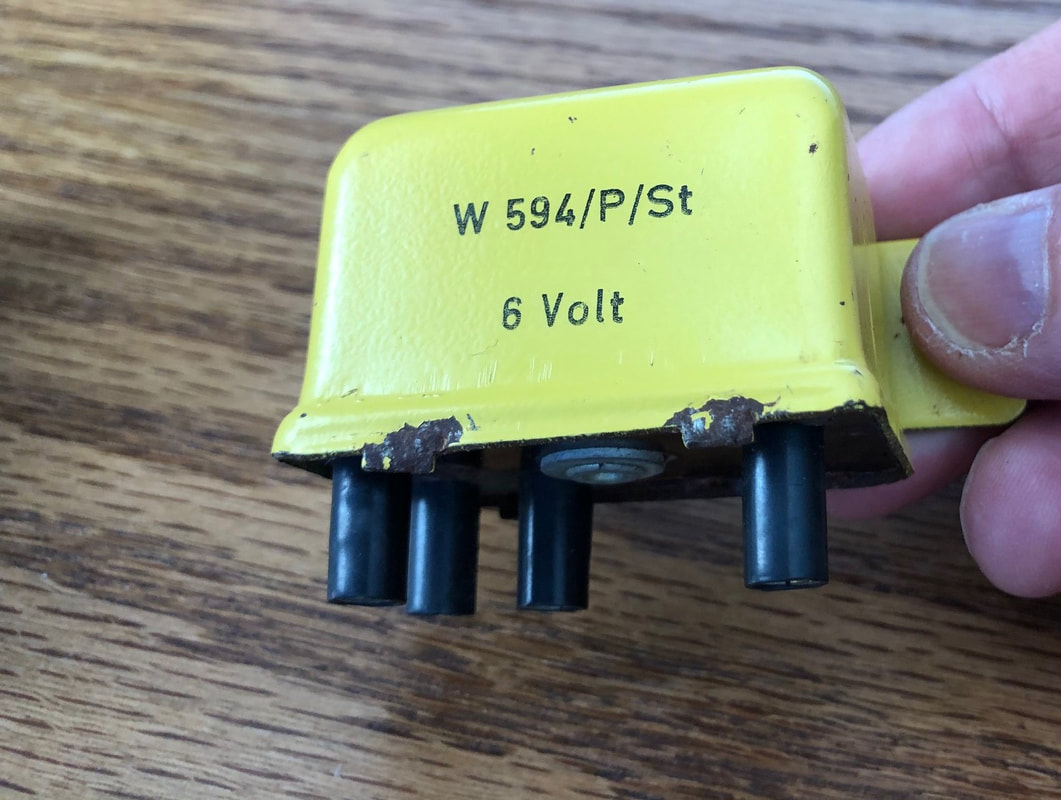
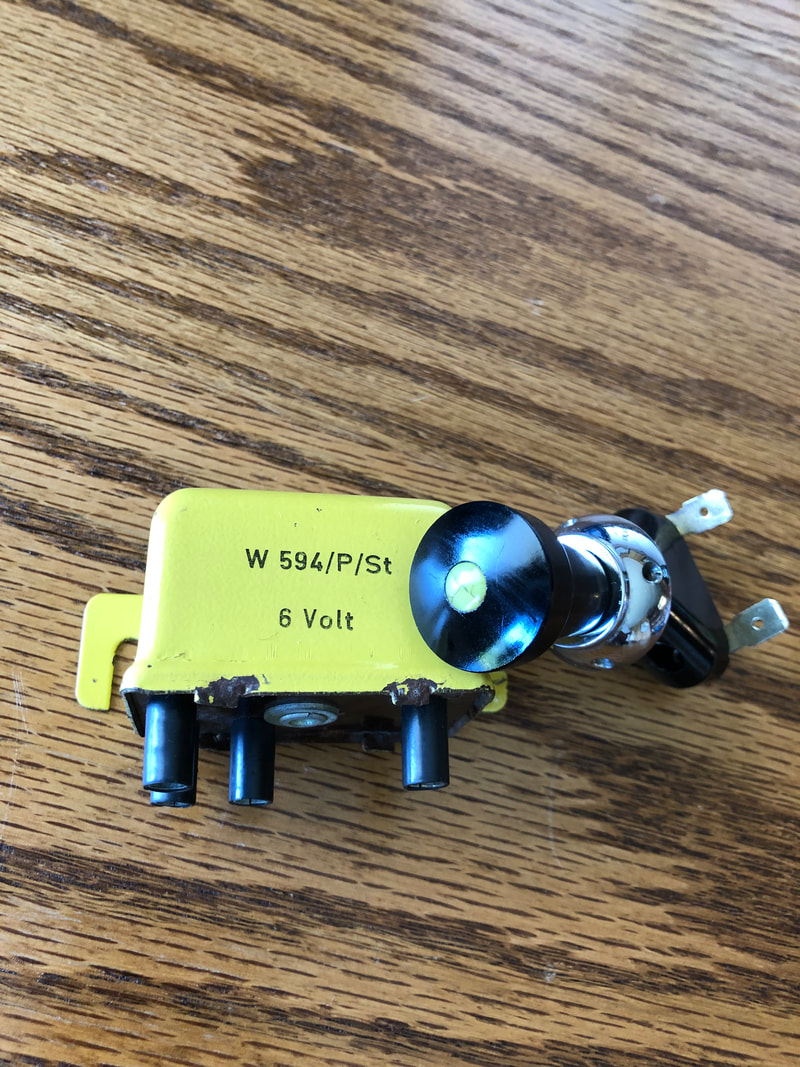
But, not on Miss April! Below are the correct, original, as installed by the factory 356 C fog light relay and switch. The yellow relay is very hard to find. Most owners don't really care because it is hidden on a 356C under the fuse cover. Same theory for the switch. There are some nice reproduction units out there, but the wiring connection is for bare wire connection, not a spade connection. ALL 356 C cars came with the wires with spade connections behind the dash- even for cars where the fog lights were not added. Anyway, below are mine. Original knob has a crack in the yellow dot on the knob. Honestly, I kind of like it that way. Shows a little patina and that it is an original. Oh yeah- I have a spare original switch to sell as well ;-)
There are lots of cool videos on this website. You can find links to many of them by going to the home page (at the bottom)
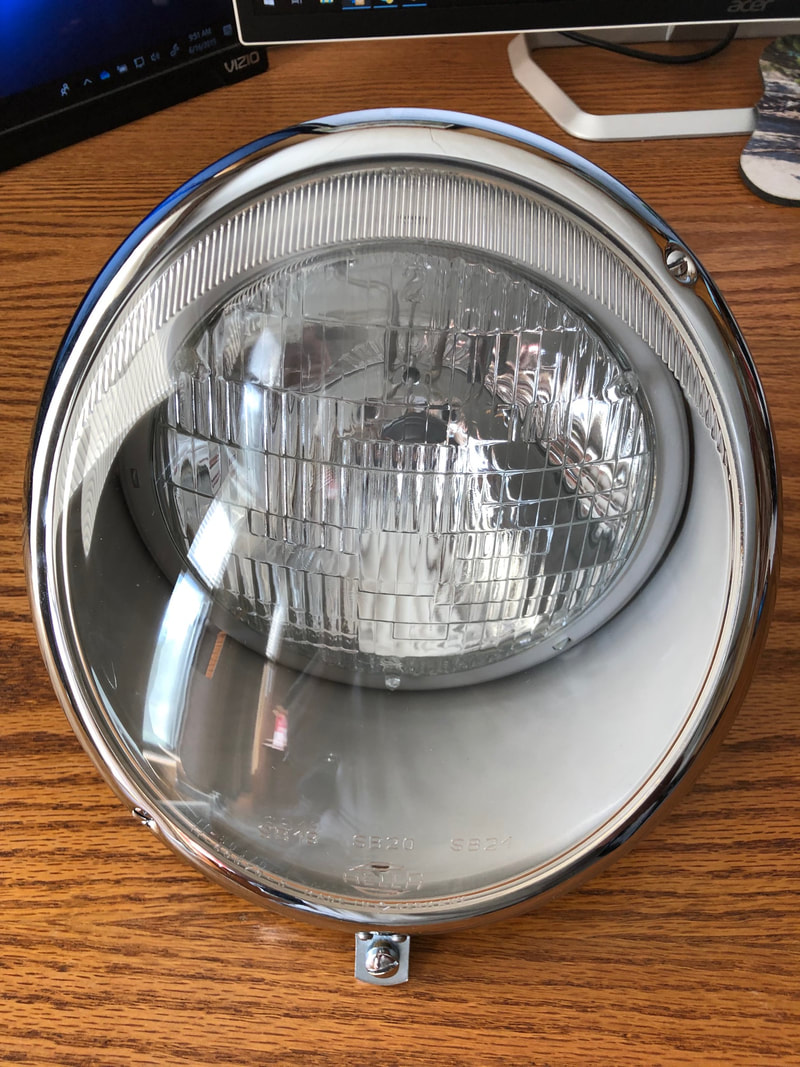
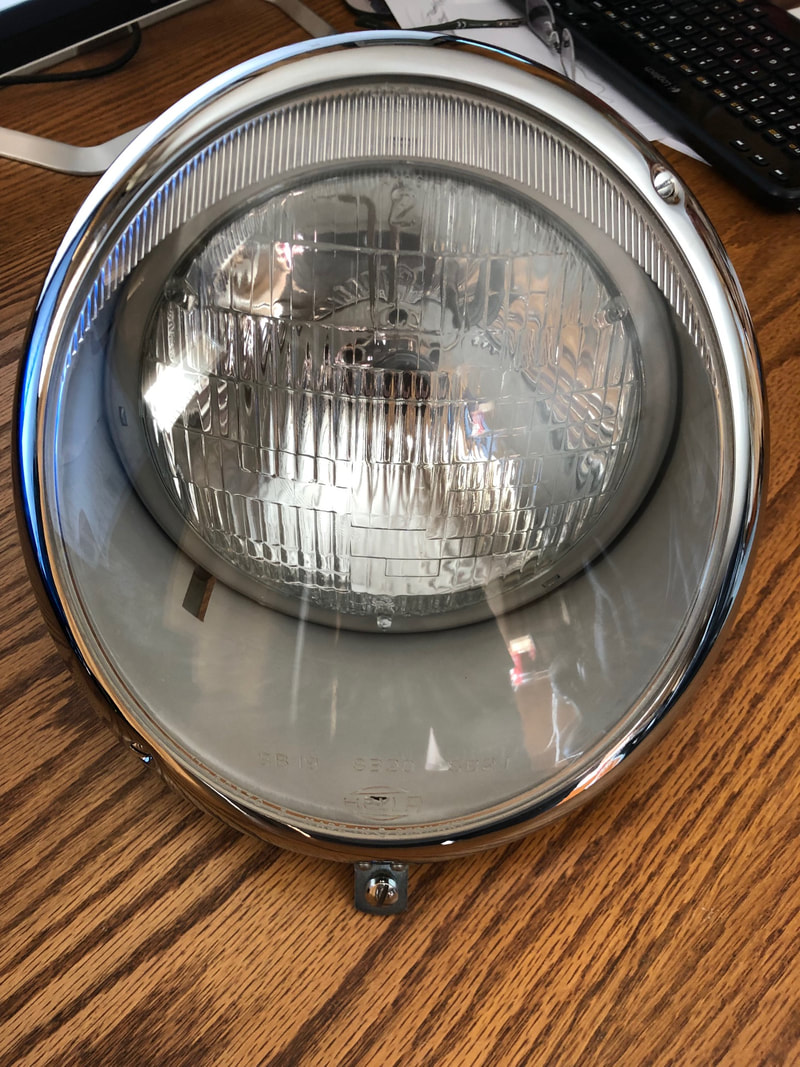
Here is an example: If you look through some previous postings, you'll see the NOS sealed beams I sourced, the correct seals, and also the restoration of the original headlight rims. This weekend I was able to finish the headlights.
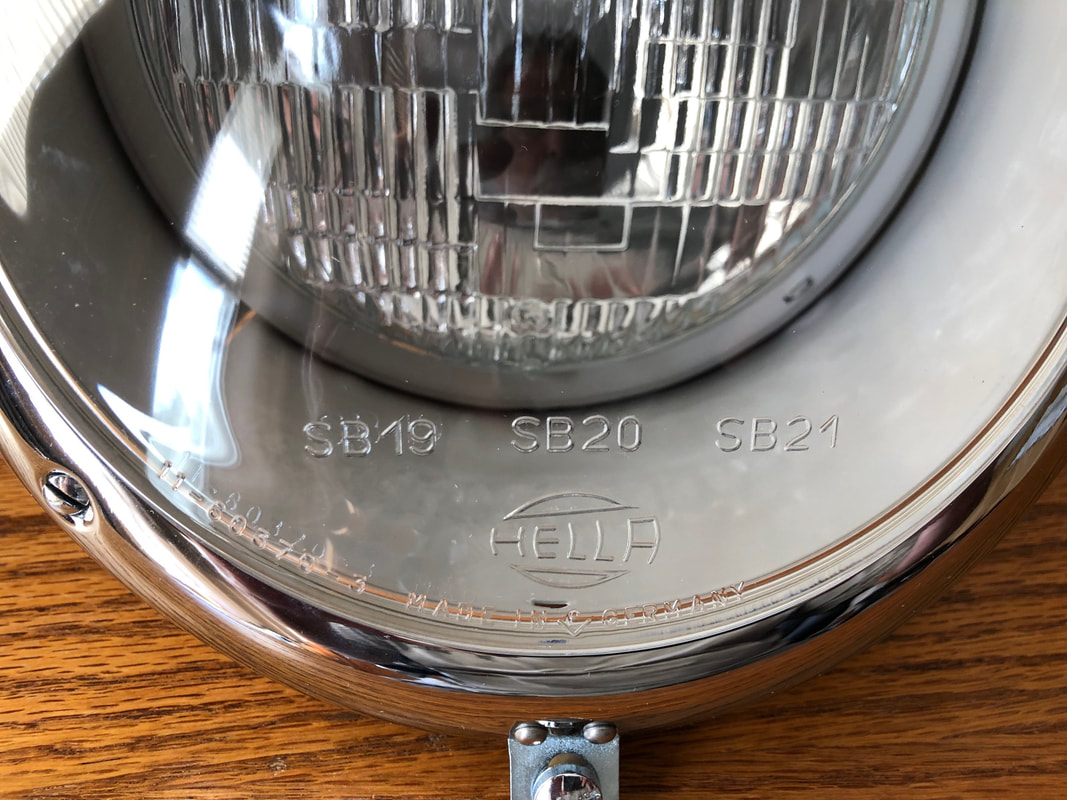
I was able to communicate with Jan Kolm about the numbering on the headlight glass. Most guys know it should be raised on the outside of the glass, but the numbers that curve along the bottom correspond to when the glass was produced. That numbering system is not well understood, but there are some good data points. I needed to understand it before sourcing replacement glass (mine was really really bad). In an email to me Jan said "Paul, The digits in front of 60370-03 are used in chronological order, the lowest numbers dating from the end of 1963 and the highest numbers in the low 30s (1970s-80s replacements). I have a VW headlight assembly dated A40 (probably close to yours), with a lens marked 10-60370-03. The leading numbers do not need to be matching, but should be close (within 1-2 numbers). Thanks, Jan K." With this information, I was able to get 11-60370-03 from Elizabeth Richardson- Thanks Elizabeth! Then, armed with all the right parts, I only had to clean, paint and polish. Final results below. Below are some photos of the original headlight parts from Miss April. How do I know they are original to the car? Answer: Look at the blue ink stamping on the bottom of the main headlight assembly. The A45 stamp is a date code for the 45th week of 1964. See my Date Code article for more information on date codes. Since that is about November of '64 and Miss June was completed in January of 65, that is perfect. Also, the date codes are the same, indicating that these are the original headlights. Other than restoring the headlight rings (see previous blog post) and getting NOS sealed beam lights (see previous blog post), the rest is mainly cleaning and painting. I chose not to paint the underside/backside of the gray parts so that the original paint and stampings are still there. I did research several paints to get a close match to the original gray, and below is what I used. Also note that on the backside where the ink stamp is, I carefully cleaned, and then even waxed the paint (photo 6). I think it came out pretty nice. I hope to assemble at least one headlight this weekend and will post a final assembly shot. 7 photos below- You might have to hover over the first shot and click "play" to see them. Yes, that is a mouthfull! PORSCHE in the early days had part numbers that started with the letter P. Later, they changed to a more manageable and meaningful part number that was longer. In order to make the transition, the early part numbers had to be obsoleted and changed to the new numbers. This book was issued to make that happen. There are a lot of original parts books out there, many of the owners of the 356's have an original or copy of the parts books and workshop manuals. They are fairly common. This particular book, which was issued to the dealers, is far more rare today. Actually, I only know of one other copy, but I am sure there are others. Below are some photos of some pages and of the book. It is on the second shelf with the crest on the cover. Since I am restoring the headlights, I want to get all the correct parts/pieces. The actual sealed beam that goes into our 356's is an interesting trail to go down. Back in 2005 I owned an early '66 912 and was restoring the headlights for it. I researched pretty hard at that time and here is a link to a brief discussion of this on the 912 Registry website: https://www.912bbs.org/forum/threads/headlight-question.15988/
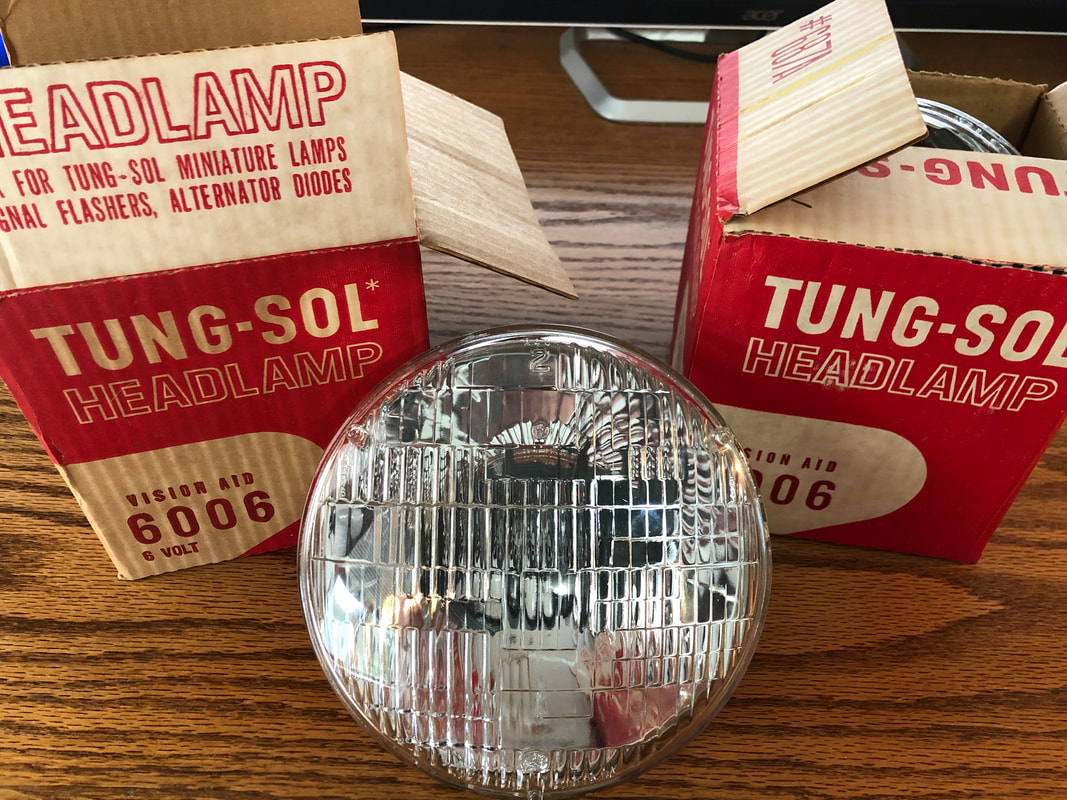
Since that time I have lost my research. However, I do remember some of the information. Sealed beam headlights were a US thing- not used in Europe where our favorite sports car manufacturer was located. The US market was the dominant use of sealed beam headlights and there were a few large manufacturers stateside. If memory serves me correctly, the largest back then was Tung-Sol. Reference this Wikipedia page for more on them: https://en.wikipedia.org/wiki/Tung-Sol This was a US company based in New Jersey and a supplier to many car manufacturers. I know many think of GE, but on original early Porsche cars I could find at the time, very few had GE lights and many had Tung-Sol. So, I can't prove it, but I am going with NOS Tung-Sol sealed beams in Miss April. |
restoration & blog Archives
July 2023
|

