|
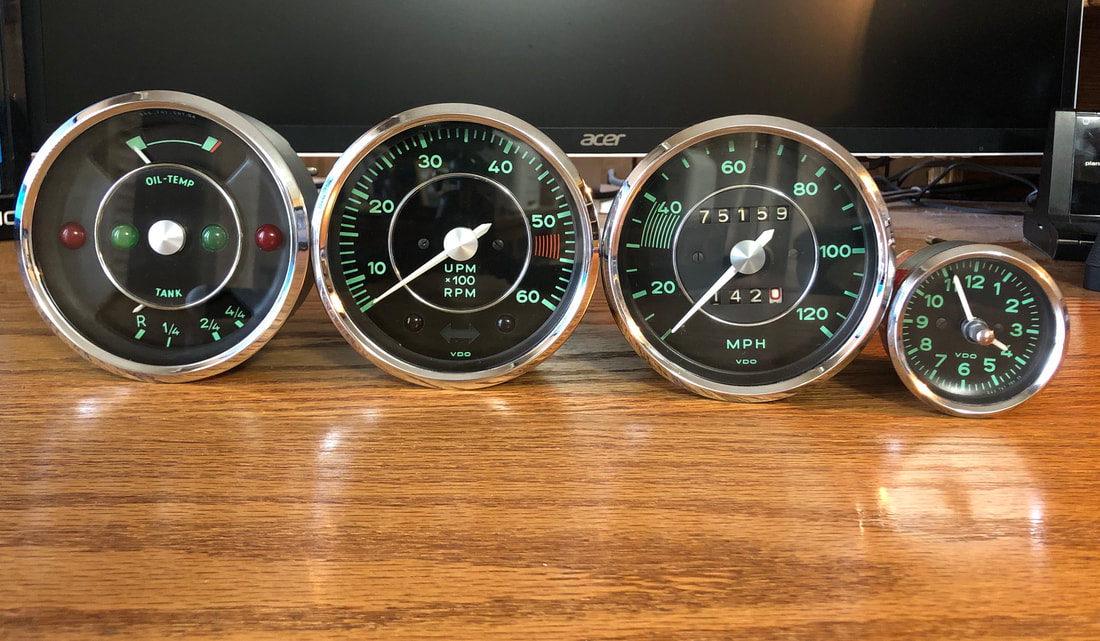
The new bezels arrived from Stoddard and they went right on without any problem. So that the bezel would not come in contact with a sharp edge, I did not put them on with a screwdriver. I used a spoon! Pressing with my thumb in the "bowl" of the spoon, I carefully kept pressing inward and down. Went around and around until all was smooth, and I am really happy with the result.
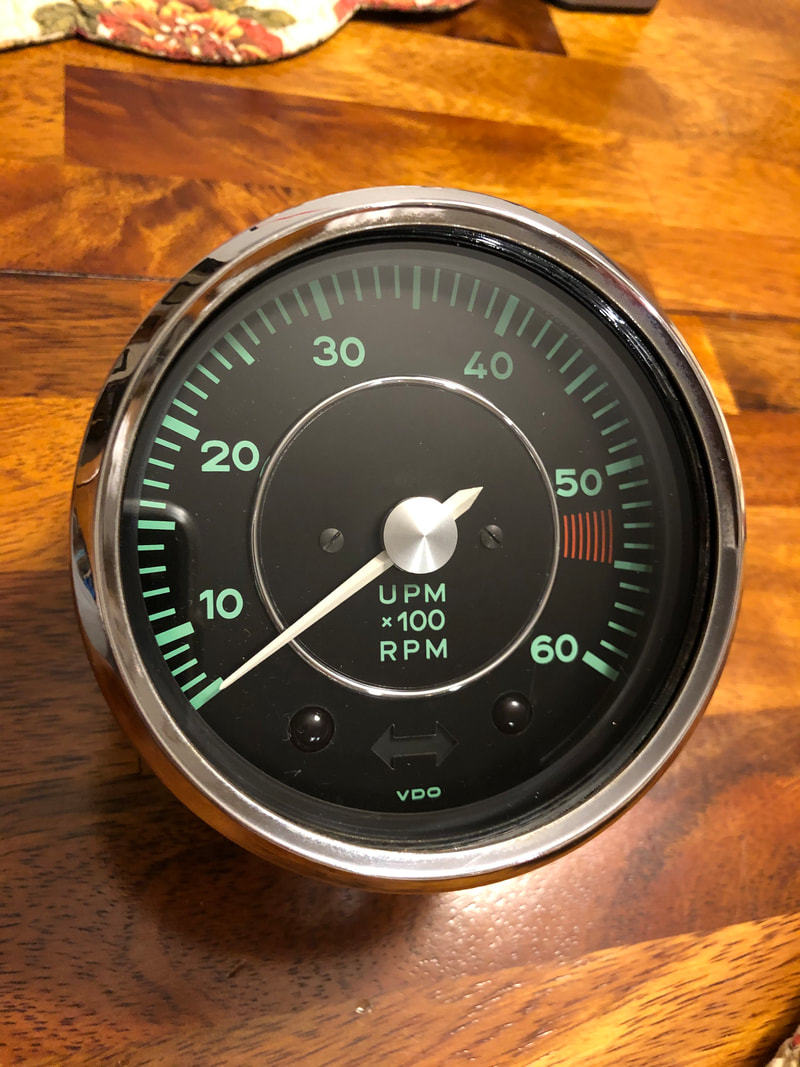
Group photo below. Hard to get them all in focus and without reflections on the glass, so this is my best effort. Soon my LED lights will arrive for the gauges and I will do a test at night, so I might post a photo of that later.
0 Comments
I sometimes get teased about the cleaning I do on my cars. Heck, everyone cleans, I just stay at it a bit longer than others!
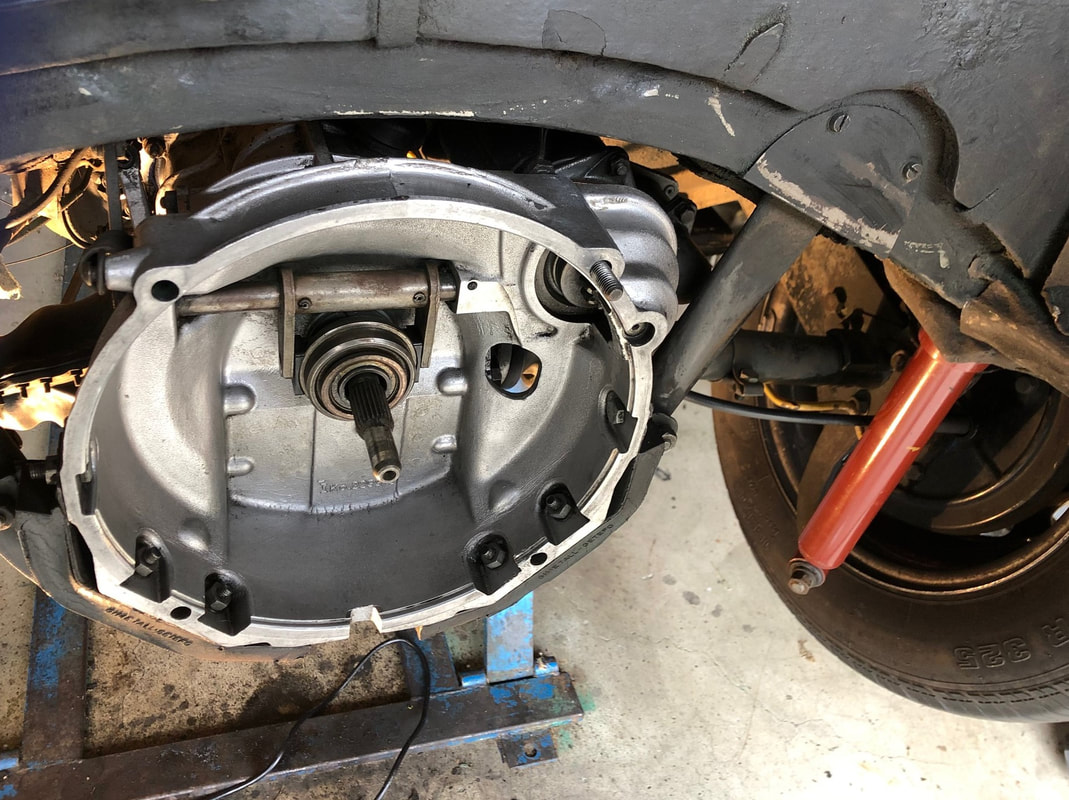
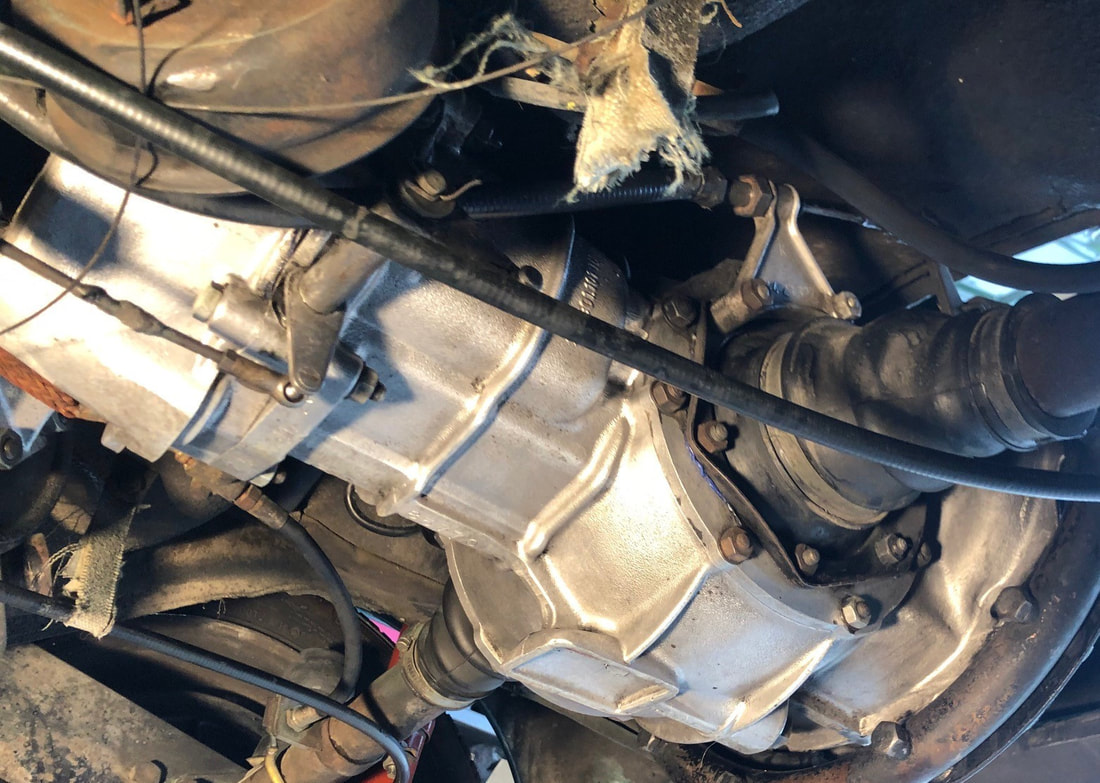
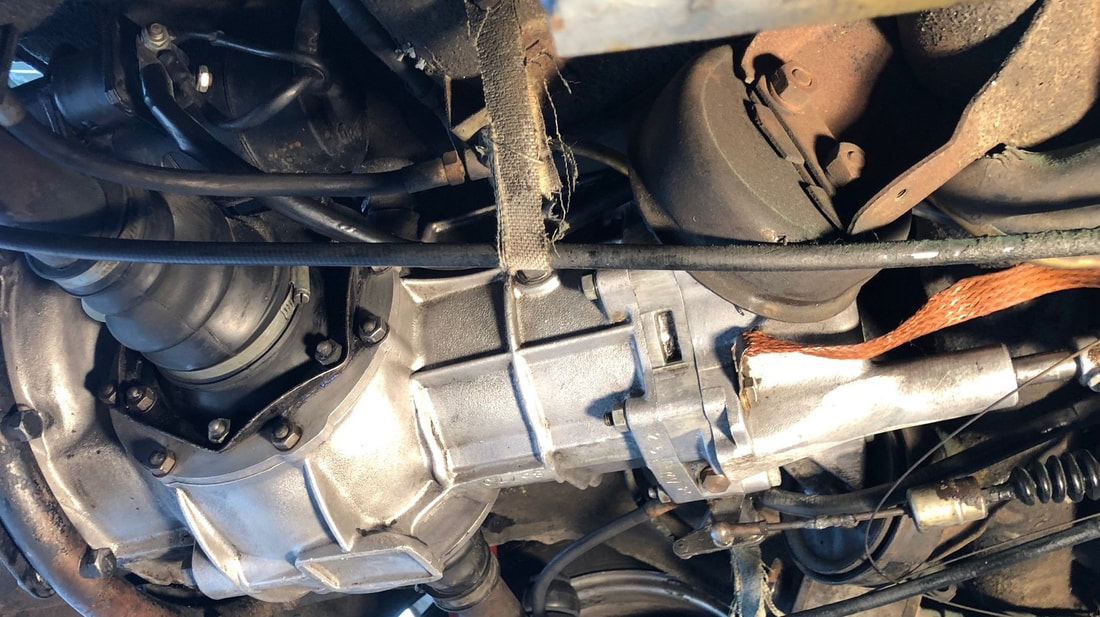
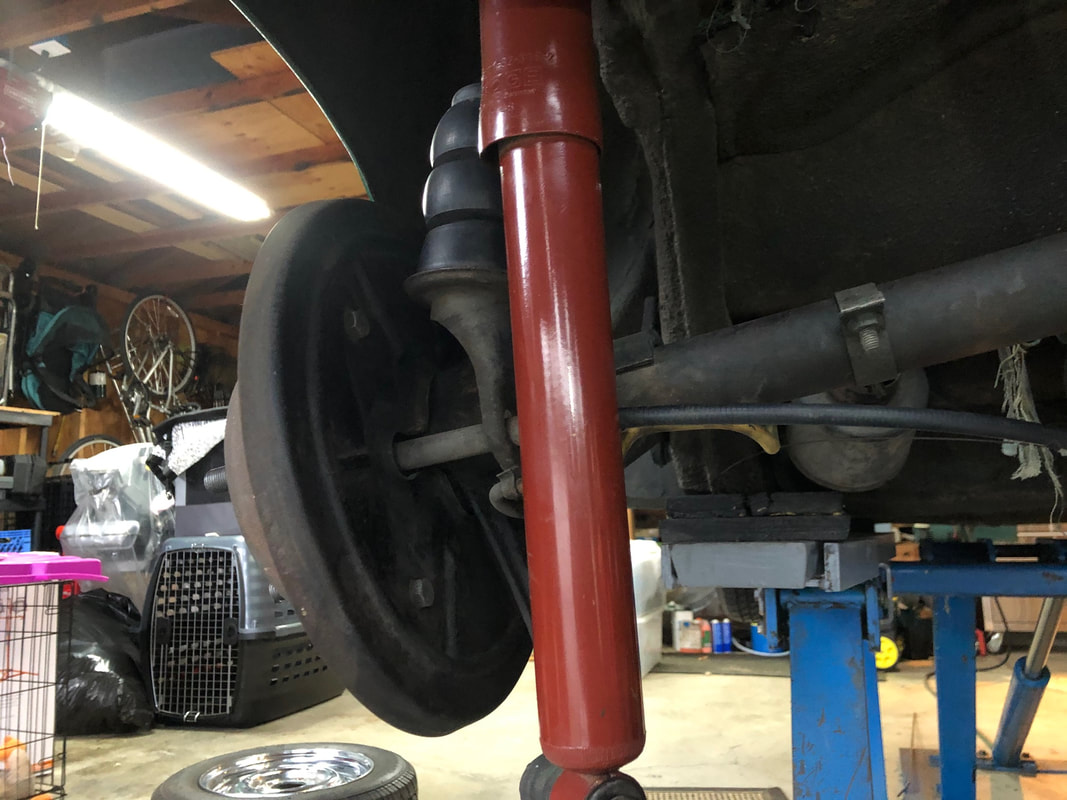
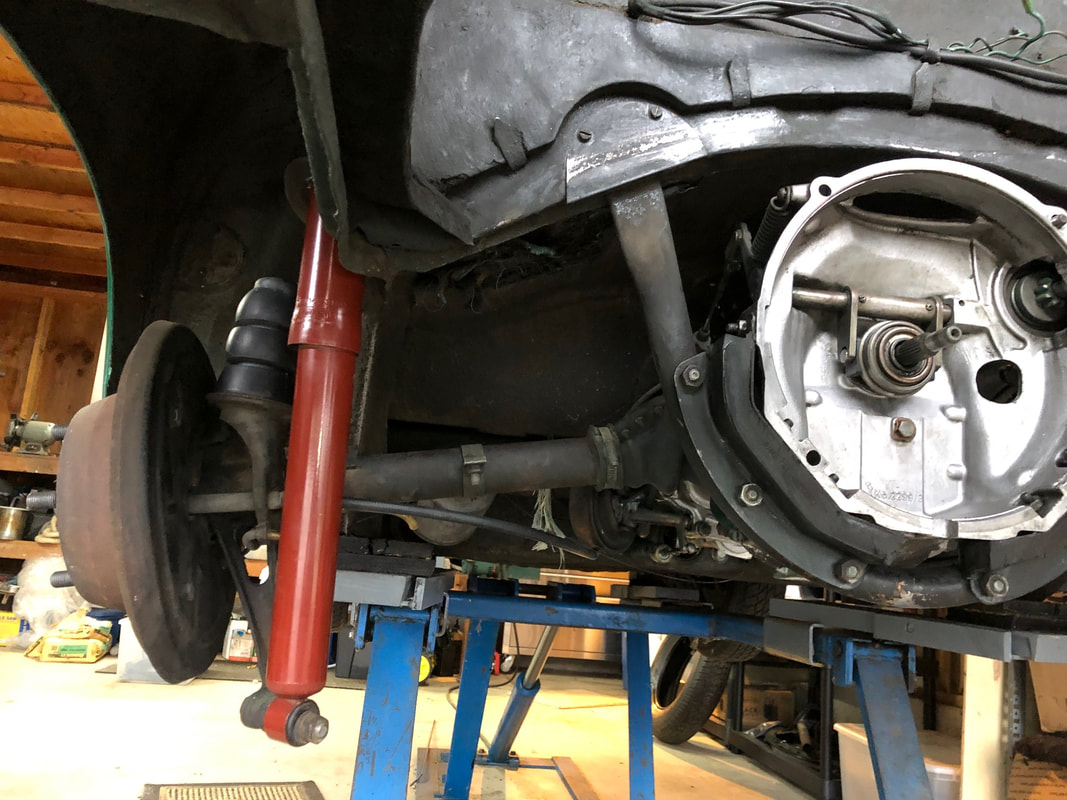
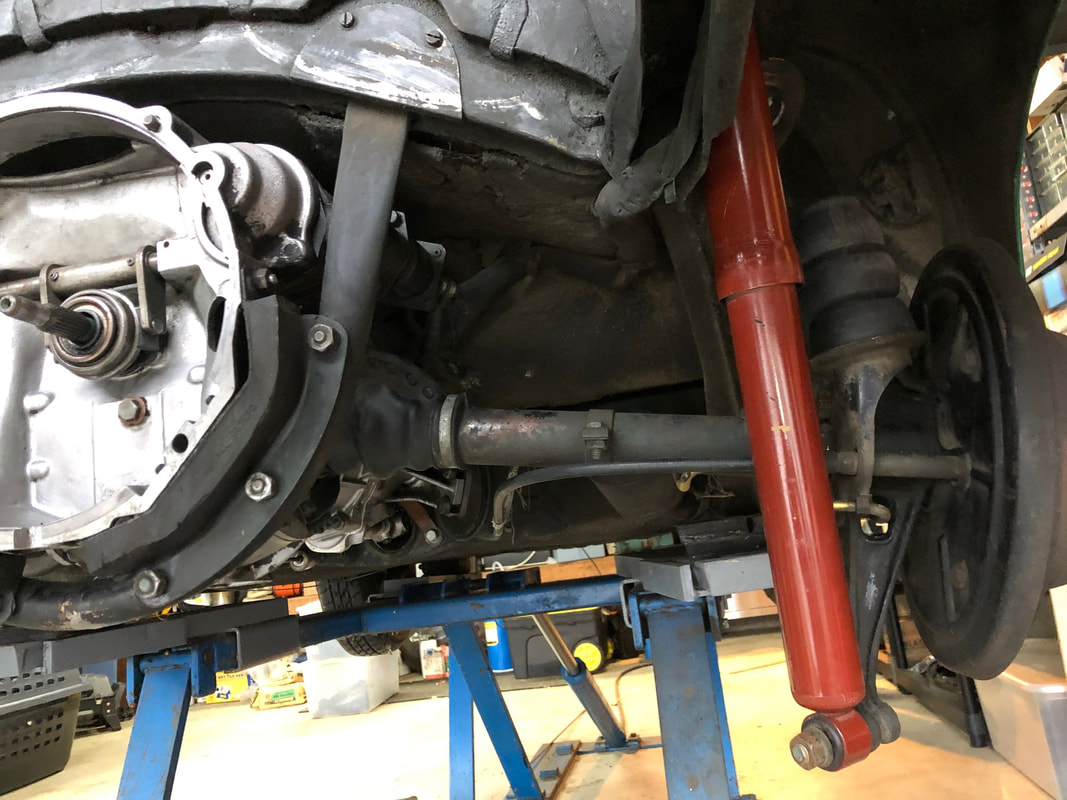
One of the cleaning jobs I do NOT like to do is cleaning off 50 years of grease from the transmission. Just plain filthy work. When doing the bump stops and rear shocks the day before, I knew I had to do the nasty job of cleaning the trans. Three hours of cleaning later, below are a few shots of the results. Certainly not coucours perfect, but much better than when I started. Observations made while cleaning were not all good. Looks like the trans nose seal is leaking, the trans nose boot is entirely missing, the accelerator linkage has been weld repaired, the clutch cable is rubbing on the pivot for the accelerator rod, the straps holding the parking brake line are in laughable condition, and the brake lines have raised letter ATE on them and one has a bubble in the line- heck, they could be originals! Without getting in there and cleaning, I could have missed the leaks and I can now also watch for trans leaks coming from the axle boots etc. I want to thank Doug McDonnell for pointing out that I am missing a little grommet where the parking brake line goes through the bracket. Lots of work ahead. No Q-Tip work today, just sitting under the car working on the rear suspension. No detailing, just the grunt work of replacing the rear bump stops and then installing a pair of NOS Boge shocks.
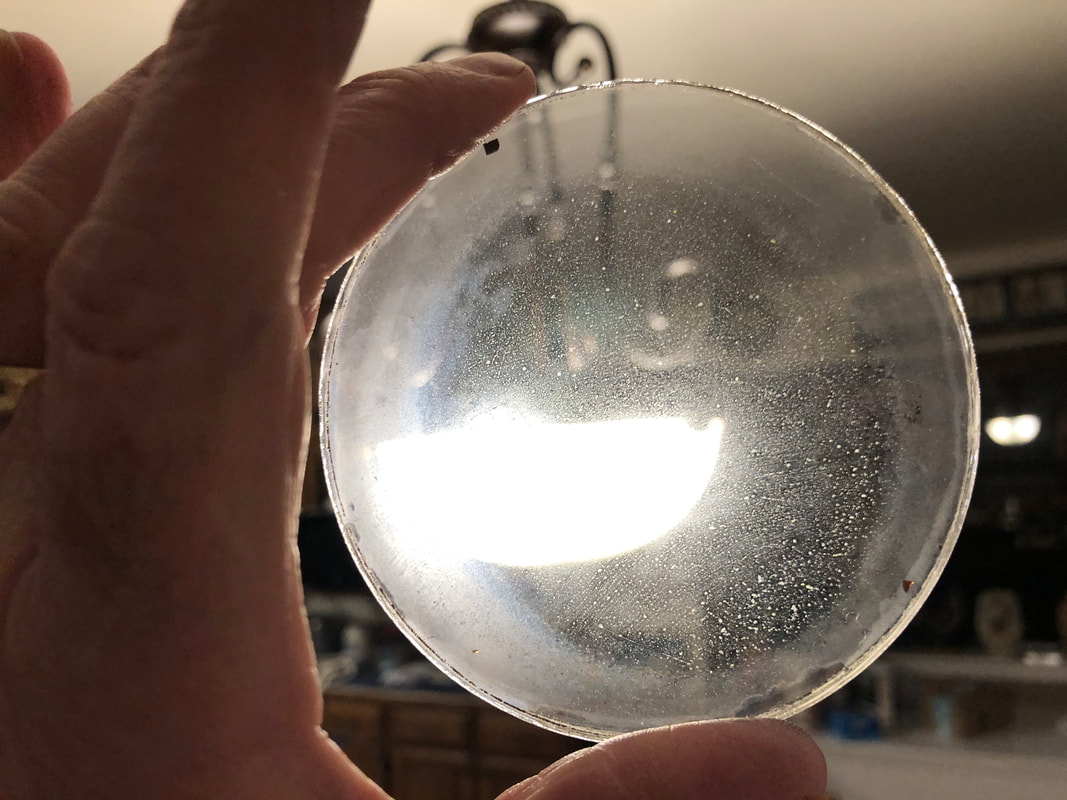
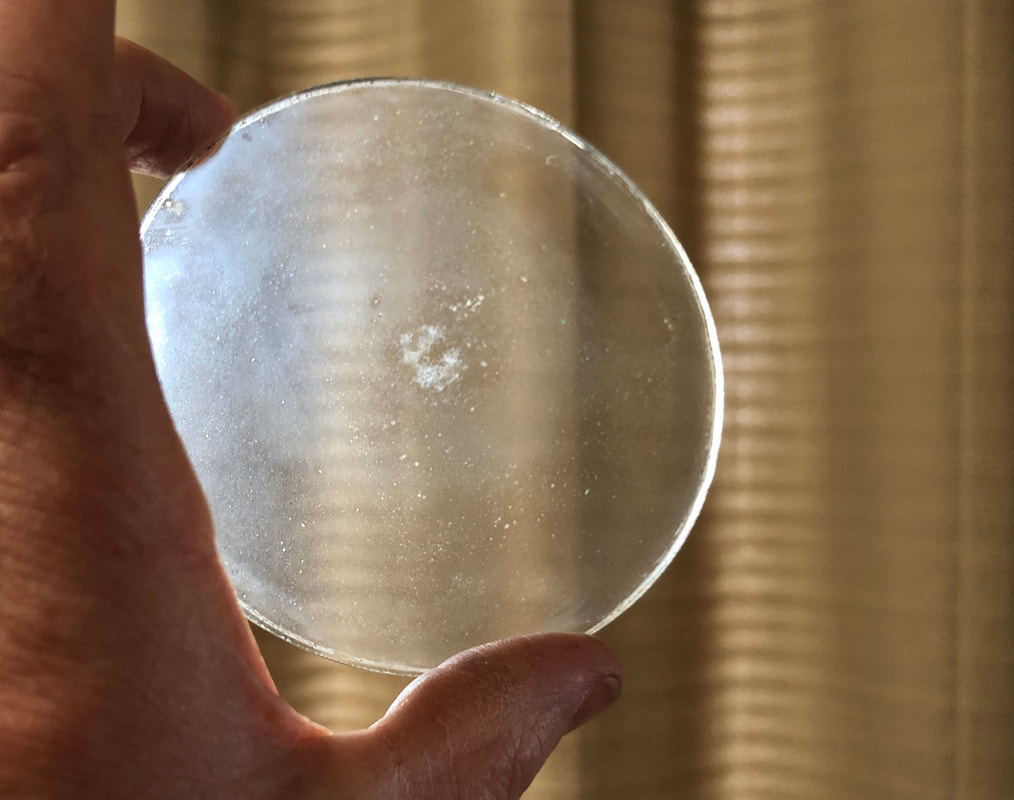
Shocks were easy. Bump stops always take me a long time. Glad to have this job in the completed tasks. I know the photos will surprise some, but the inside of the glass on my gauges was just filthy. Maybe because it was in the desert of Arizona and gusty winds carrying crud inside the car or whatever. Anyway, the photo below is real. This is the glass held up to the light right after removal. No, that is not water on the glass, that is the dirt.
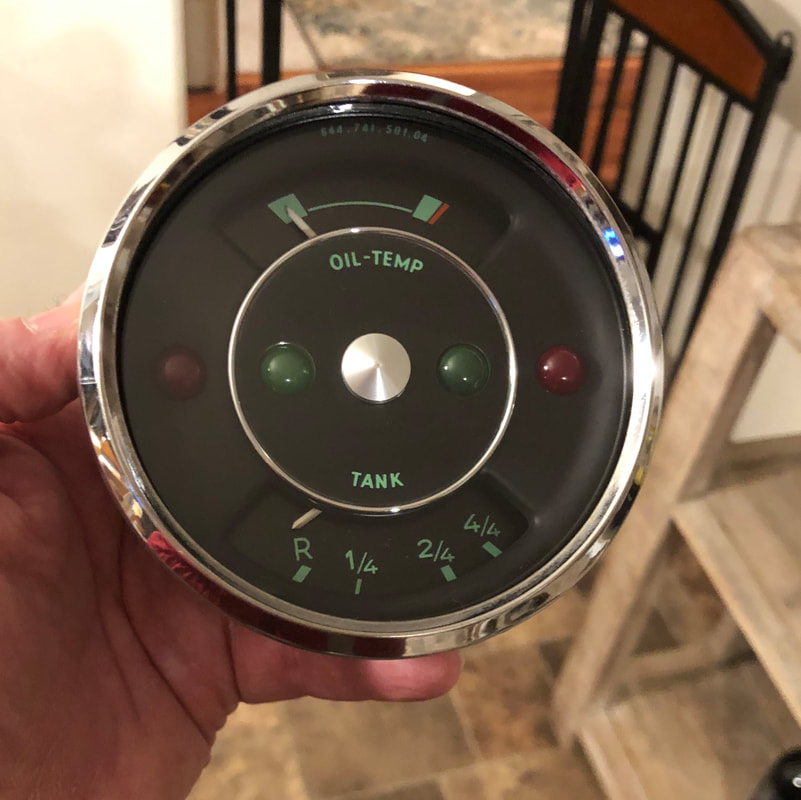
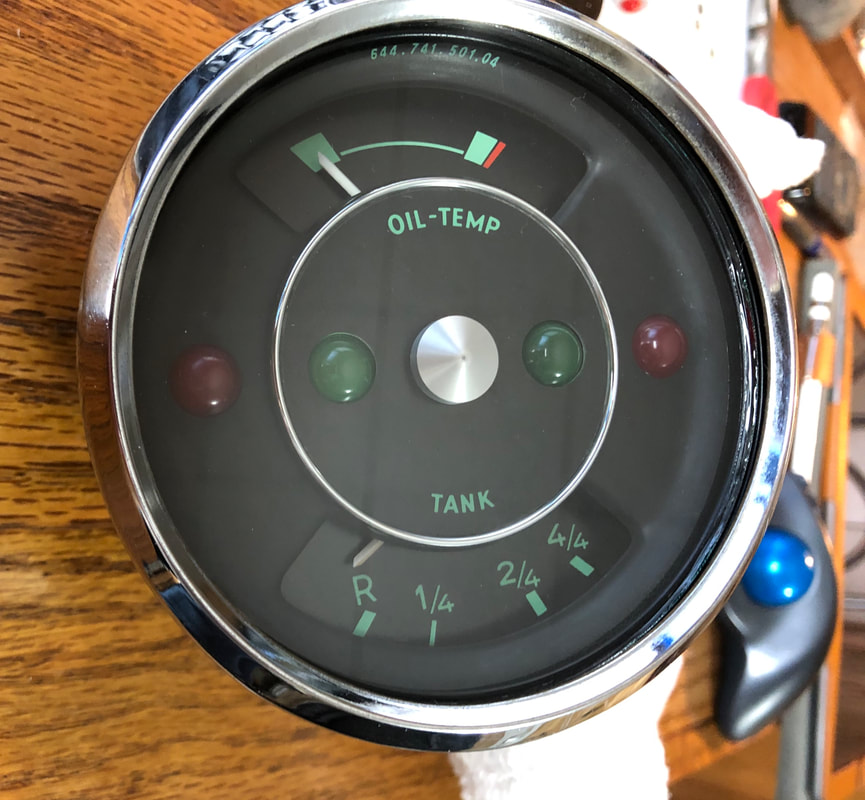
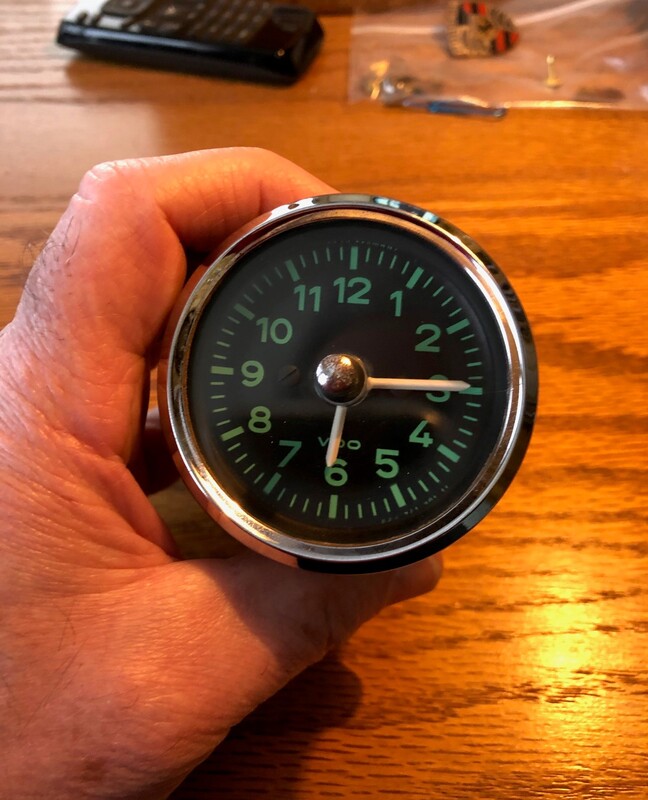
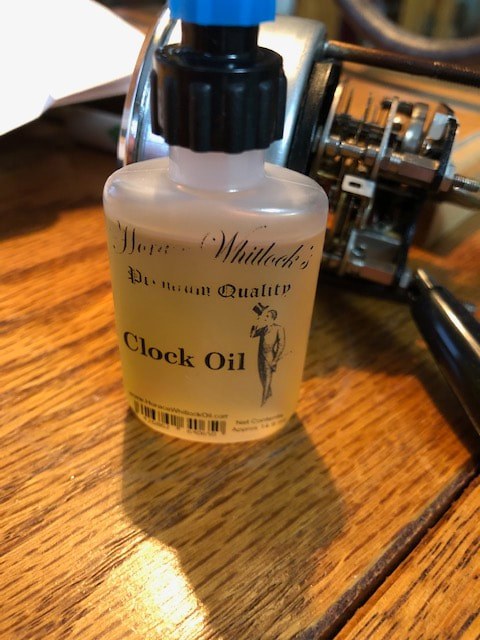
Second photo is the gauge after my cleaning and YES, the glass is on the gauge in this photo. The bezel is the original one, but as mentioned in the previous post, I have ordered new ones from Stoddard. Soon I will line them all up for a group photo. In the short time that I drove the car before taking it all apart, I found the dash gauges to be working properly except for the clock. However, they were very dirty to the point of even being difficult to read at night. Last 356 I used North Hollywood Speedometer to restore my gauges, and they did a wonderful job, but the cost was not insignificant. Since these gauges are working ok and I have repaired a clock before, I decided I might as well try a cosmetic restoration. First up for cosmetics was the combination fuel and oil temperature gauge. Once I removed the glass and held it up to the light, the problem was obvious... 50+ years of dirt. A light cleaning of the glass and all parts of the face, left me with it looking good, but not perfect. Then, with a trip to the store for matching off white paint for the needles, and they really came to life. In the photo, that is the OLD chrome bezel just laying on top for the photo. I have new bezels on order that I will install. The next photo shows the result of cleaning the clock and below that is a video showing the clock after cleaning the gears, points and then lubrication. After recording the video above, the clock still struggled with getting a full winding. Cleaned it again and this time used correct clock oil. Made a significant improvement!
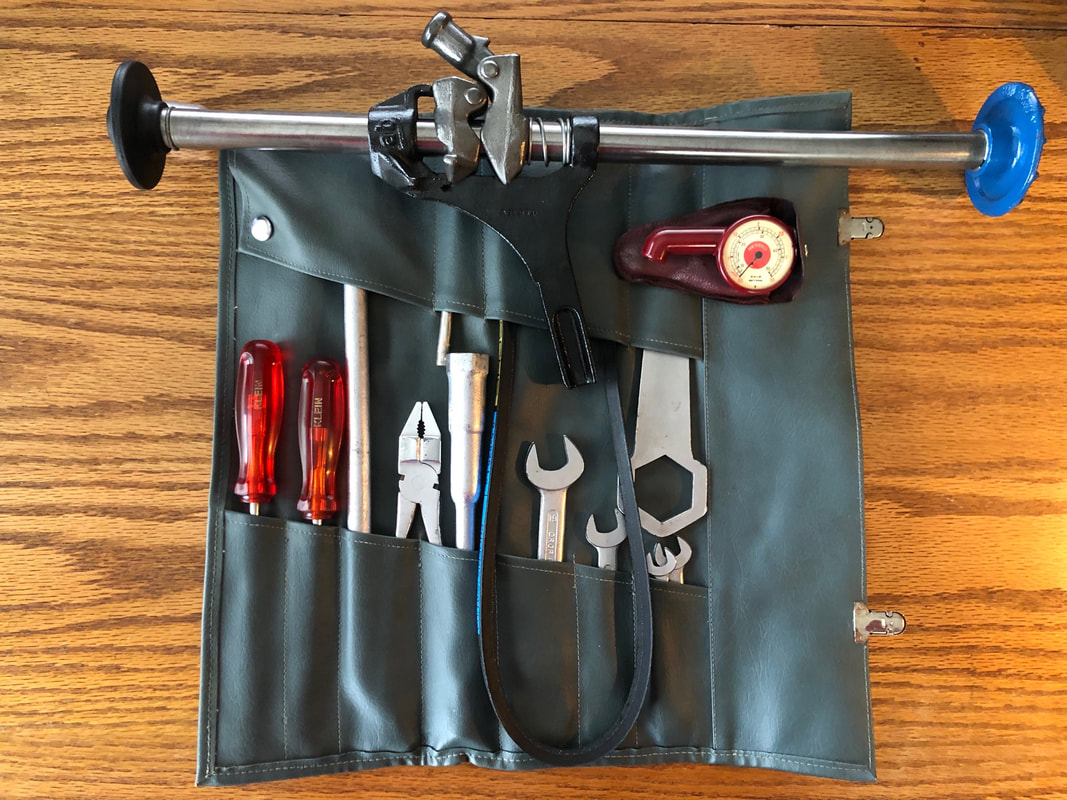
There has been lots of discussion recently on the 356 Registry regarding cleaning of tool kit bags. Thought I would pull mine back out for a cleaning and new photos. One shot below and plenty more in the TOOL KIT Section. Check it out!
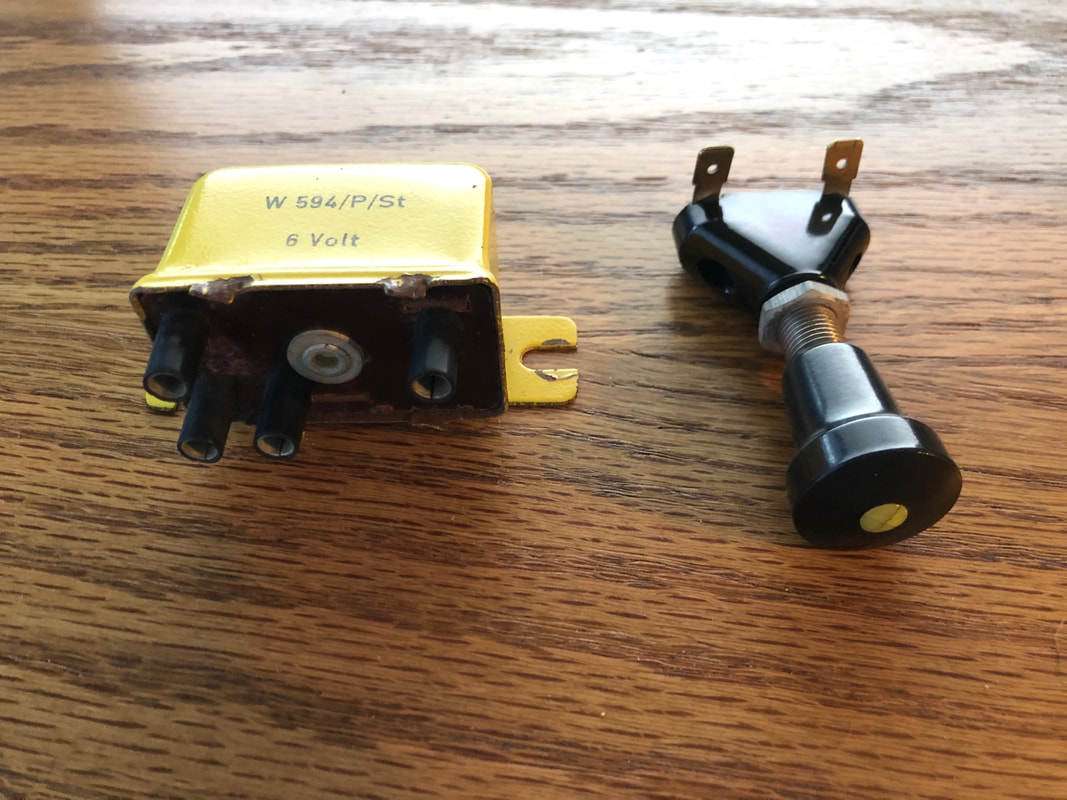
Yes, these are the real deal!!! Correct spade connectors on the fog light switch as found on late 356 B and all 356 C. Reproduction switches do not have the spade connections. The relay is near impossible to find. Please do note that the fog light switch has crazing on the yellow dot. Nice touch of patina/originality. Both of these parts are very difficult to find, so if you are an originality freak, these are for you! I was keeping these for my car and I just can't bring myself to drill a hole in the dash.
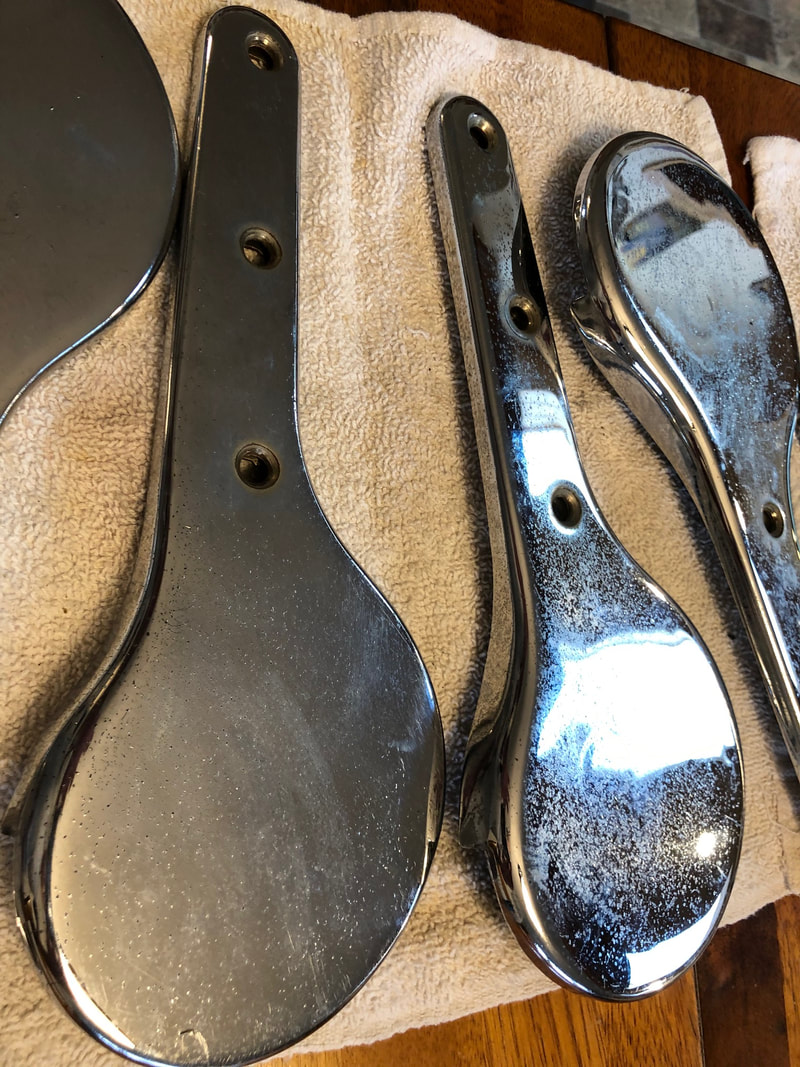
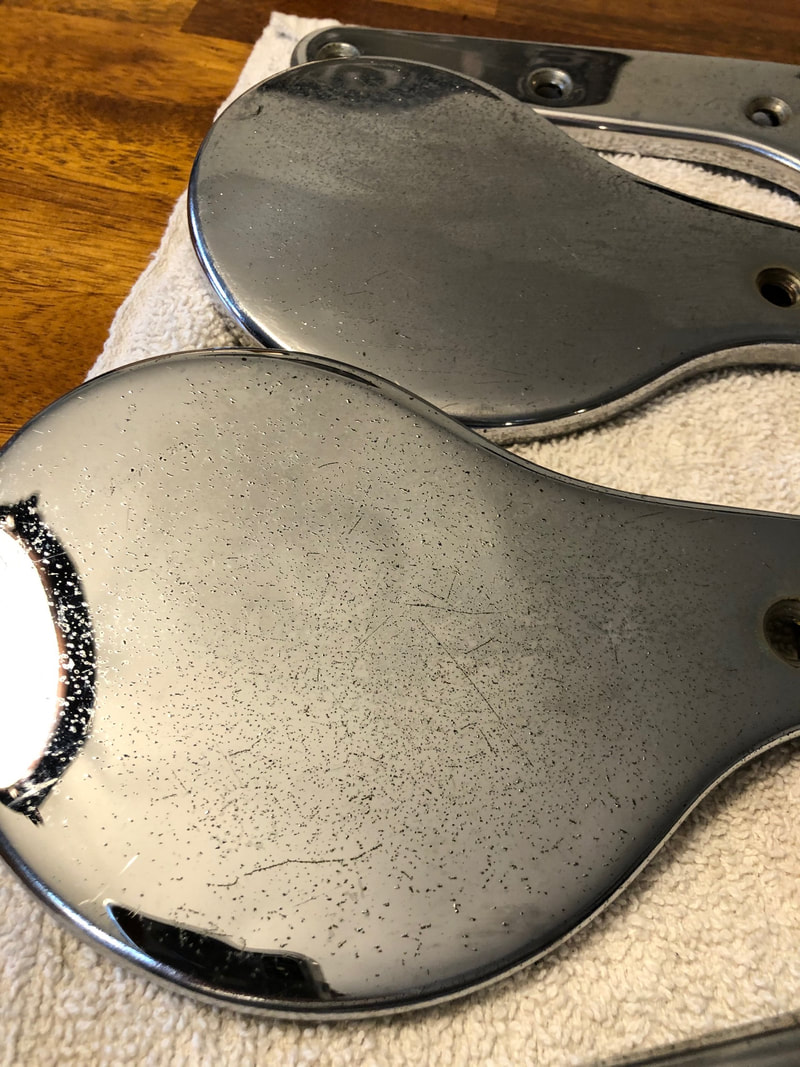
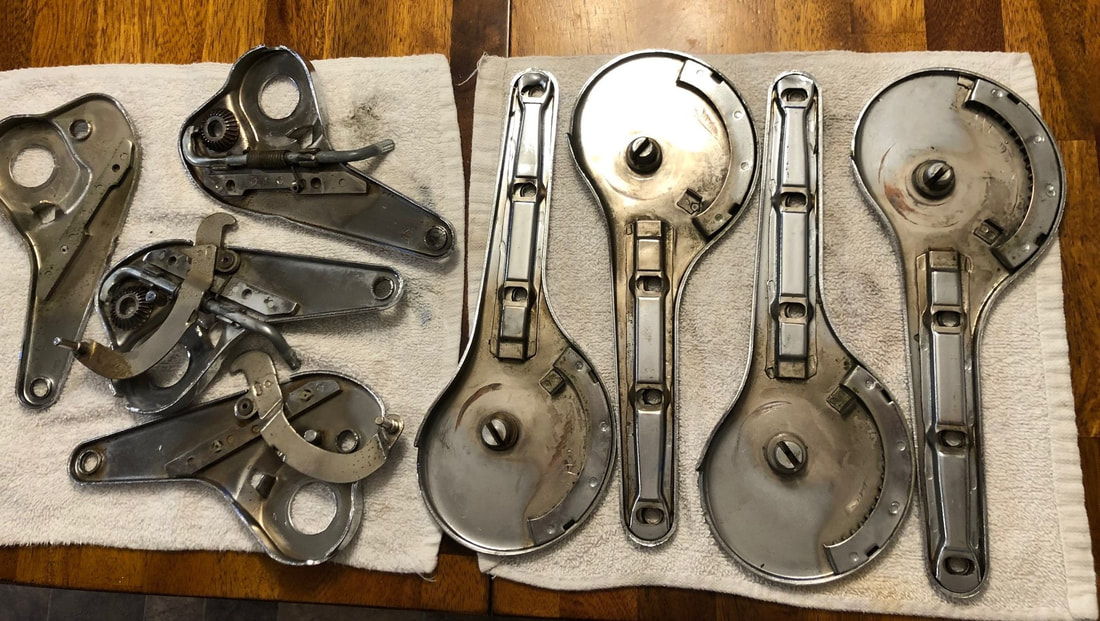
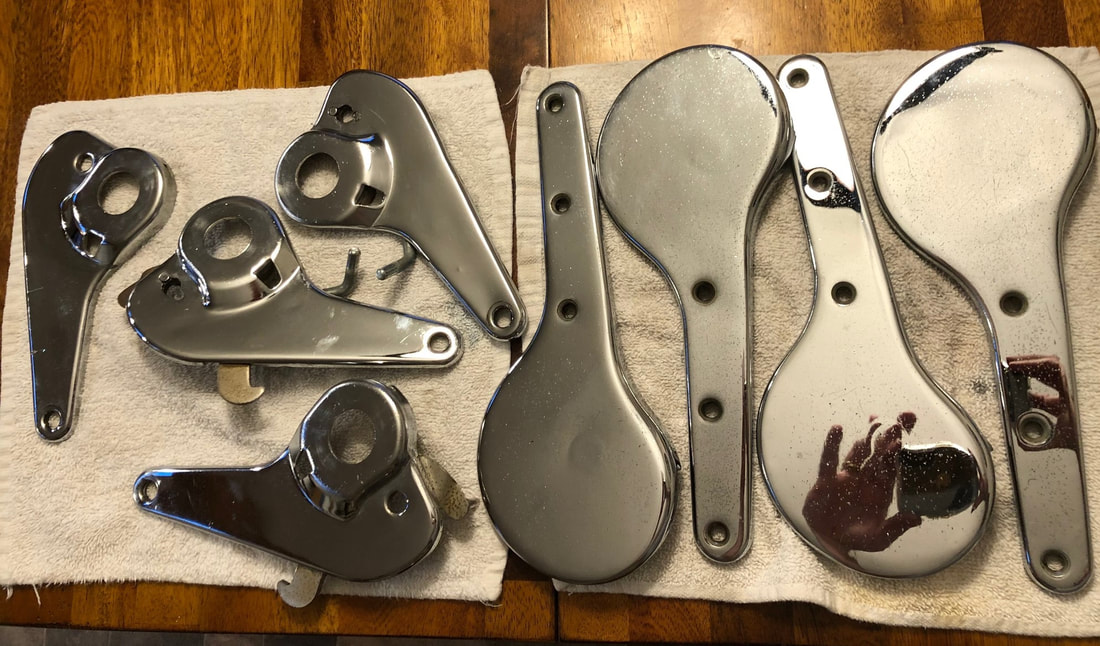
See the Classifieds Section Did some preparation for future chrome work on my seat hinges. After all the nice looking upholstery arrived, the chrome hinges were not even close to good enough.
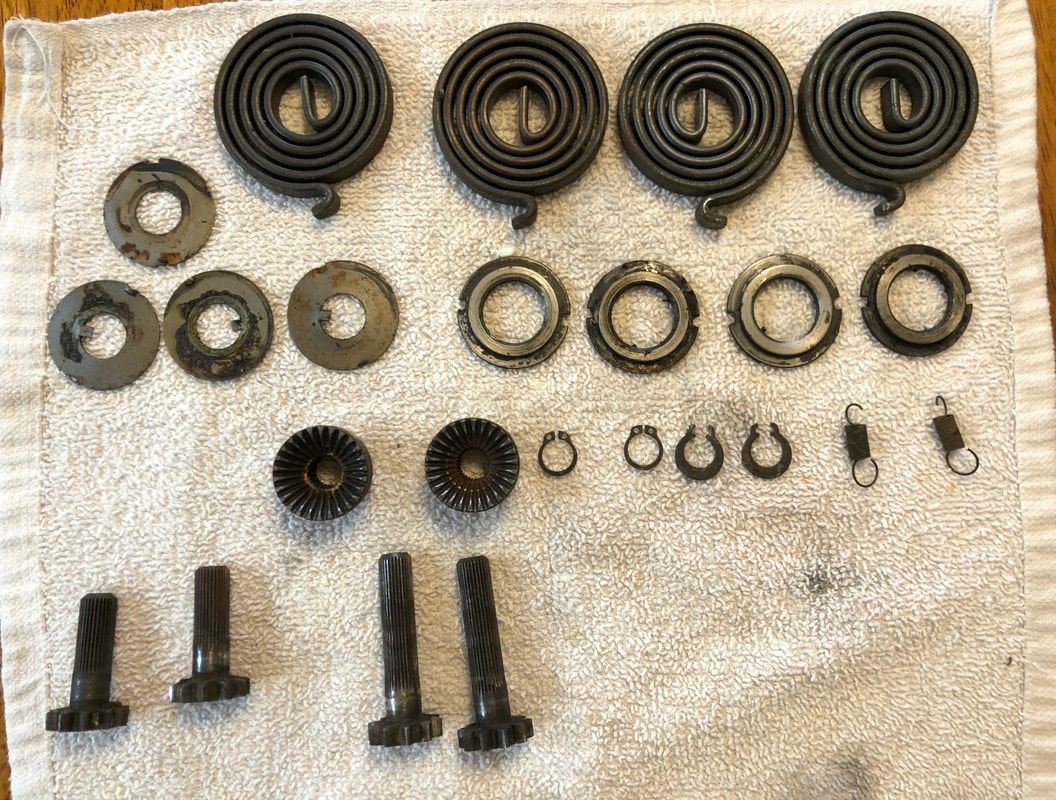
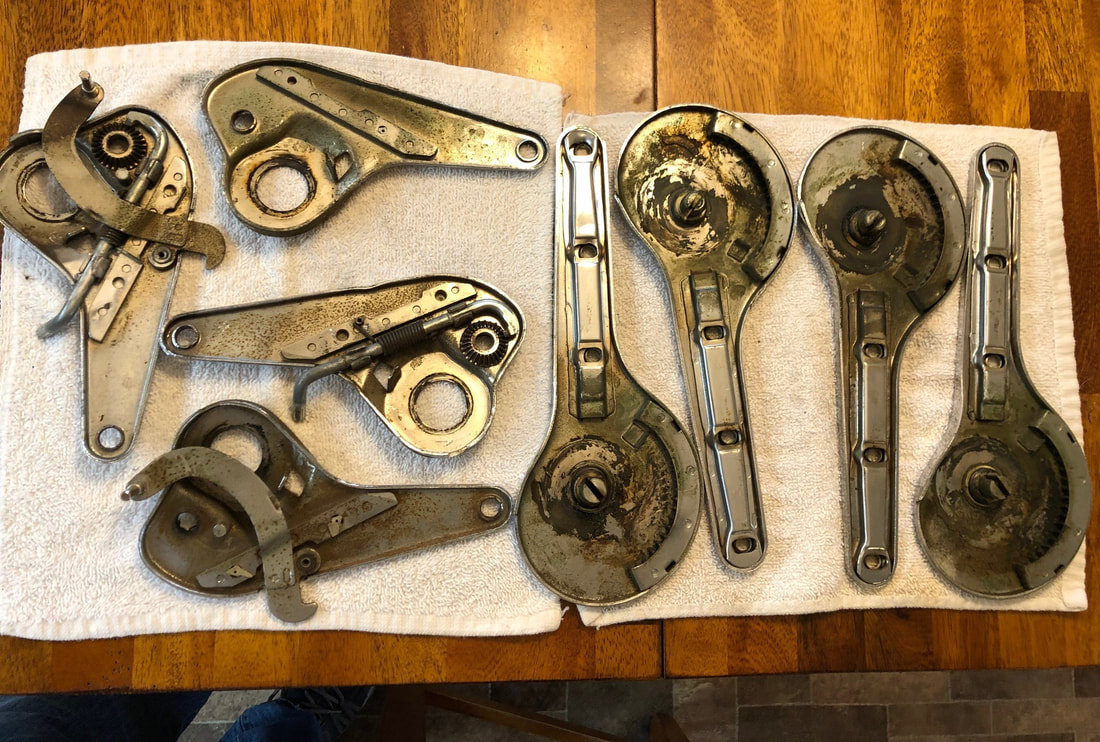
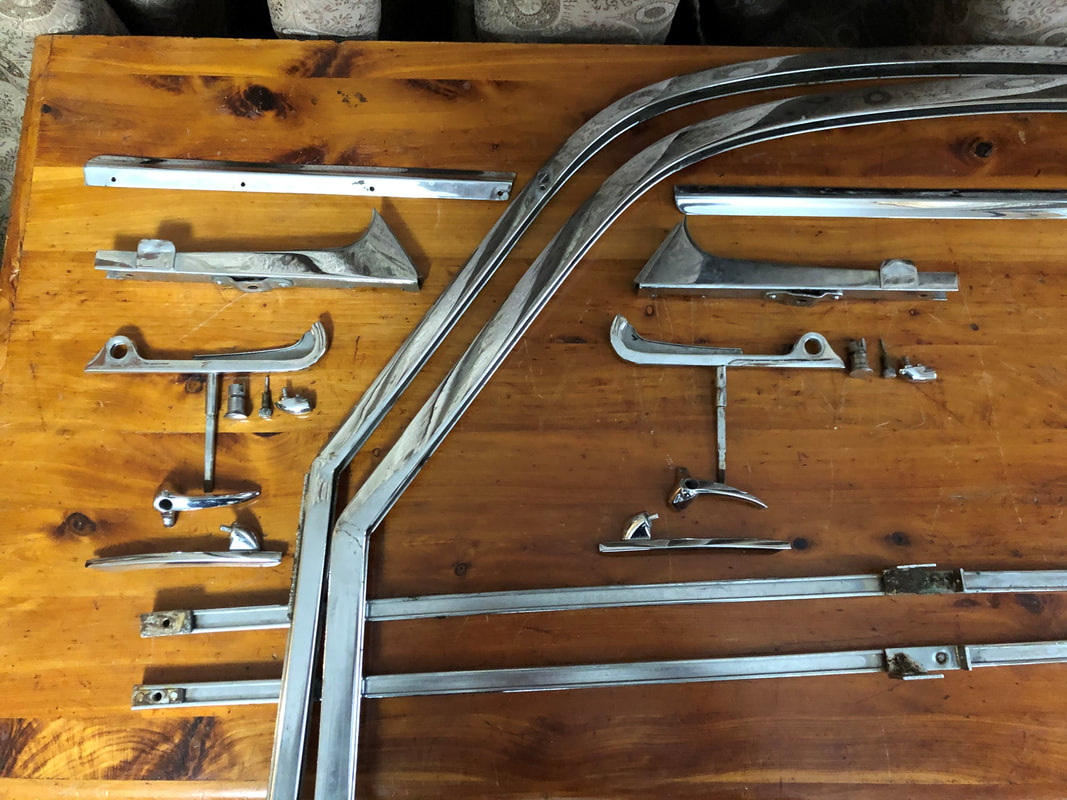
Ask anyone who has fiddled with these, and they are not a fun project. The spring is just plain scary- more so to install than to remove. My hinges were pitted badly, and they have to come apart for sending off to the chrome shop. My understanding is that the cost can be in the $1000 range for the two sets and then I have to buy the expensive plastic covers. Alas, I need to sell lots more of the generator/fan belts I make! Anyway, below are the before shots. I did take double shot of the inside of the hinges- one before removing all the grease and crud, and one after. I am not sure if I need to remove the levers that you can see in the photos. If so, I'll have to figure out how! Been getting quotes on chrome work for Miss April. Wow, prices have risen a lot in the last 10 years. Quotes from reputable shops for the door/window frames have been anywhere from $1,000 - $4,000 for the two sides. I have kind of tossed out the high and low quotes and will be going with a company in Seattle that has been in business over 40 years. I wanted to stay in the Western Washington area for these large parts to avoid possible shipping damage and/or loss.
Once I finish the door/window frames, I still have the seat hinges (another $1,000) and the rear quarter window frames & latches to go before I can consider installing the interior. I want to be able to close it up to protect the nice new upholstery. It took me longer than expected to get the door/window frames all apart, but they are all ready now. Once I get the parts there, turn-a-round time is about 4 weeks. Here is the "Before" shot: |
restoration & blog Archives
July 2023
|

