|
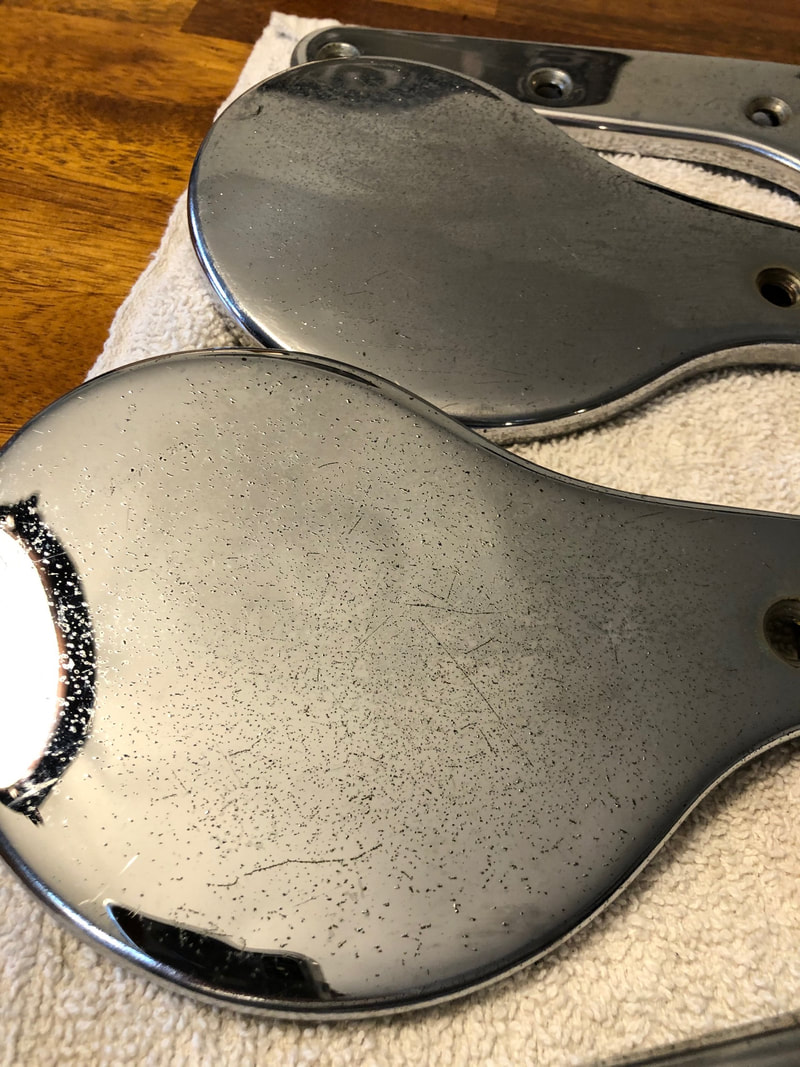
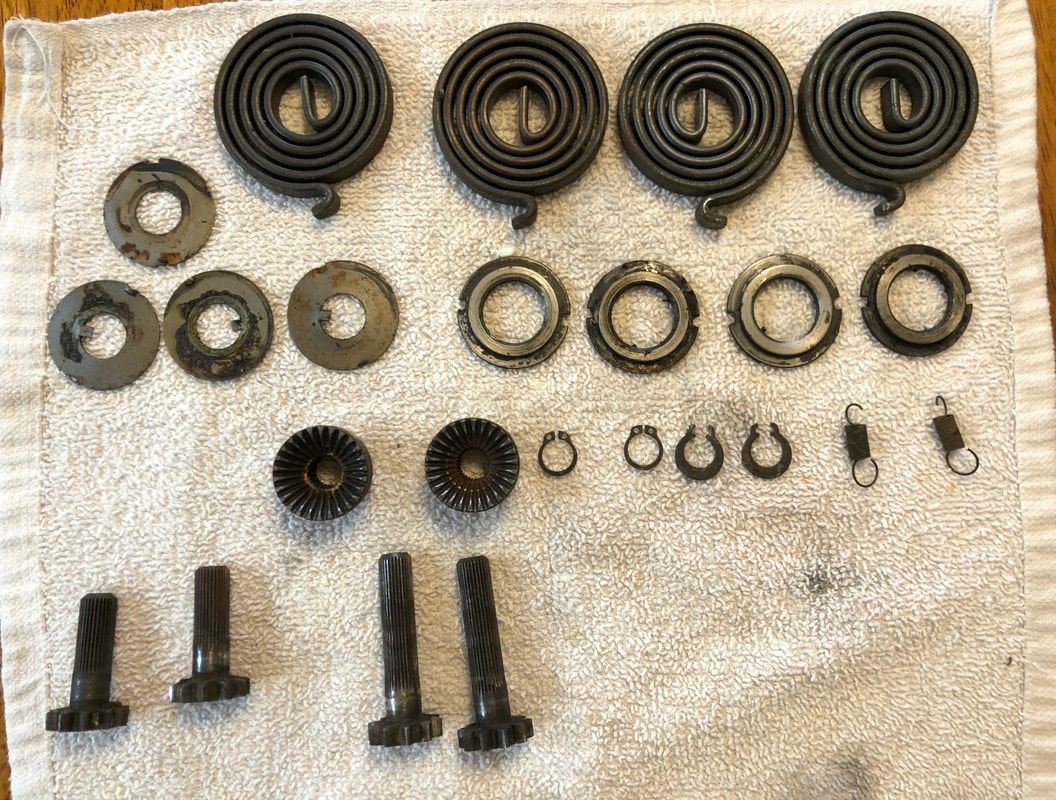
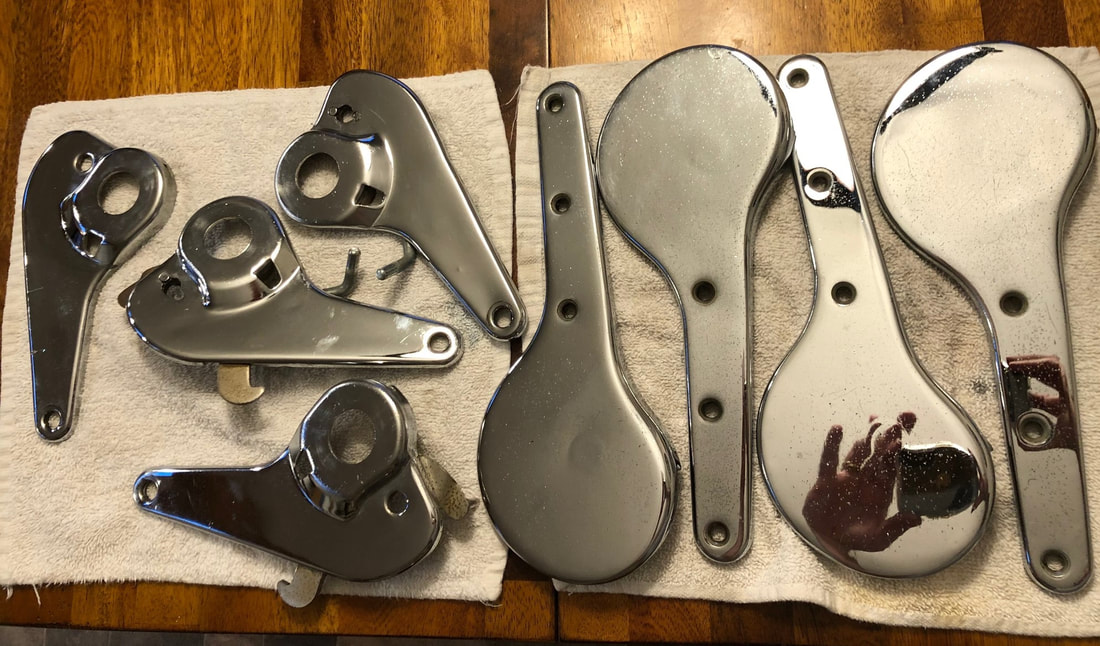
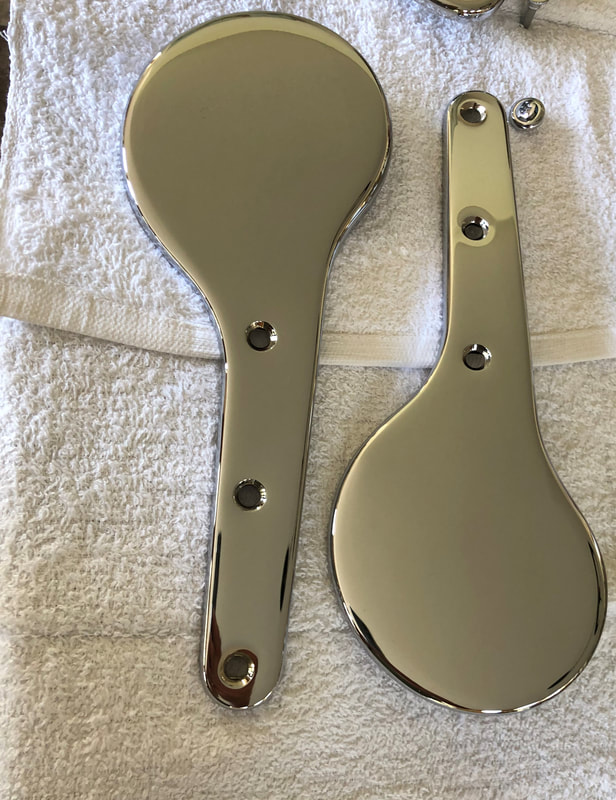
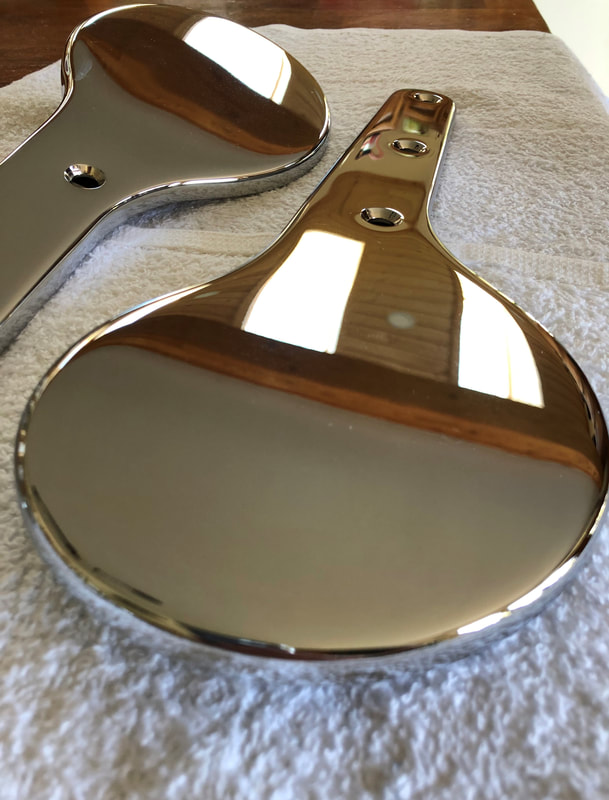
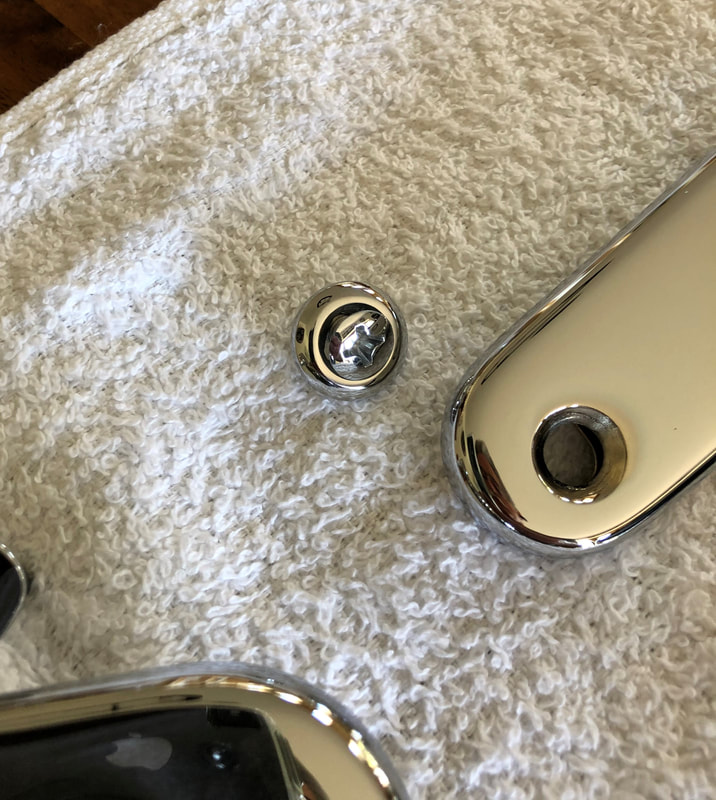
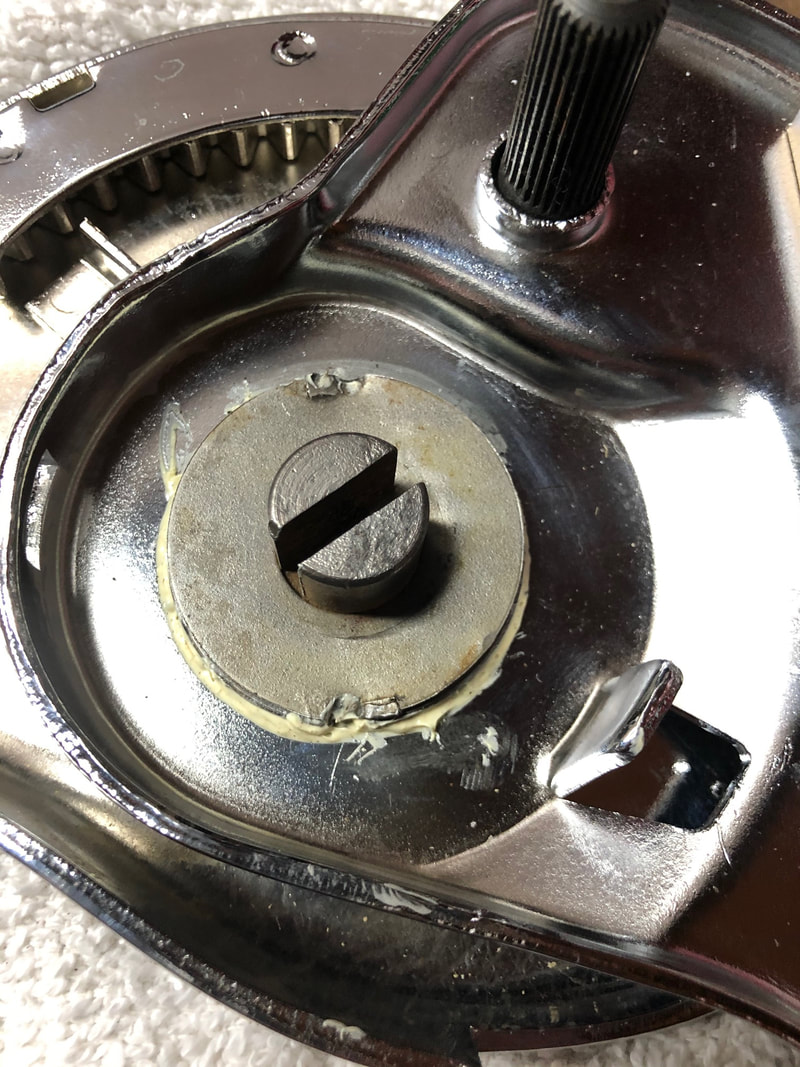
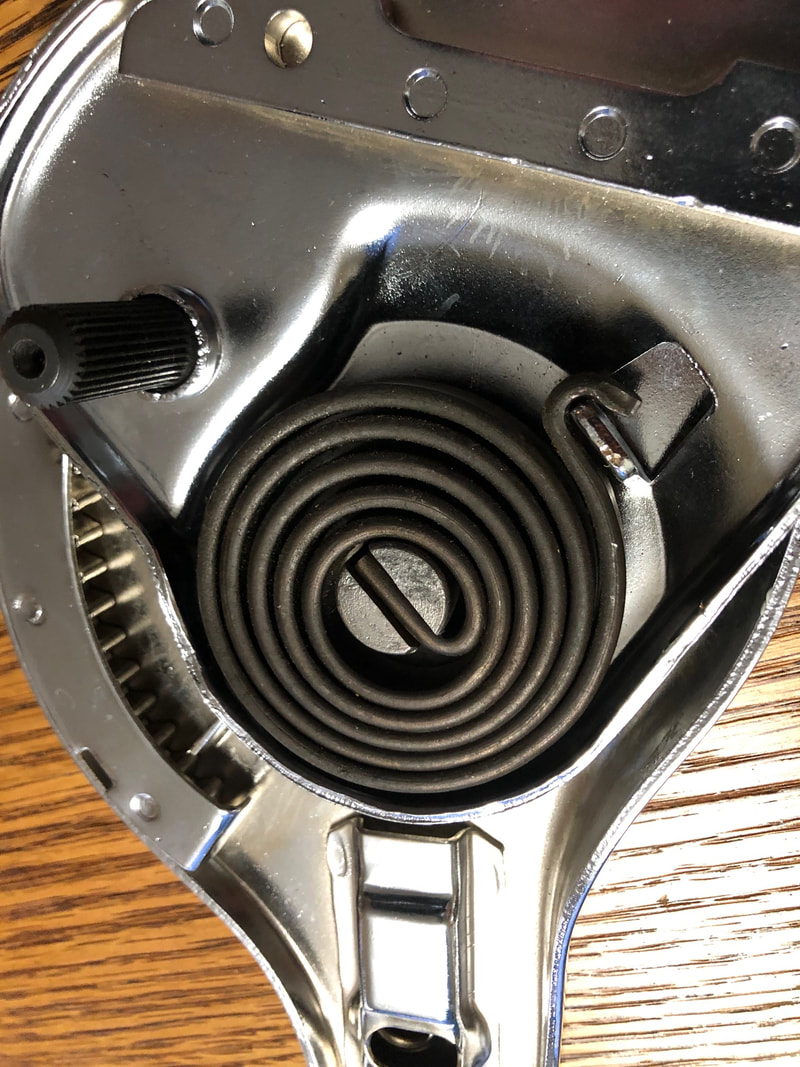
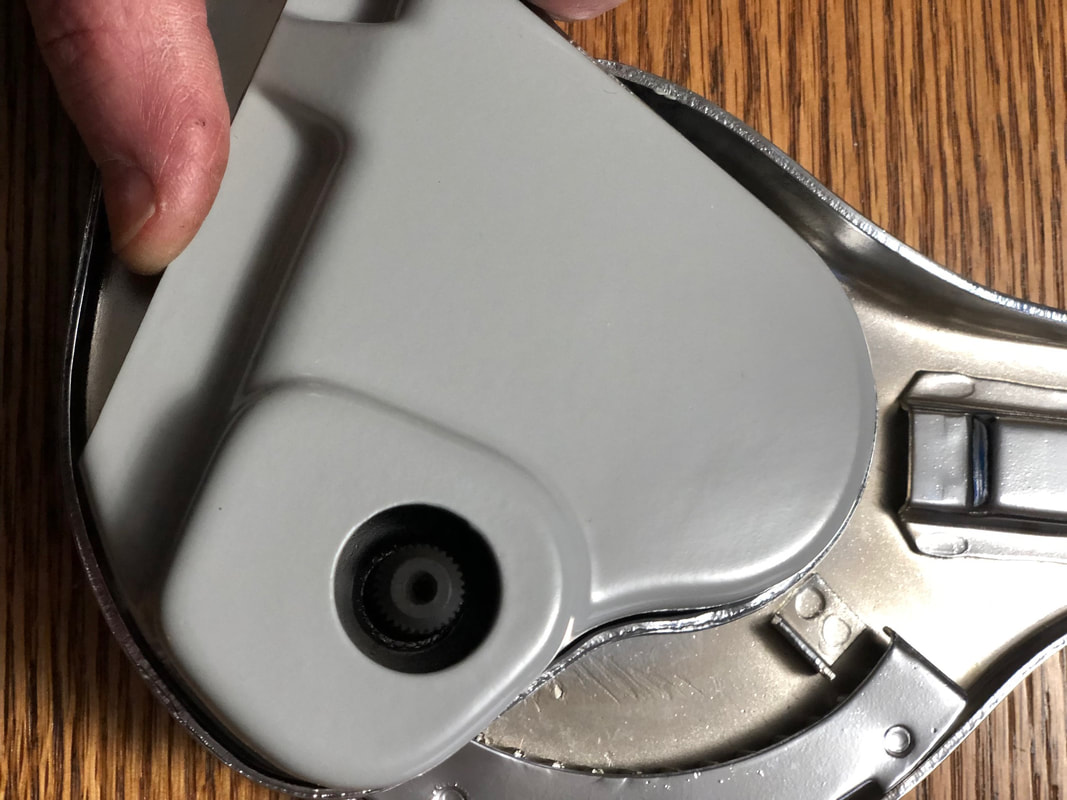
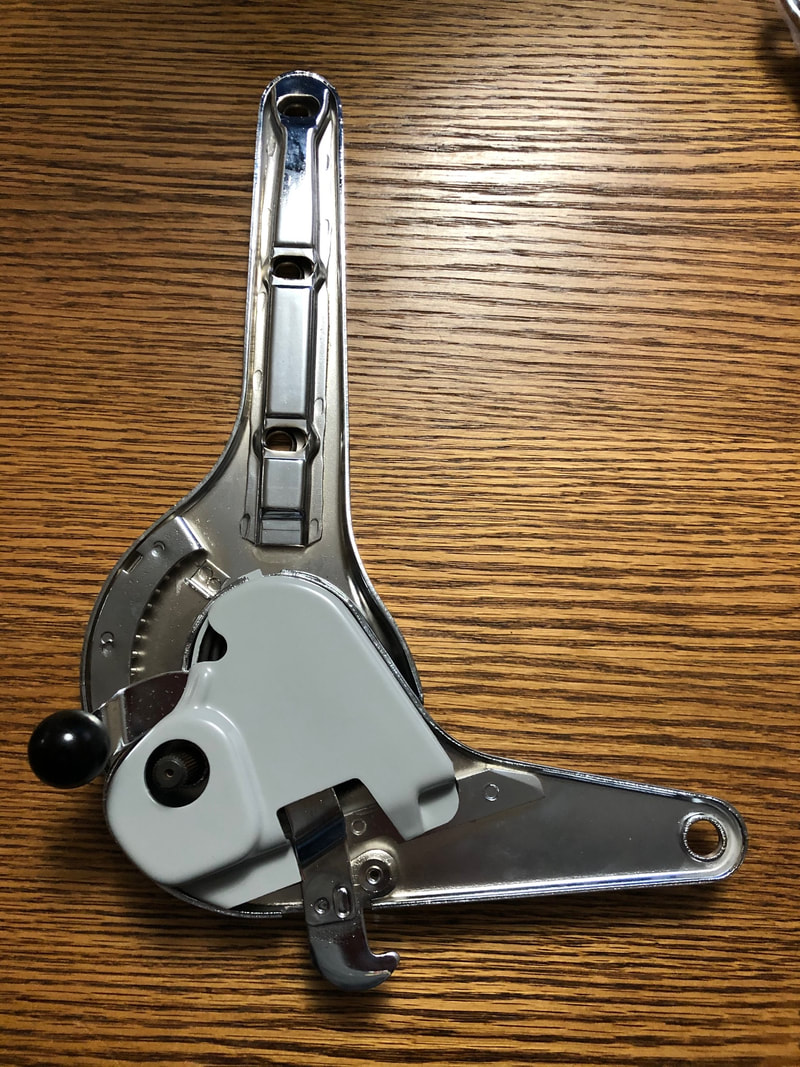
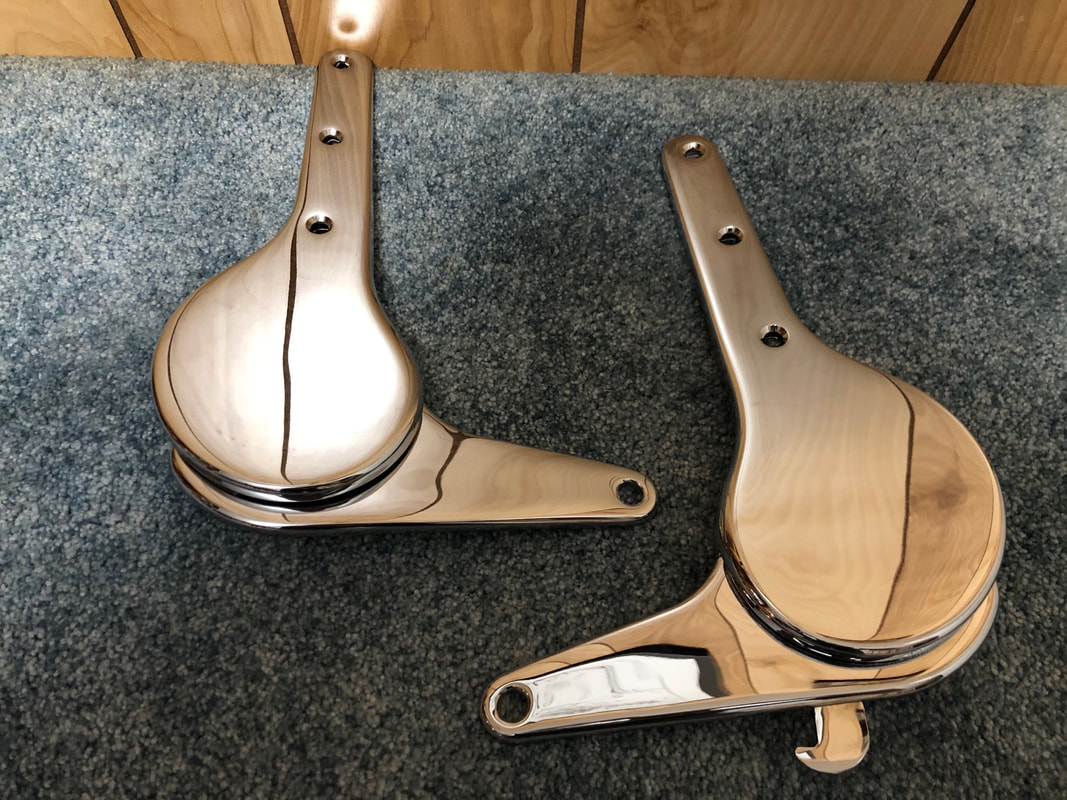
2020 has been a tough year, and it seems like a lot of people are a bit unhinged. I know I have been, but that is now in the past. Yes, no longer am I unhinged. In fact, my hinges are now restored and reassembled. I am very happy with the results. To help others who are attempting this, here is a short synopsis of the process I went through. Step one: Removal and disassembly. This is very straight forward, but take photos so you know all the parts you'll have to find later and the order to stack them during the reassembly. Mine were UGLY. Step Two: Get multiple quotes for chrome work. These can be quite expensive to do. Expect to spend well over $1k. I sent mine to Arts Brass in Seattle. Result below. Step Three: Lubricate the parts and slide the short hinge over the drive tab on the long hinge. Tighten down the tabbed locking ring to a point where the hinge slightly resists movement and then back off to smooth movements. After the locking ring there is a washer that has a tab that slides into the drive. Flatten out the previous staking and then stake this washer to hold the locking ring in place. Note: Flattening the previous staking as simple as using a hard flat surface and hitting once with a hammer. Step Four: Yes, it is time to put on that nasty/strong spring. Keep in mind the direction you want the spring to move. You want it to close the hinge naturally. In other words, when you move the seat back backwards, you want the spring to push the back forwards when you release it with the lever. The tab that the spring goes to is slanted on one side and exactly vertical on the other side. You want the spring on the vertical part of the tab (otherwise you have put the spring in backwards!) I made the tool shown on the 356 Registry site to install the spring- but then did not use it. What I did was bolt the hinge directly to my workbench. Of course, I carefully protected the chrome face with some towels, but the hinge was not going to move anywhere with the bolting through the bench. I grabbed the spring with a pair of channel locks in one hand and had the hammer ready in the other hand. Twisted it over and gave it a smack to push it down behind the tab. Worked perfect! Step Five: It all gets easy after step four. Just slide on the new plastic covers and use your favorite adhesive to hold in place. Step Six: Repeat this for the other hinges. The ones with the release lever have more parts in the short hinge portion, but you carefully work around them. Also note that the drive spindles (one for each hinge) are in pairs. Short ones are for the drivers side. Step Seven:
Celebrate! No longer unhinged! Time to put these pretty babies on the new seats! Be sure to click on "Previous" at the page bottom to see lots of previous Blog pages!
1 Comment
Jim Del Balso
12/16/2020 01:50:16 pm
Paul
Reply
Leave a Reply. |
restoration & blog Archives
July 2023
|

