EnginesInBack
  • Home
  • Exterior
  • Interior
  • Engine & Trans
  • Tool/Travel Kits
  • Documents
  • Accessories
  • Underside, Steering & Brakes
  • Events
  • Misc.
    • Misc. Stuff
    • Electrical Diagram
    • In The End
    • Typ 64
    • Willhoit-Leno 356
    • Million Mile 356
    • N. C. Museum of Art
  • Vintage Photos
  • Original vs Repro
    • Original vs Repro
    • Original Porsche Crests
    • Original Interior Door Handles
    • Original Ashtray
    • Original Durant Mirror
    • Original 356 C Spare Tire Straps
    • Original 356 C Bumper Guards
    • Original Reverse Light
    • Generator/Fan Belts
  • Our Air-Cooled Journey
  • Contact Us
  • TRANS OCEAN MOTORS
  • Restoration Work- Blog
  • Classifieds
  • Made By Hand

Parachute & porsche Parts

9/8/2020

2 Comments

 
So what do parachute parts and PORSCHE parts have to do with each other?  Well, besides being associated with something exciting, I will answer this below.

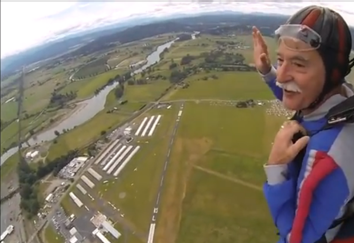
By the way, if you never have taken a parachute jump from up over 20,000 feet- DO IT!  It is a thrill you will never forget.  I had the good fortune to do this a few years ago and loved it.  See the photo at the bottom of this post.

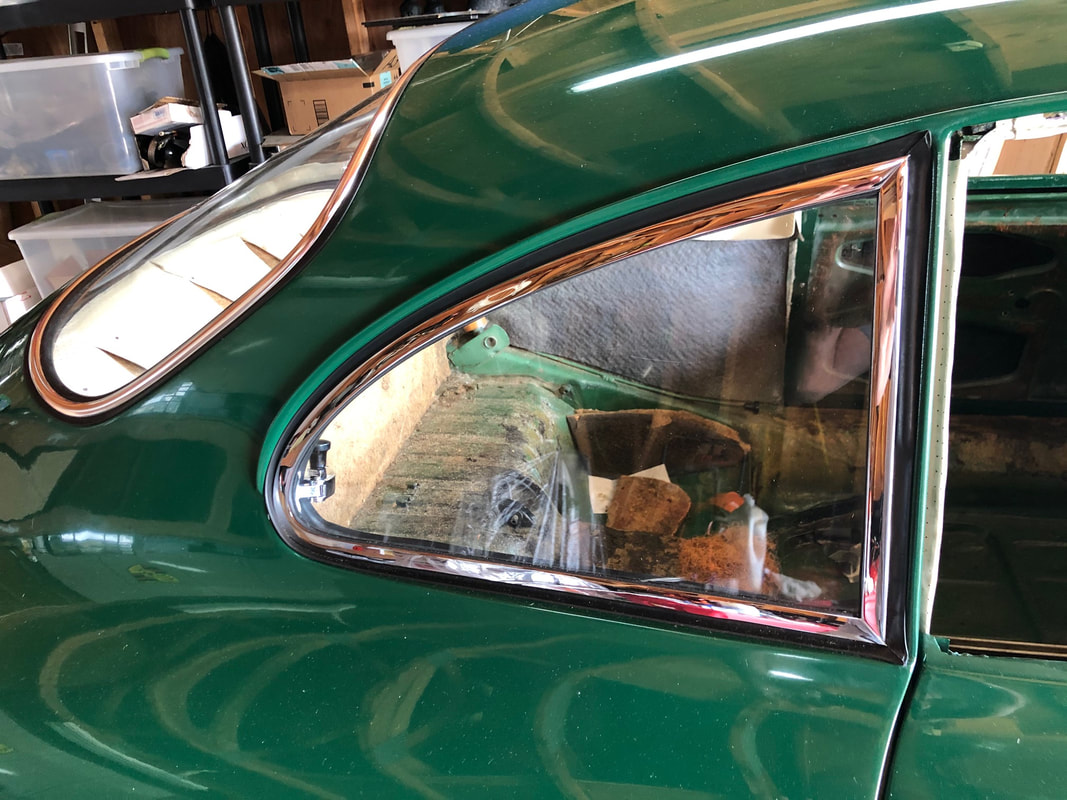
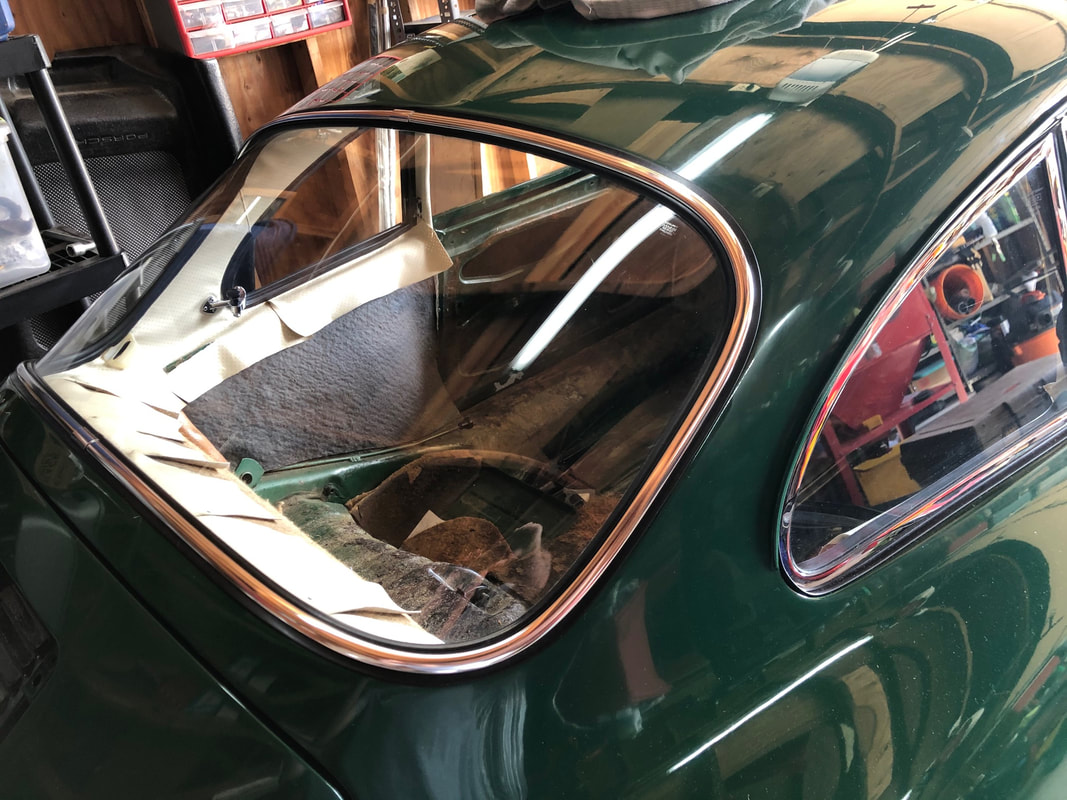
Now, back to reporting on Miss April's progress.  Thanks to a long Labor Day weekend and help from my wife, FOUR of the windows are now installed.  One of the rear quarter windows was already done, and installing the other side went smoothly.
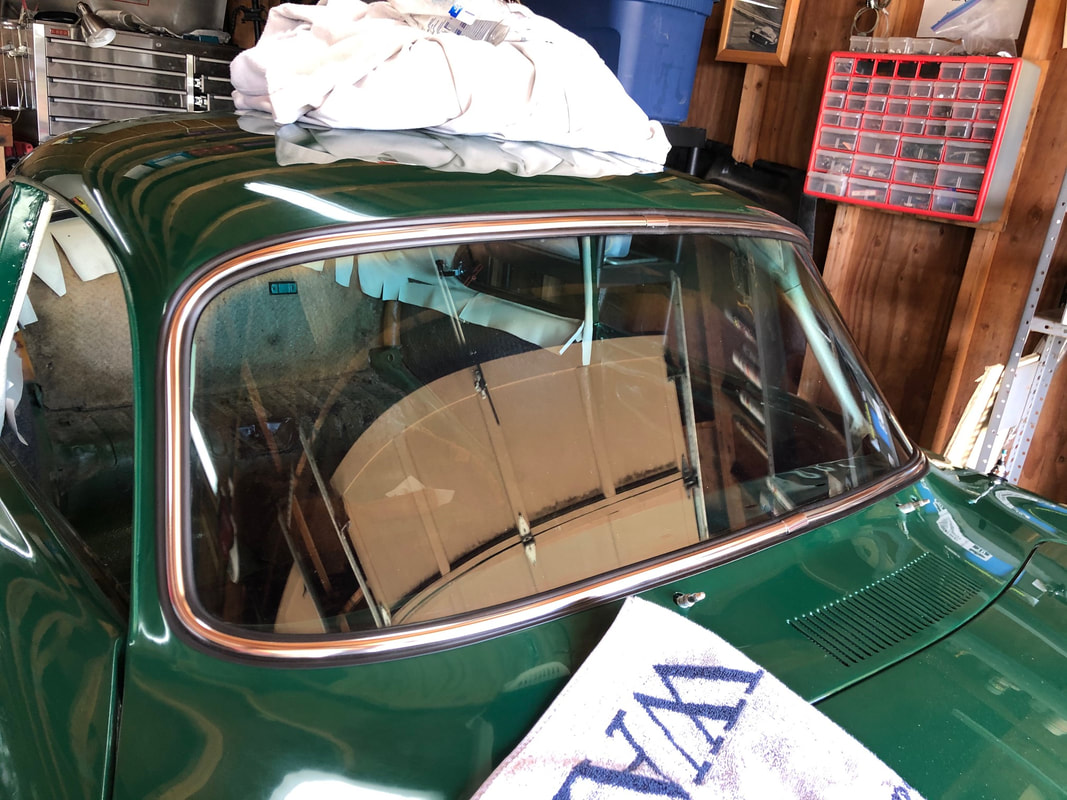
It was then time to install the front windshield and rear glass.

The steps I took were:
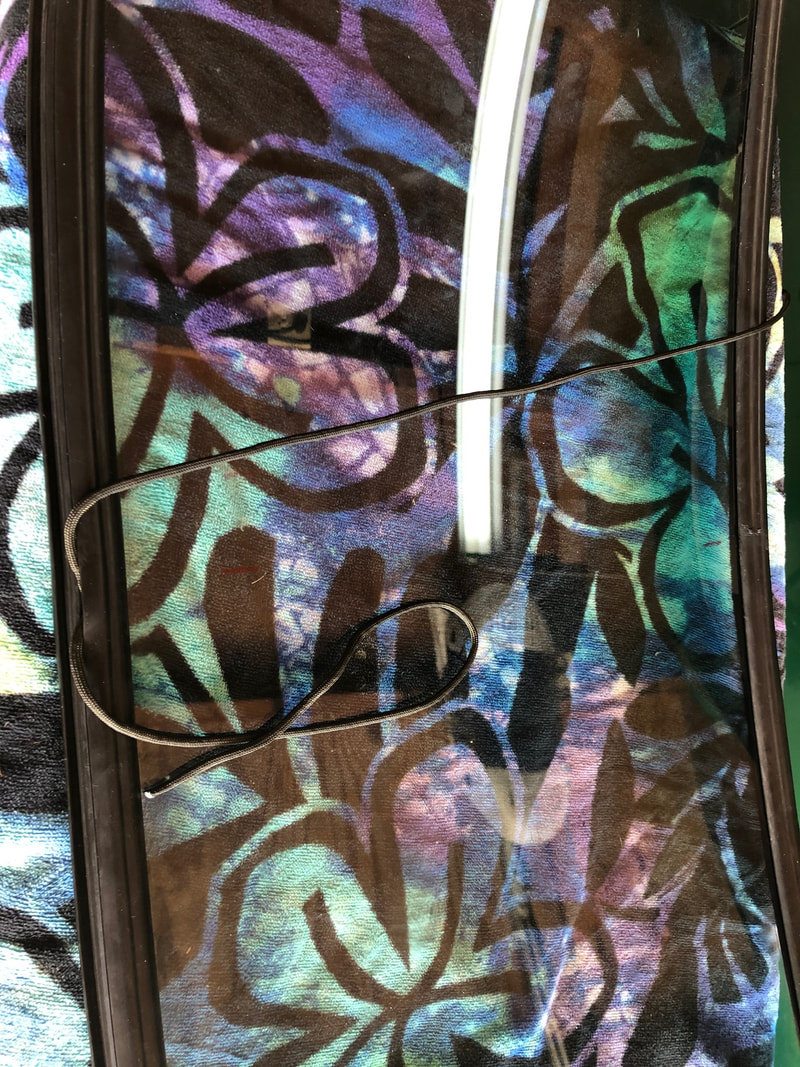
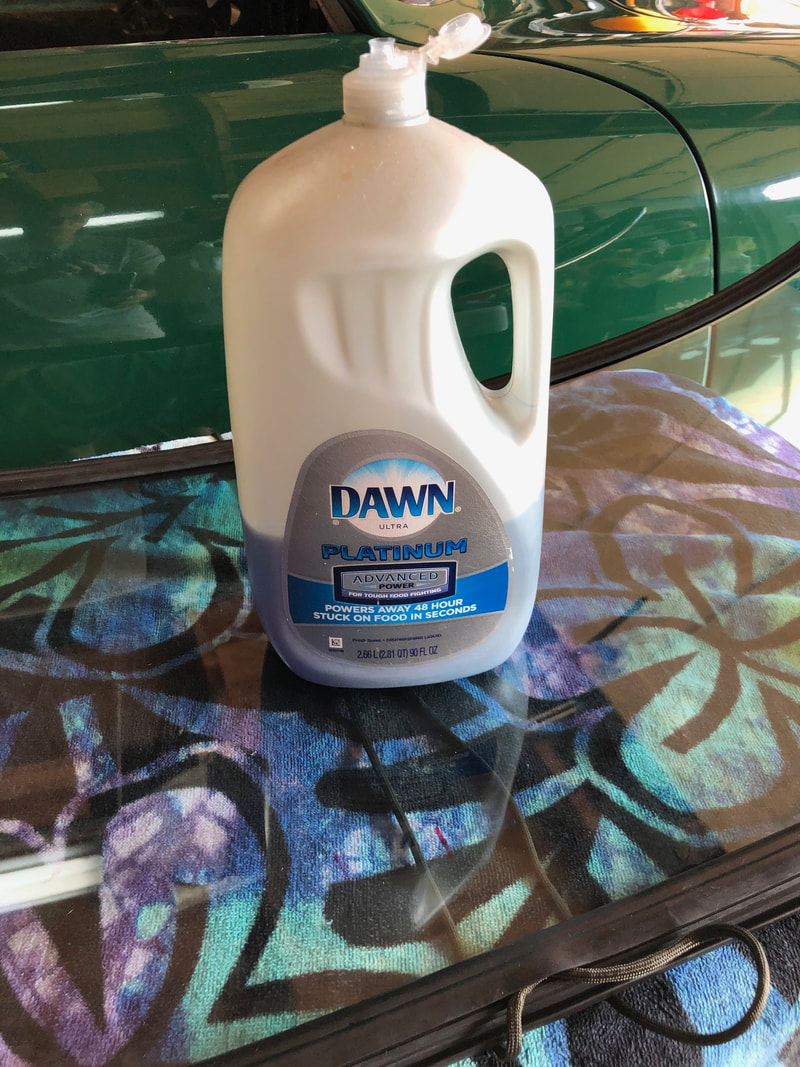
On a small table covered with a beach towel, I installed the new rubber seal which I                lubricated first with Dawn soap
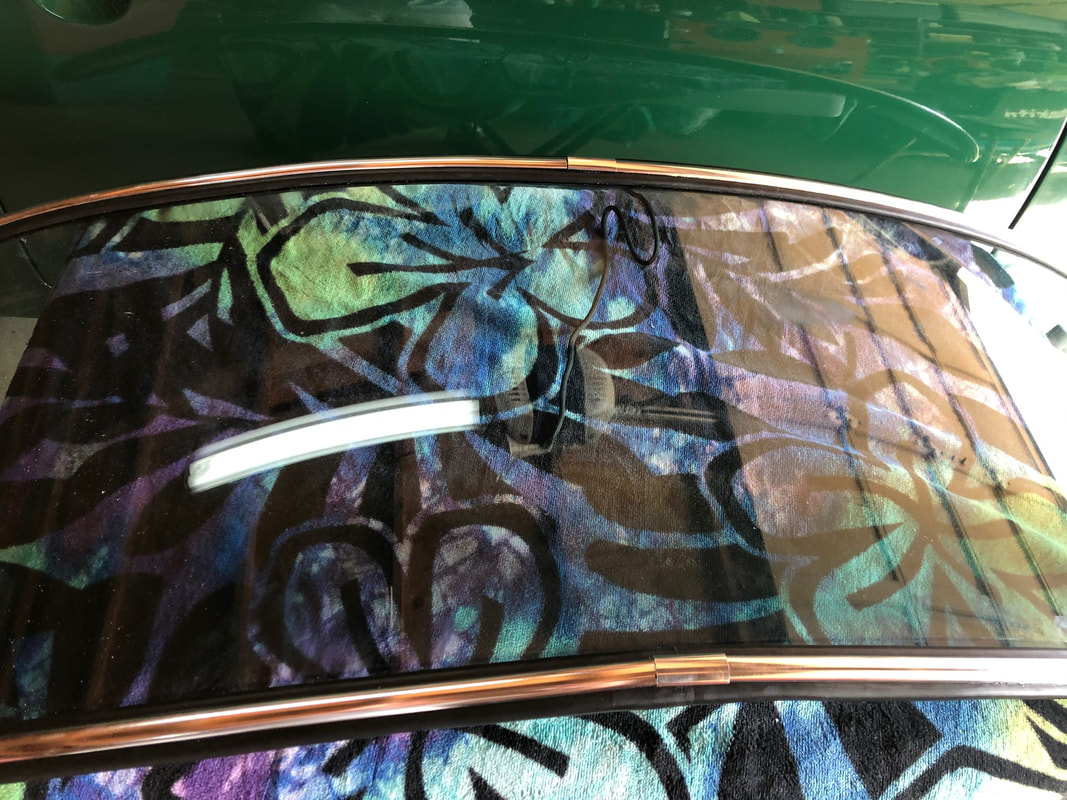
Second step was to fit the new aluminum trim.  
    New trim comes too long, and you have to measure to find the middle of the glass
    Cut the new trim so that about 1/2" gap is left to install the small "coupler"
    When installing the trim into the rubber, I used Dawn dish soap again on the rubber.
Next I lubricated the slot for the parachute cord.  
    Insert the cord so that it goes all the way around the rubber and overlaps at the                  bottom
Place the glass in the opening and with one person on the outside and one inside, pull      the rubber lip over the flange on the body.  Outside person is holding the glass from          shifting, not pushing.  Try to keep it even by working a little towards one side and then doing the same movement to the opposite side.  You will end at the top center.
​
My wife and I accomplished this and I'm really happy with the results!  
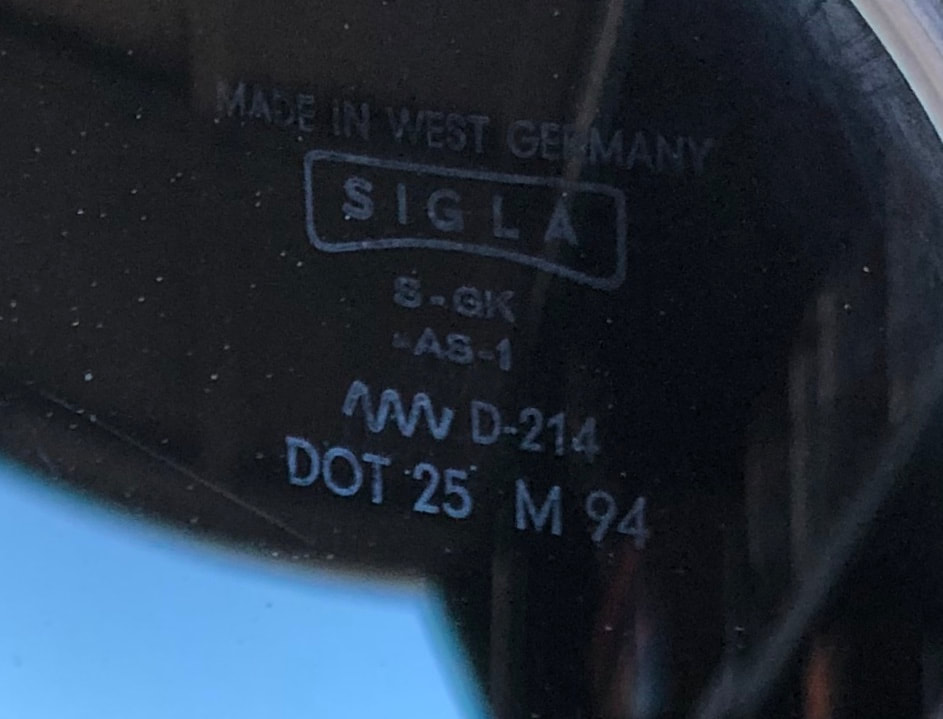
​By the way, I re-used the glass.  Front windshield has some "patina", but overall it is in very nice shape and is a SIGLA windshield with tint.  However, I believe it is a replacement unit based on the stamping shown in the photo.
Picture
Picture
Picture
Picture
Picture
Picture
Picture
Here is a shot of me in the parachute jump.
Picture
Be sure to click on "Previous" at the page bottom to see lots of previous Blog pages!
2 Comments
Jim Del Balso
9/8/2020 07:50:05 am

Paul, excuse my ignorance but what is the purpose and reason for the parachute cord? Does it stay in or is it removed as the glass is put into place?
Fascinating to follow your blog and learn more about what all you are doing.
PS: I have to remove my speedometer since the plastic gear which operates the odometer is broken. Is removal of the speedo difficult, do you have a post on that?

Reply
Paul
9/8/2020 08:03:57 am

Jim-
There is a flange on the windshield frame. The rubber must go on both sides of the flange to hold the glass in place. The cord goes into the slot in the rubber and then when the cord is pulled it moves the rubber up and over the flange. Smaller diameter cord will tear the rubber. Larger is hard to work with and can get stuck. Parachute cord is just the right diameter, smooth, and strong.

Reply


Leave a Reply.

    restoration & blog Archives

    October 2022
    September 2022
    July 2022
    June 2022
    May 2022
    April 2022
    March 2022
    February 2022
    January 2022
    December 2021
    November 2021
    October 2021
    September 2021
    August 2021
    July 2021
    June 2021
    May 2021
    April 2021
    March 2021
    February 2021
    January 2021
    December 2020
    November 2020
    October 2020
    September 2020
    August 2020
    July 2020
    June 2020
    May 2020
    April 2020
    March 2020
    February 2020
    January 2020
    December 2019
    November 2019
    October 2019
    August 2019
    July 2019
    June 2019
    May 2019
    April 2019
    March 2019
    February 2019
    January 2019
    December 2018
    November 2018
    October 2018
    September 2018
    August 2018
    July 2018
    June 2018
    May 2018
    March 2018
    February 2018
    January 2018
    December 2017
    November 2017

  • Home
  • Exterior
  • Interior
  • Engine & Trans
  • Tool/Travel Kits
  • Documents
  • Accessories
  • Underside, Steering & Brakes
  • Events
  • Misc.
    • Misc. Stuff
    • Electrical Diagram
    • In The End
    • Typ 64
    • Willhoit-Leno 356
    • Million Mile 356
    • N. C. Museum of Art
  • Vintage Photos
  • Original vs Repro
    • Original vs Repro
    • Original Porsche Crests
    • Original Interior Door Handles
    • Original Ashtray
    • Original Durant Mirror
    • Original 356 C Spare Tire Straps
    • Original 356 C Bumper Guards
    • Original Reverse Light
    • Generator/Fan Belts
  • Our Air-Cooled Journey
  • Contact Us
  • TRANS OCEAN MOTORS
  • Restoration Work- Blog
  • Classifieds
  • Made By Hand