|
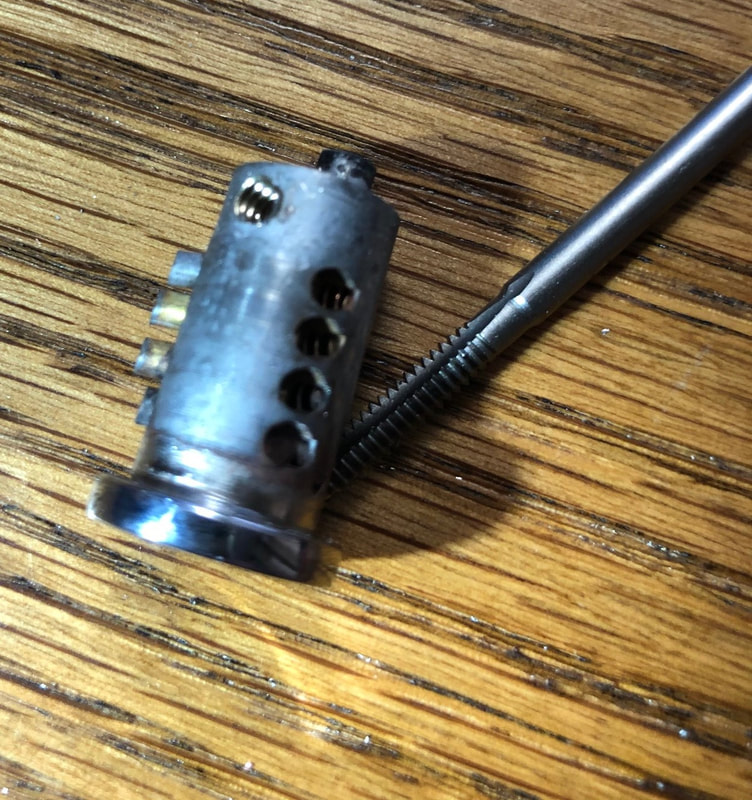
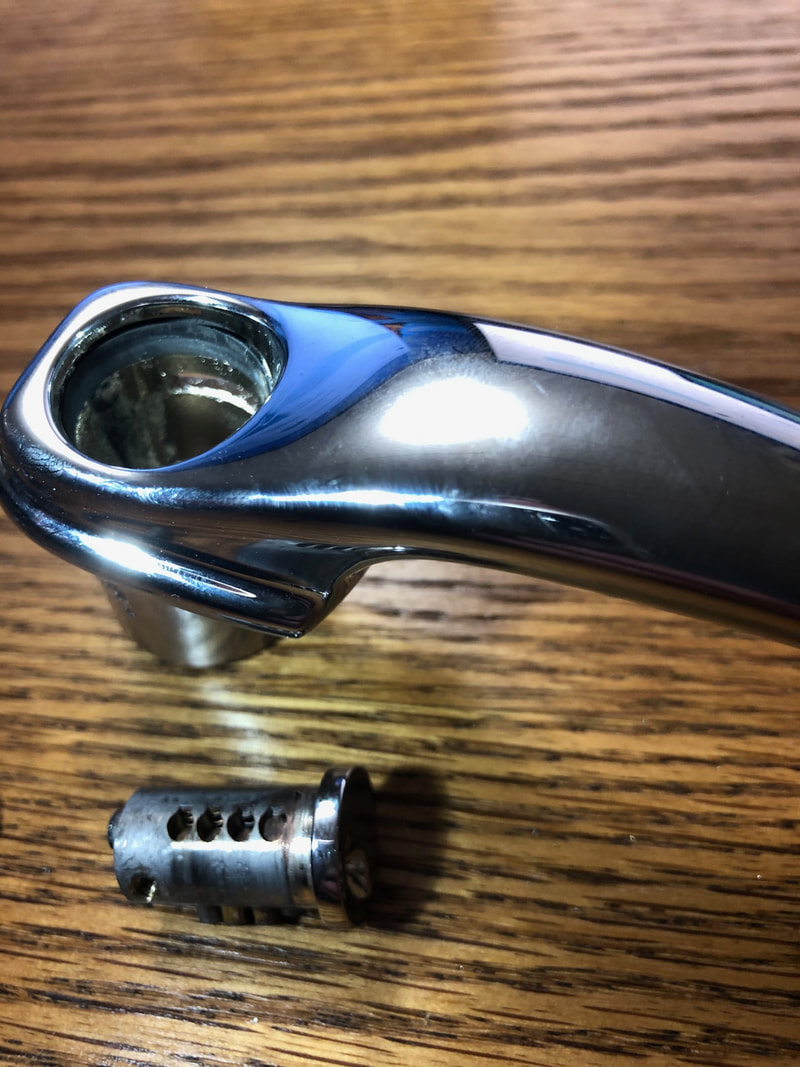
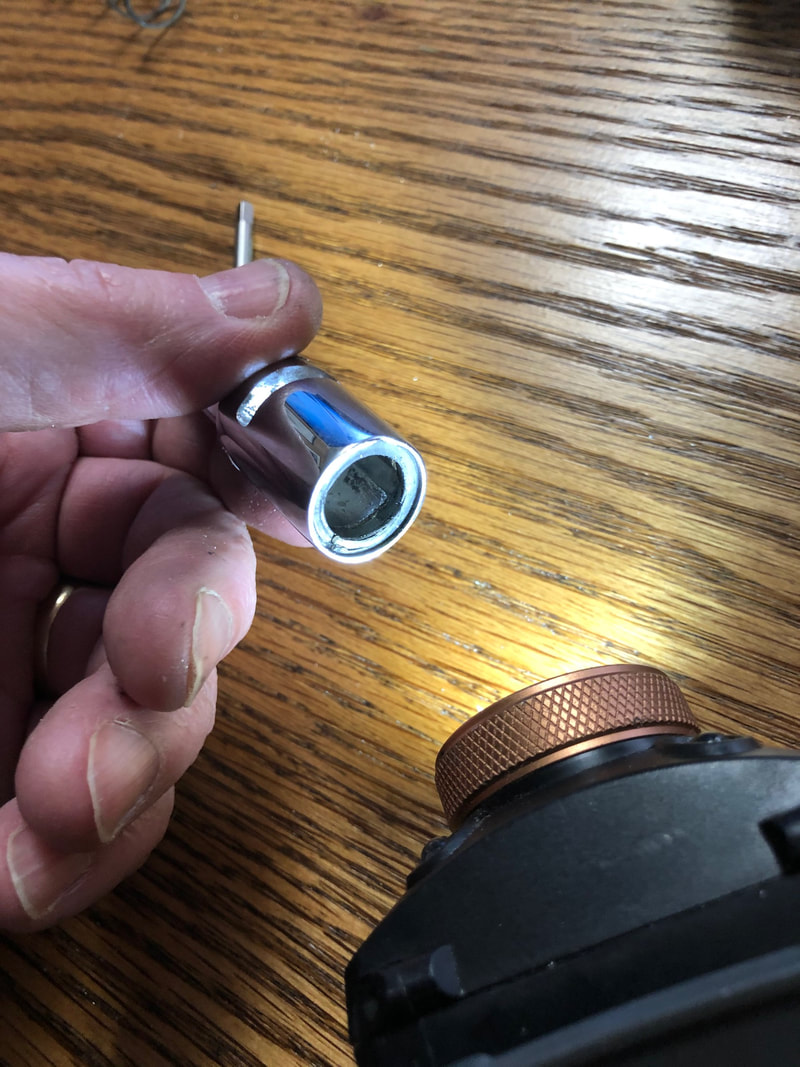
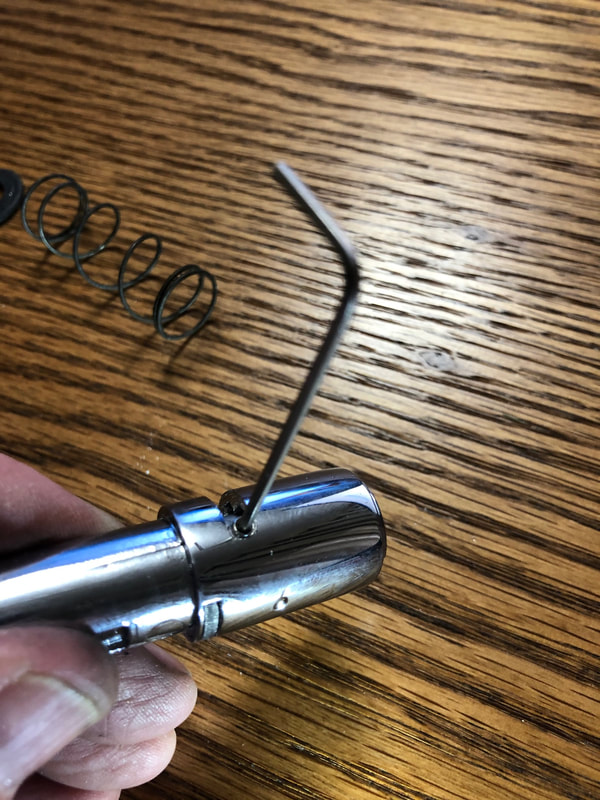
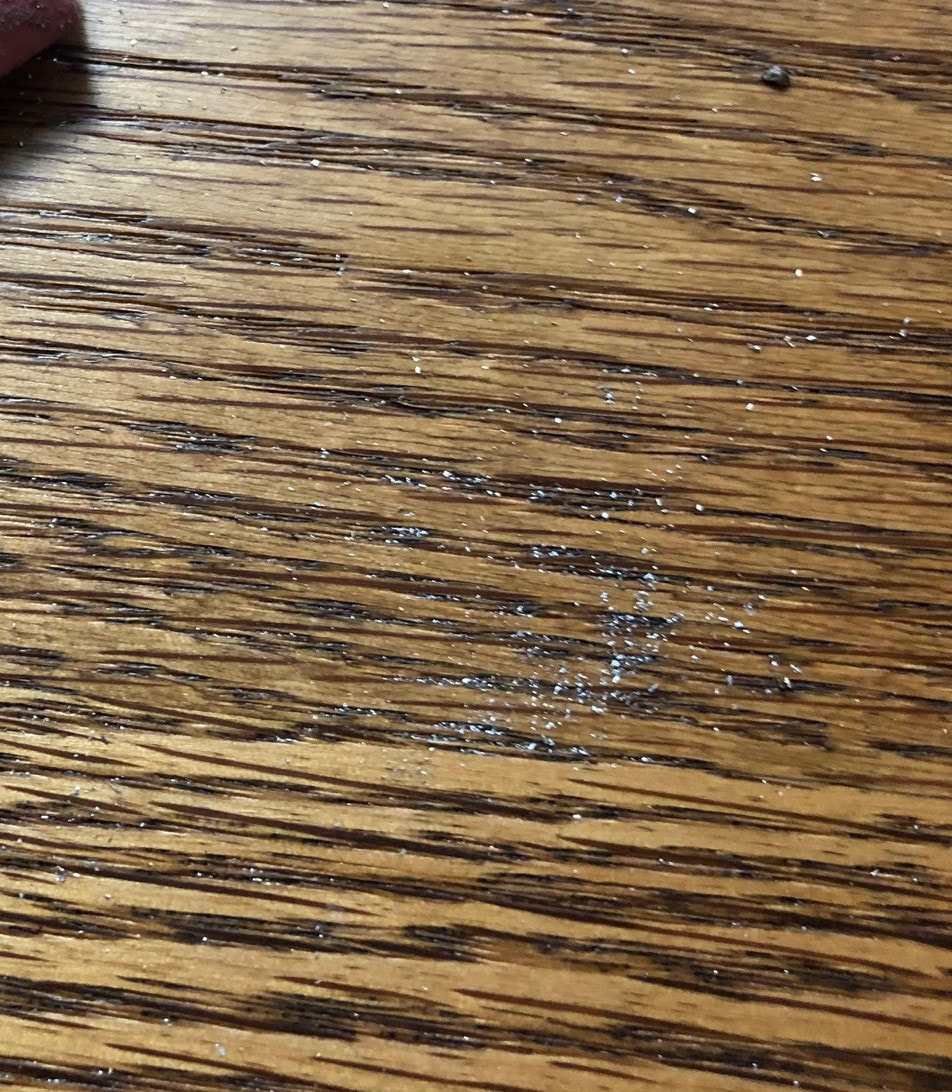
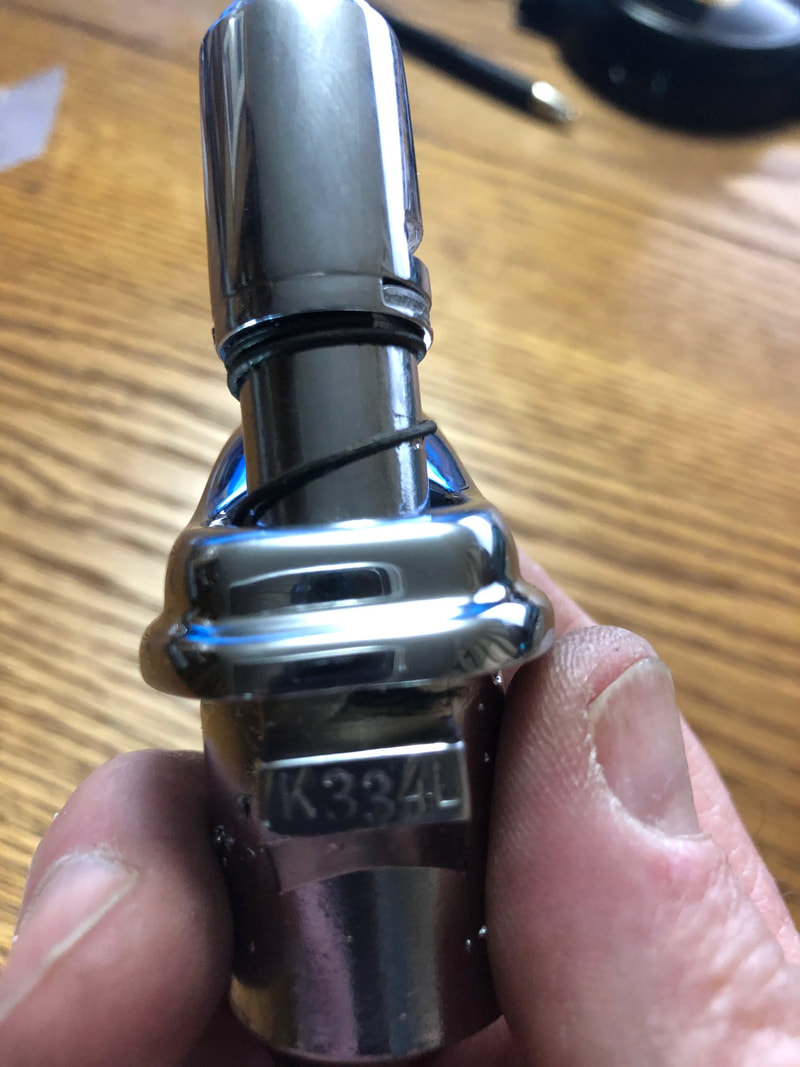
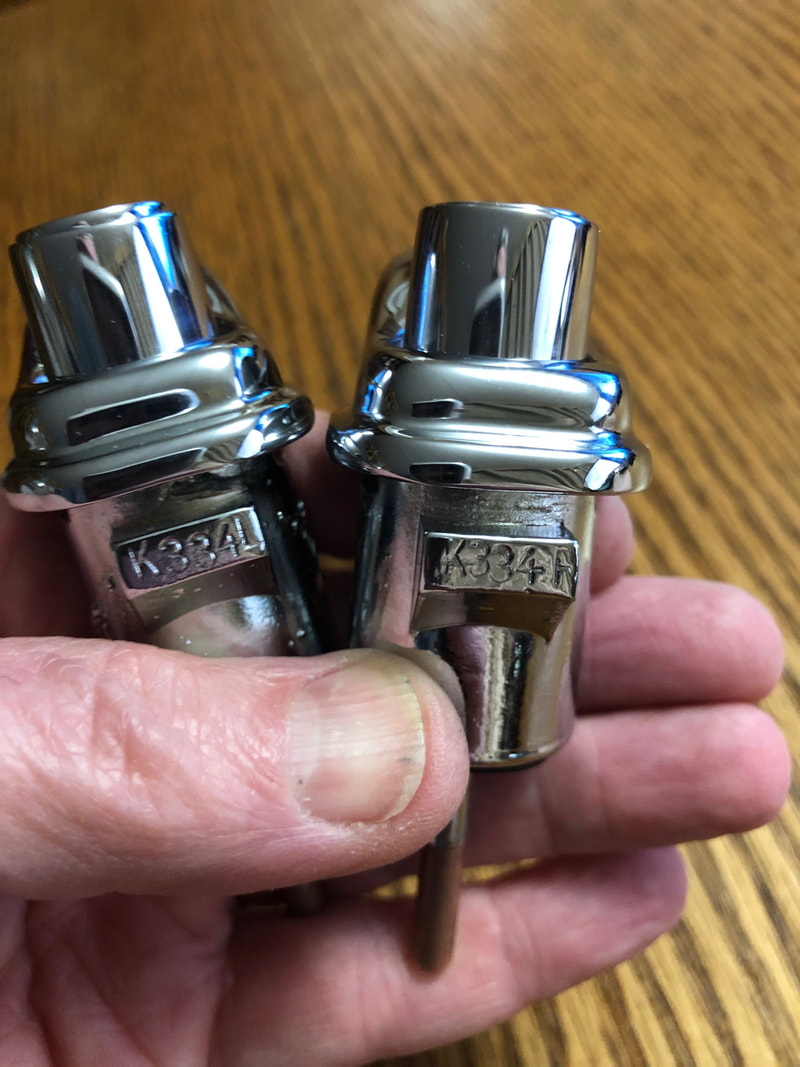
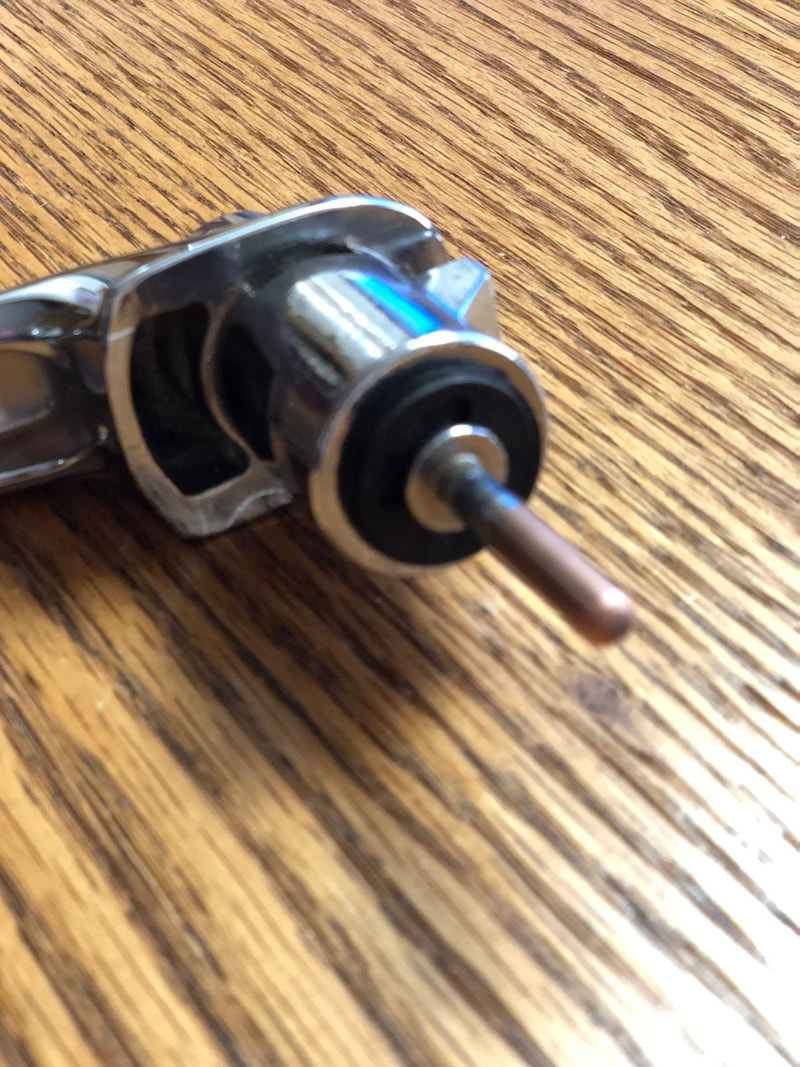
I have not been able to lock(down) the car for about 2 years because the door handles have been removed. I took them off for the paint job. Now that the handles are freshly re-chromed (they are originals), it was finally time to reassemble these gems. The biggest challenge on the door handles is the little grub screw that holds the tumbler assembly in the handle. When I was attempting to remove the screw, it broke! Both sides! Attempts to remove the threaded portion failed, and I was forced to attempt to drill them out and re-tap for a larger grub screw. I dreaded this for months- but it was time to jump in. Time to be able to lock this car up! (or is that lock down?) First step- buy an appropriate size grub screw, new tap, and a fresh new drill bit in the right size. Good news, with a careful approach, I actually found drilling in the tumbler to be quite easy. Tapping the threads went equally well. I think you can see the fresh threads in the photo below. My handles are original, and so are the two seals for each handle. I re-used the originals. Photo below shows the seal that goes in the handle. There is another seal that goes inside the cylinder that holds the tumbler. See below. Next step is to slide the CORRECT tumbler into the CORRECT cylinder for the CORRECT handle. The parts are not interchangeable left to right. They are "handed". Make sure if you are doing this that it results in the jagged edge of the key is down when locked and pointed rear when unlocked. If it doesn't, you have mismatched the parts. Once the tumbler is installed, put in the new grub screw. I used one with an allen-head. Note in the photos above, the locking plate has to be slid in prior to the tumbler. This is the part that you see to the left of the new allen screw and facing towards the bottom of the photo. This plate also only goes in correctly one way- the hole in it is not in the center. If it does not work, turn it around! The full plate is shown in the right photo. Of course, it is not as easy as described above, because these are freshly chromed parts. I had to get out the hand file and Dremel and clean things up a bit so that they would turn easily. Photo below of some of my "filings". Once the tumbler is installed, test it with your key several times for smooth operation. Then it is time to install the cylinder into the handle. In the photo below, note the long spring that rests on the cylinder and slides into the handle. This is a good time to remind yourself that the handles have a L and R on them. They are actually the same, but the lock assemblies are different. Remember, you want the jagged edge of the key down when locked, toward the rear when unlocked. The cylinder and plunger are pushed through the handle and on the opposite side of the lock you install a rubber washer and a lock ring. Yahoo, done! I did all of this with dry, clean pieces. When done, I took them all apart again for lubrication. These are fairly intricate devices, but give great service for years. Now I can lock the car! Be sure to click on "Previous" at the page bottom to see lots of previous Blog pages!
1 Comment
Herlin E Woolery
5/30/2022 09:45:19 am
Hello Paul,
Reply
Leave a Reply. |
restoration & blog Archives
July 2023
|

