|
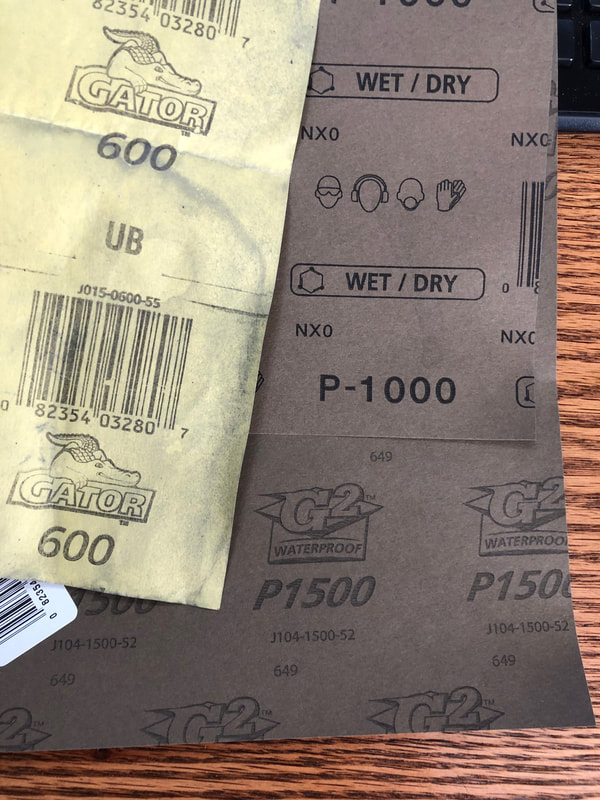
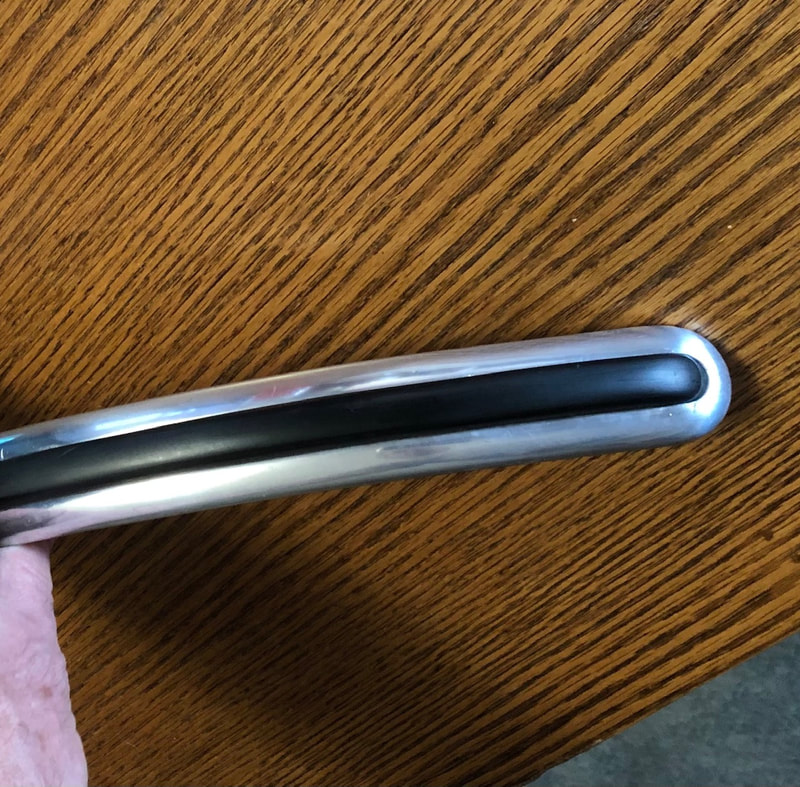
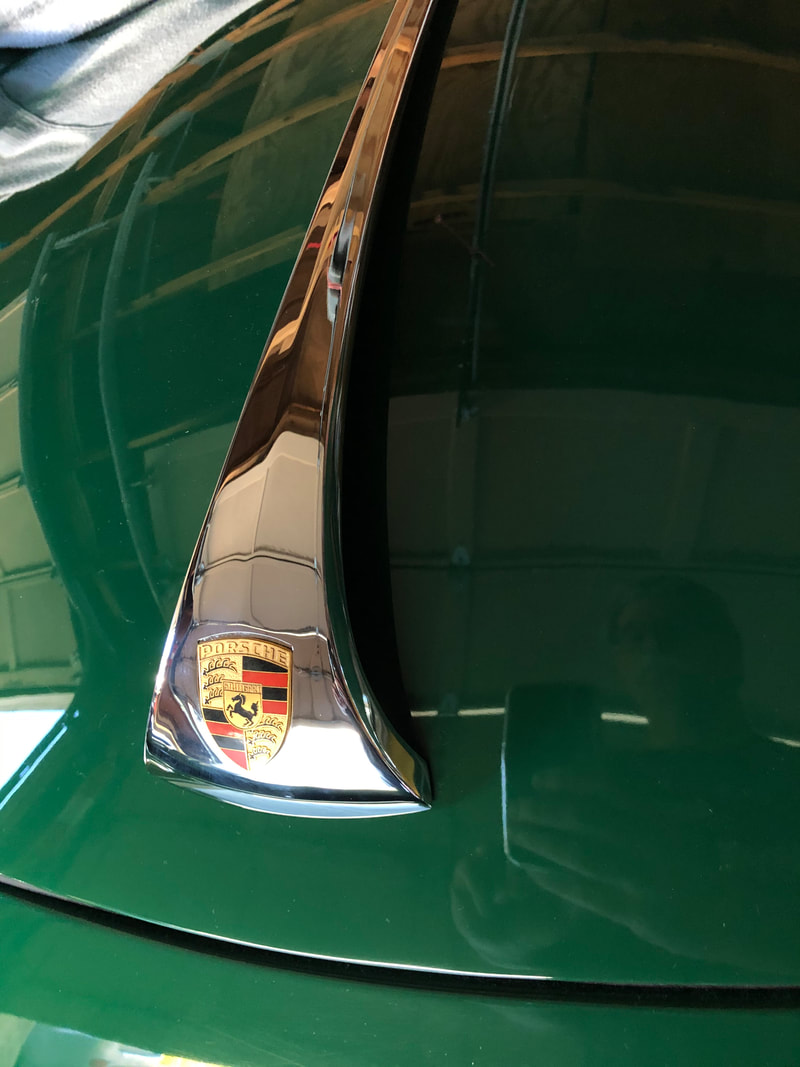
The deco project for the front bumper is now complete. After the Easy Off treatment and a good bath in soapy water, I sanded in progressive steps. First 600 grit, then moved progressively through 1000 and finally 1500. This was followed with several passes of using Mothers Aluminum polish.
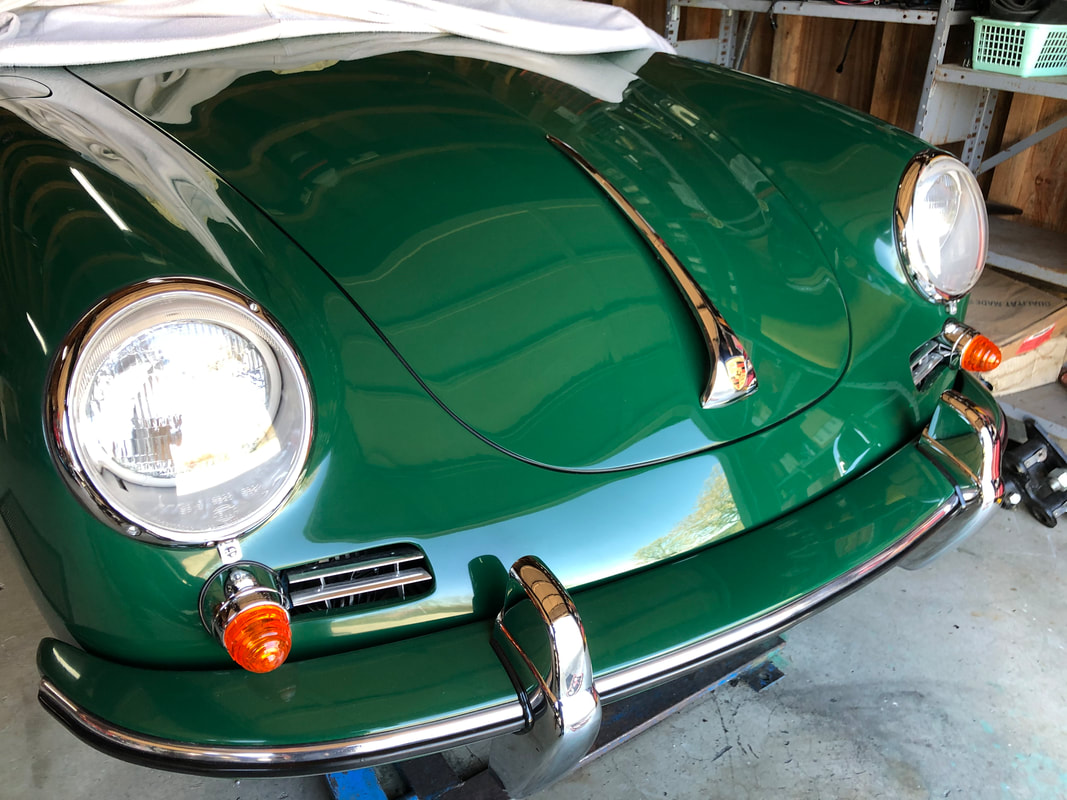
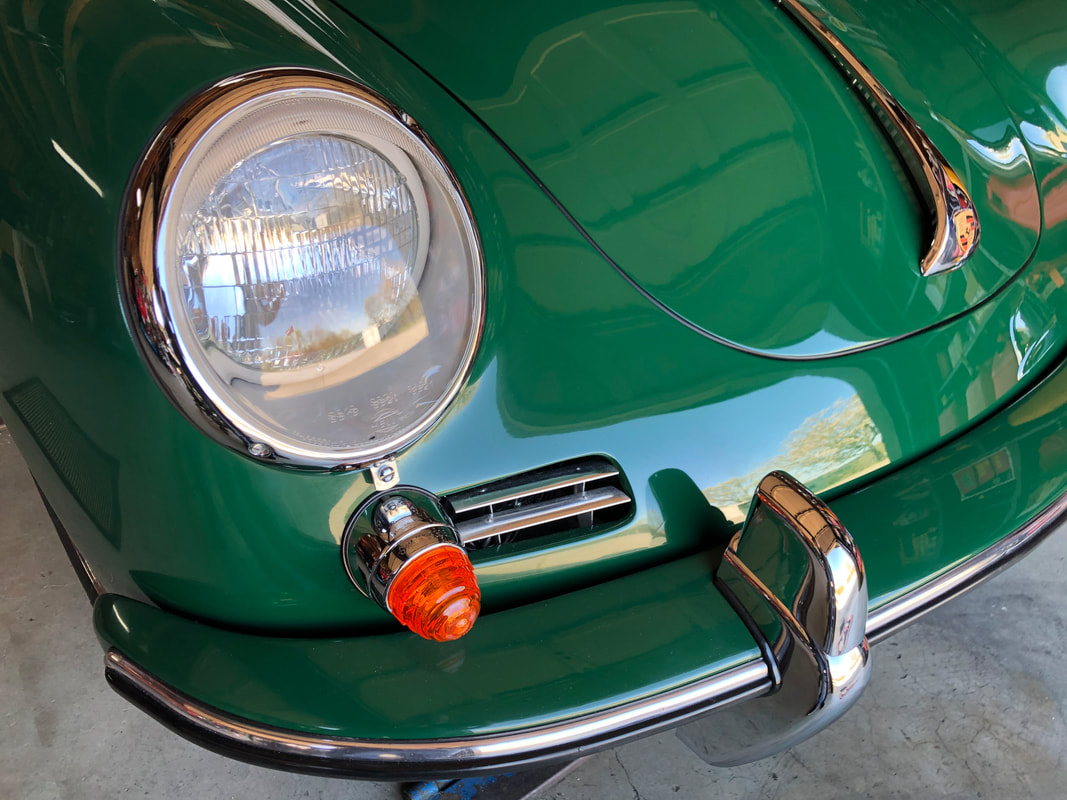
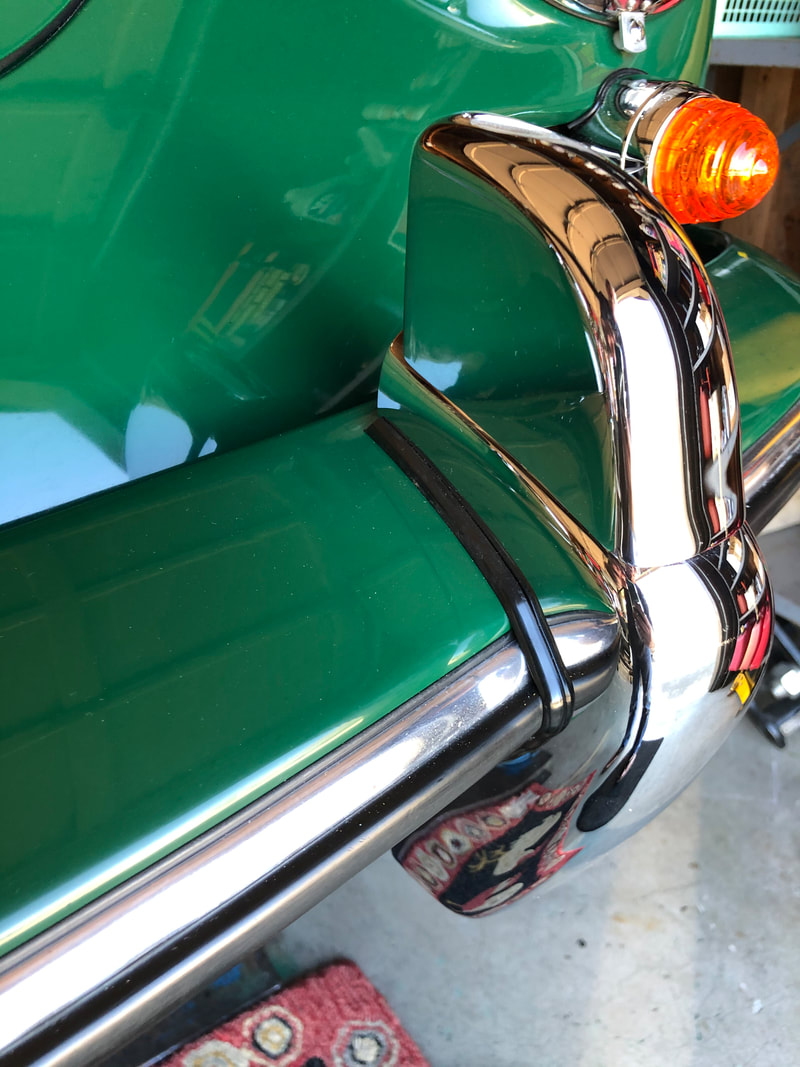
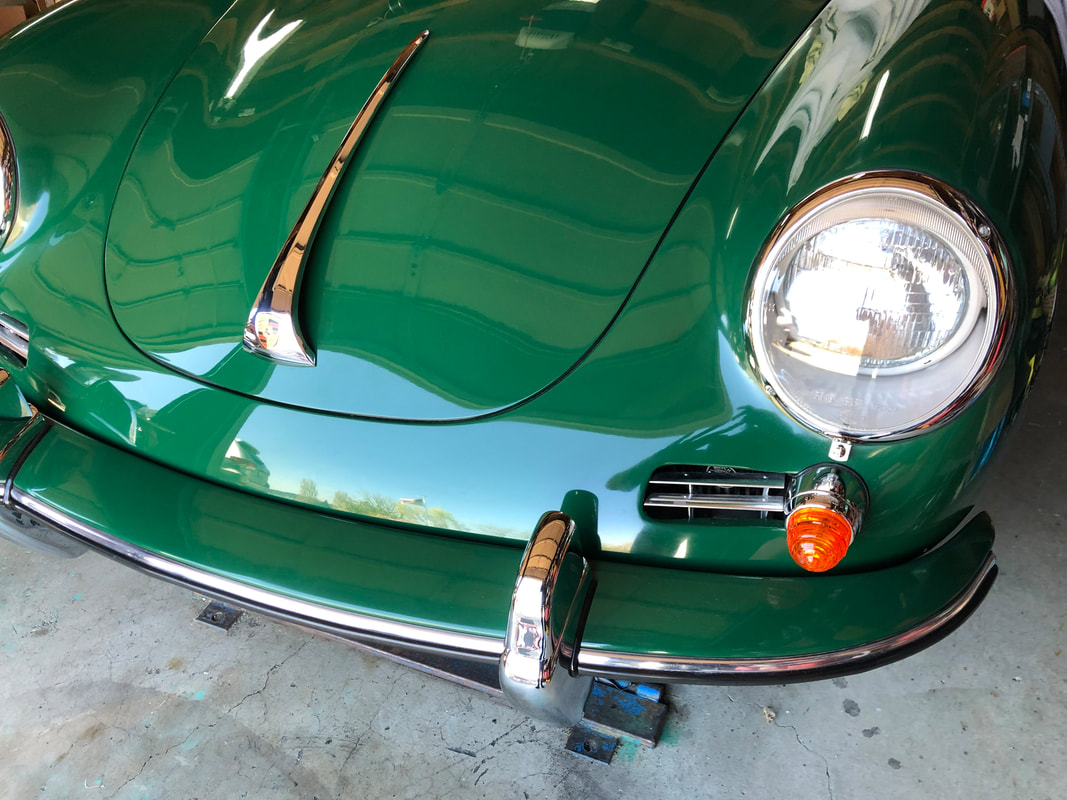
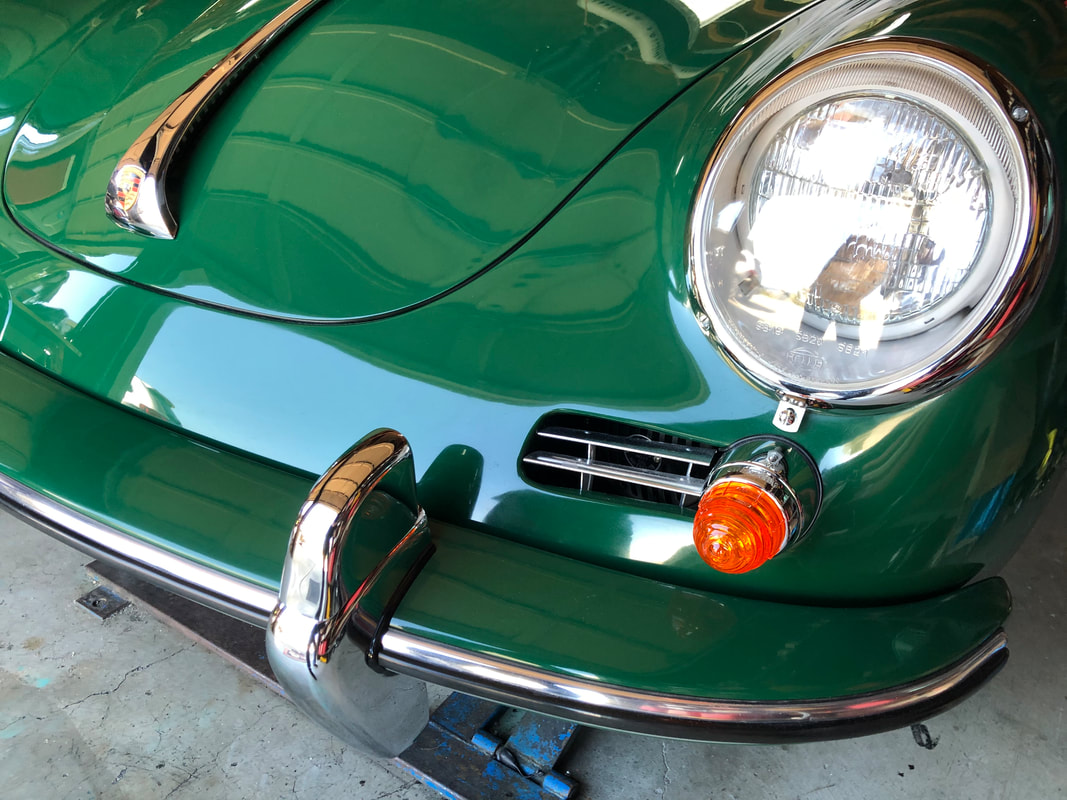
The first photo below shows the same end as shown in earlier posts. This end had long deep scratches and scuffing on the rubber insert. All of that came out ok. The major dent/bend in the deco hammered out ok, but smaller "dents" at the rim of the deco (the area directly next to the rubber insert) I was not able to remove, so a couple of these blemishes remain. Overall, this was a time consuming project to stay with an original part. It is greatly improved, but not perfect. From the beginning this deco project had the goal of improving the part, knowing it would not reach perfection, and from that perspective, it was a successful attempt. Finished part is now on the bumper as shown below. By the way, in a couple of photos it looks like the deco bends at the bumper guard. Look closely, it does NOT bend. What you see is the reflection of the deco in the chrome bumper guard. Be sure to click on "Previous" at the page bottom to see lots of previous Blog pages!
0 Comments
Leave a Reply. |
restoration & blog Archives
July 2023
|

