
|
Title of this post is steeling the title of a song from the band Chicago in the 1970's, but it applies to the engine in Miss April. I have now gone through all the carburetor linkages from the gas pedal all the way to the drop links for each carb. They are in sync at all speeds and the full throttle is where I want it to be. I did find that I was having a couple of issues with one of the carb floats. Firstly, on the tab at the hinge, it was very slightly dented from the needle float valve. The surface needs to be perfectly smooth, as shown in the photo below after all my cleaning and conditioning of the tab. I also noticed that it looked like the float was slightly rubbing on the carb body restricting it from moving freely. All is good now and the float level is rock solid at idle and while holding the throttle open for a long time (both are important). All part of the engine "Feelin' Stronger Every Day". Top photo shows the dent/divot when I first started working on smoothing it out. Second shot is the finished version. 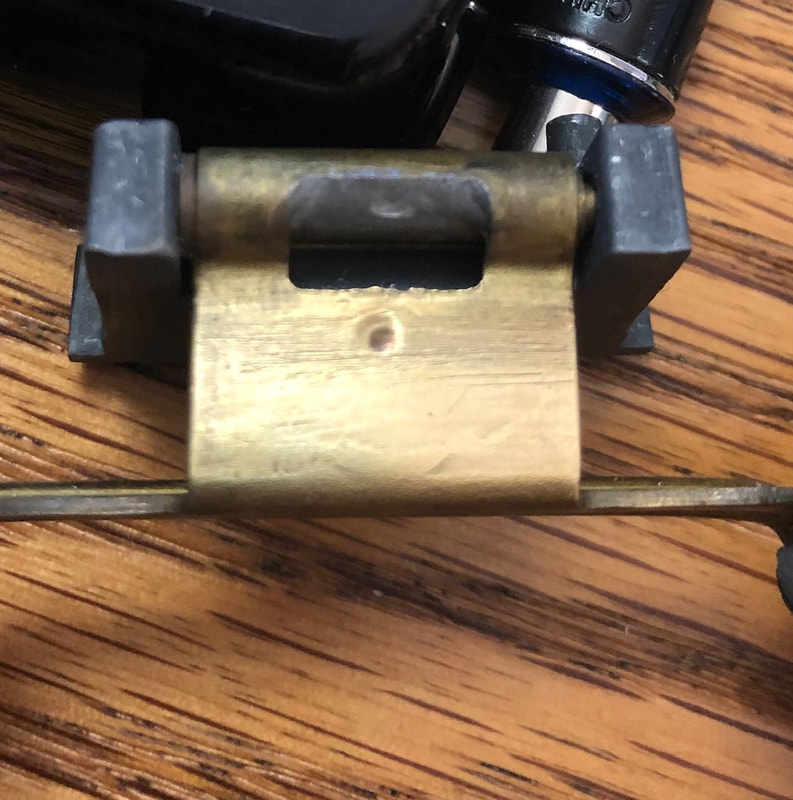 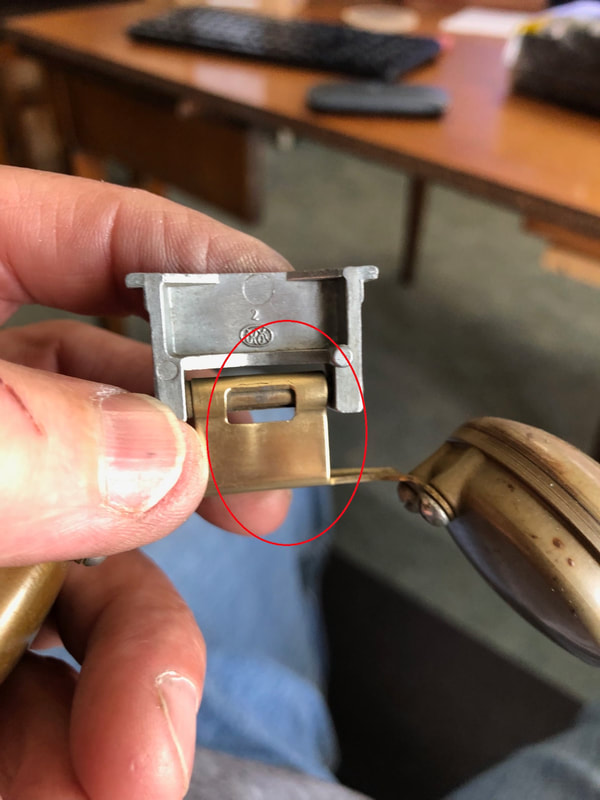 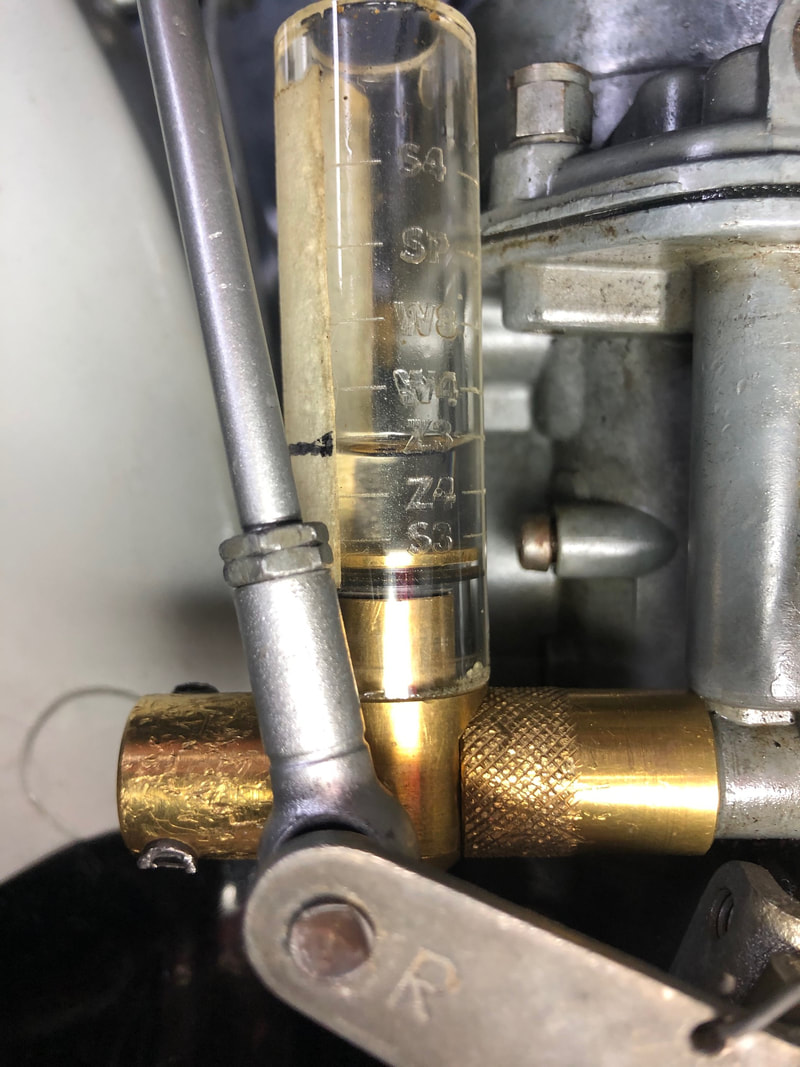
0 Comments
Miss April is a runner! Took the car out today and put on about 25 miles. Pretty good performance- not perfect, but pretty darn nice. It was a real treat to spend some time driving the car instead of working on it. There is plenty more to do before it becomes a real "driver". Next week I will drive it to a paint shop to correct a bad spot on the drivers side rocker. Once back from paint, it will finally be time to put the door panel on the drivers side, along with threshold materials and then door seals. Once those steps are in the books, the car will look completed. It won't be done though, there are lots of projects to do underneath- mostly steering and suspension. Anyway, Miss April now enters a new phase of being a running car that is being worked on. So much fun to be this far along now! Photos taken today are below. 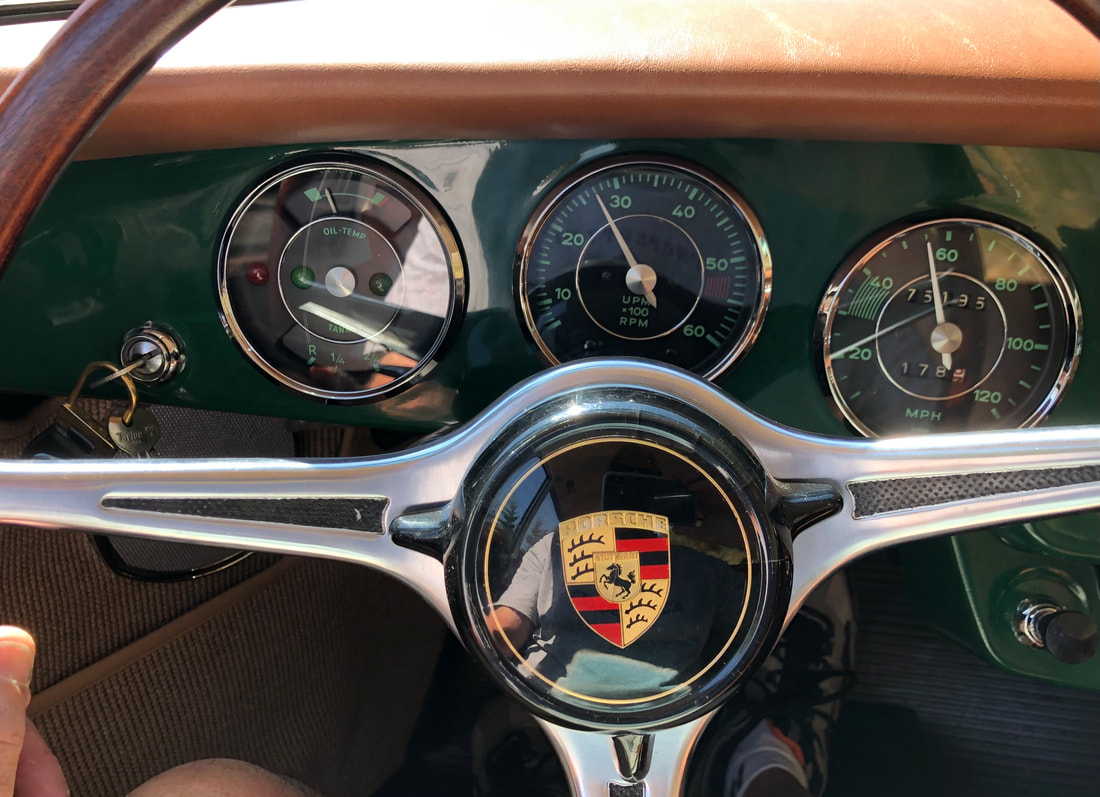 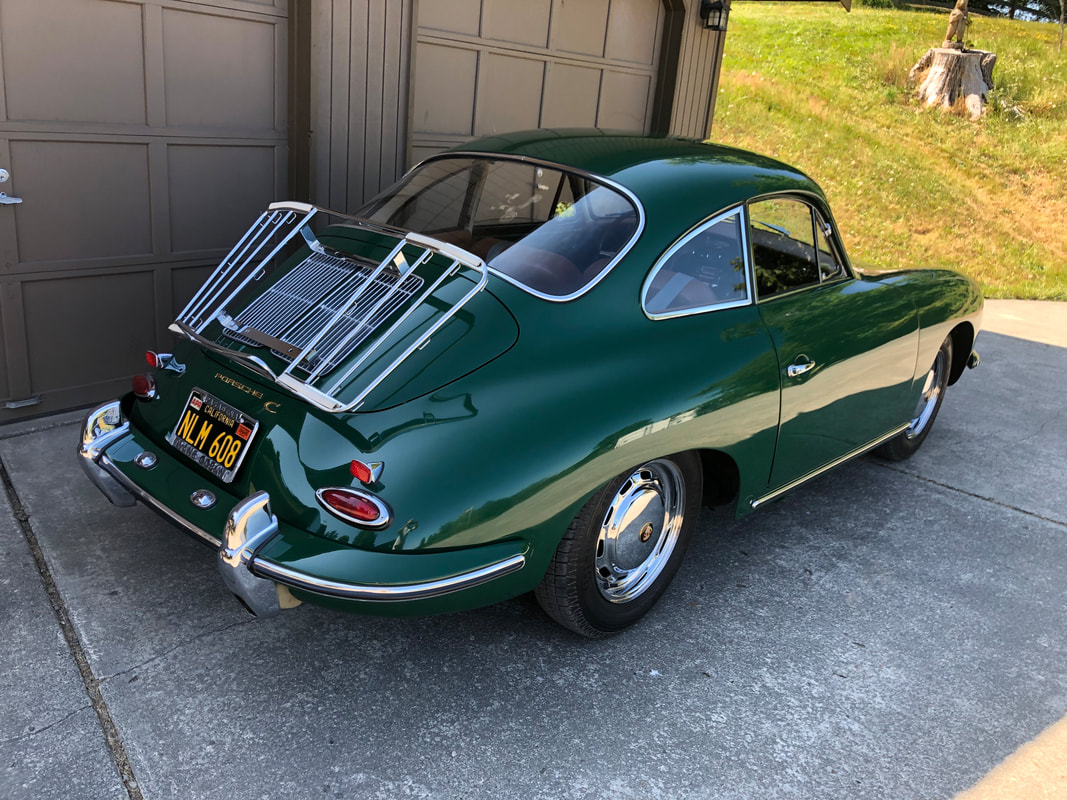 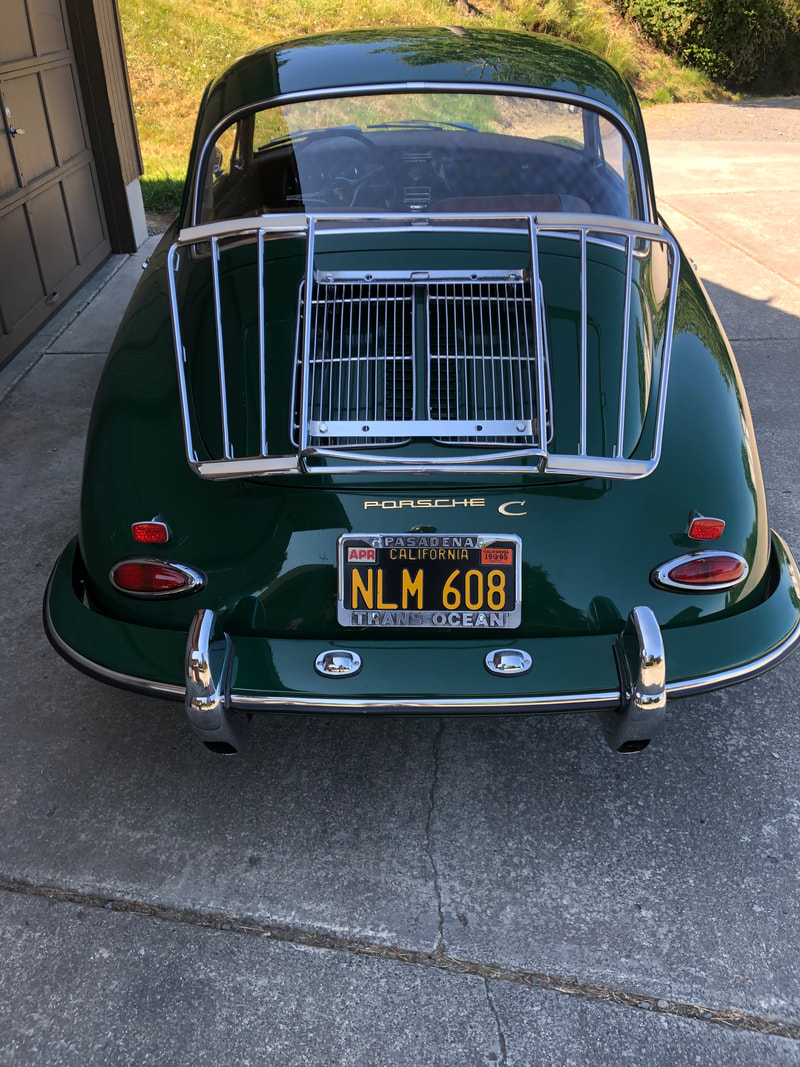 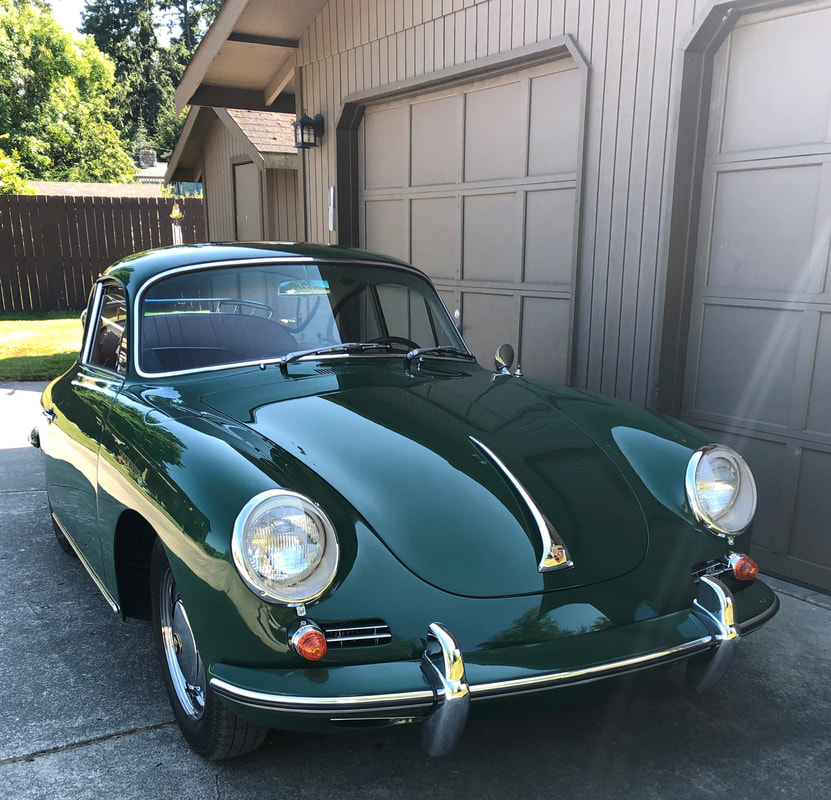 Buttoned up the passenger door this weekend and I'm happy with the result. Moving on to the threshold and then finally the door seals. 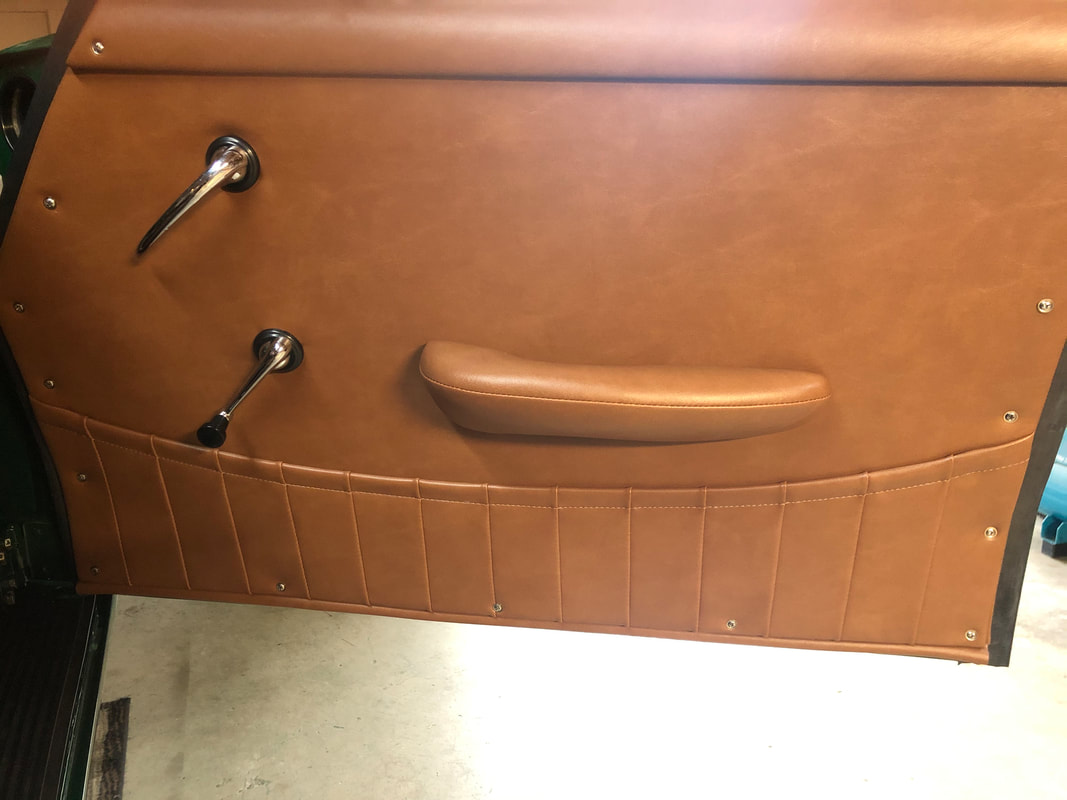 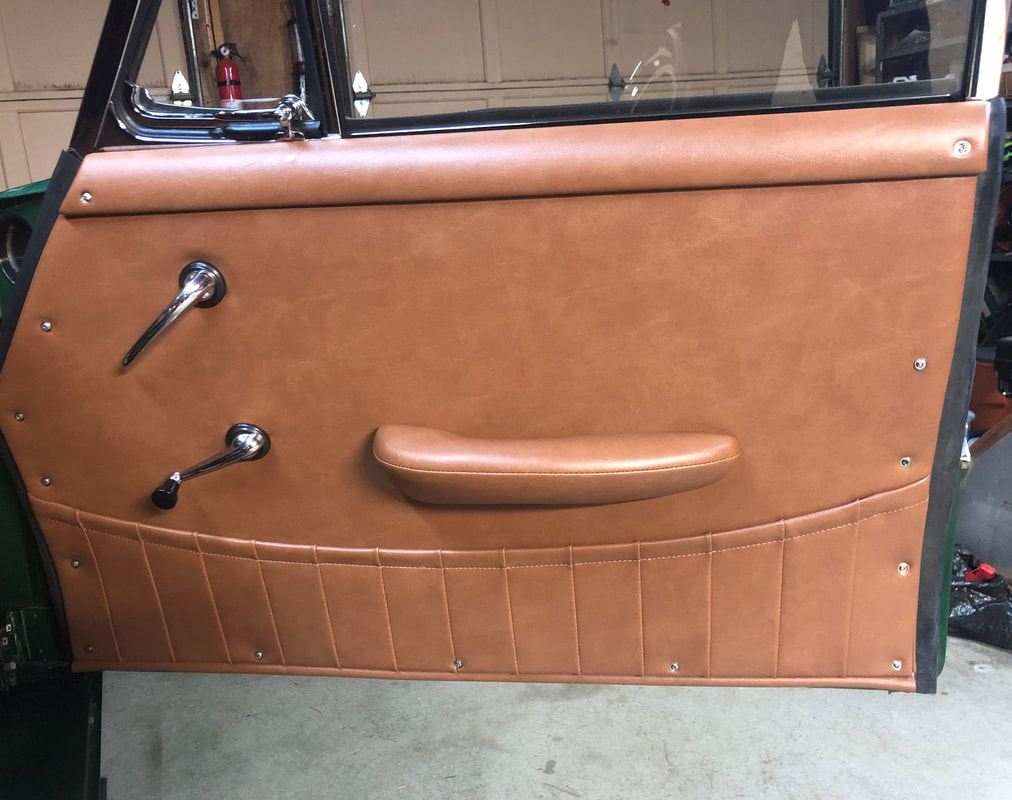 Many parts on these wonderful cars were date stamped or date coded by the manufacturer. When this is found on the part, it's easy to tell if it's original or otherwise. Please check out the Engine & Trans Section of the website. If you head there and scroll down a bit (below the Kardex), you'll find 18 photos of date stamped and date coded parts on Miss April.
.... the engine is back where it belongs- in the car! It's great to hear engine music again. There is a long list of work to do, but the car starts and runs. The engine compartment will look better once I make some insulation for it. Still have to finish the interior, mount the rear bumper, finish the engine lid grills, etc. etc. etc. But, this sure felt like a BIG step forward! Video below is a bit shaky, but what the heck. Make sure your sound is on to hear the nice idle! I have bought several rolls of shredded coconut fiber to use as matting under rear seats, behind carpet, etc. It was the closest thing I could find to original material that many people call "horse hair". The only place it actually shows is if you lift up the seat pad for a rear seat. Now comes the time for doing the padding under the main rubber mat in the cabin. Many restorers use peel & stick sound deadening pads from places like Dynomat. Too modern for this originality freak, even if it makes the car quieter and provides a nice cushion for the mat. It's just not my style. Fortunately, when I removed the original horse hair mat, I was very careful. I was thinking I wanted to keep it is good shape to make a pattern for the replacement. But, no close replacement is available. As you can see in the photo, it is actually in good shape except for one hole at the drivers foot area. What should an originality nut do? Restore the original pad of course. I painted it all black again and glued a layer of roofing felt on the back (under) side. Next step was to cut out the hole and insert a section of the shredded coconut (called "coir"). I then sprayed it heavily with undercoating and then another coat of black paint covering that area. Happy with the results. Time for the rubber mat! 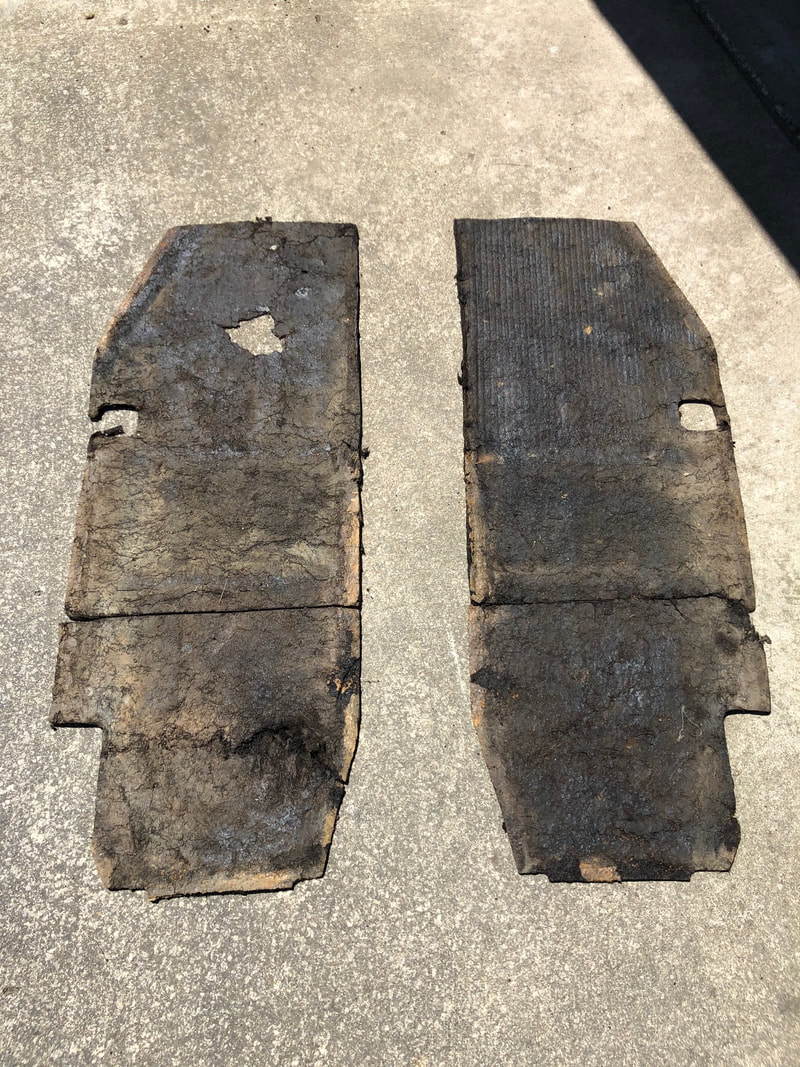 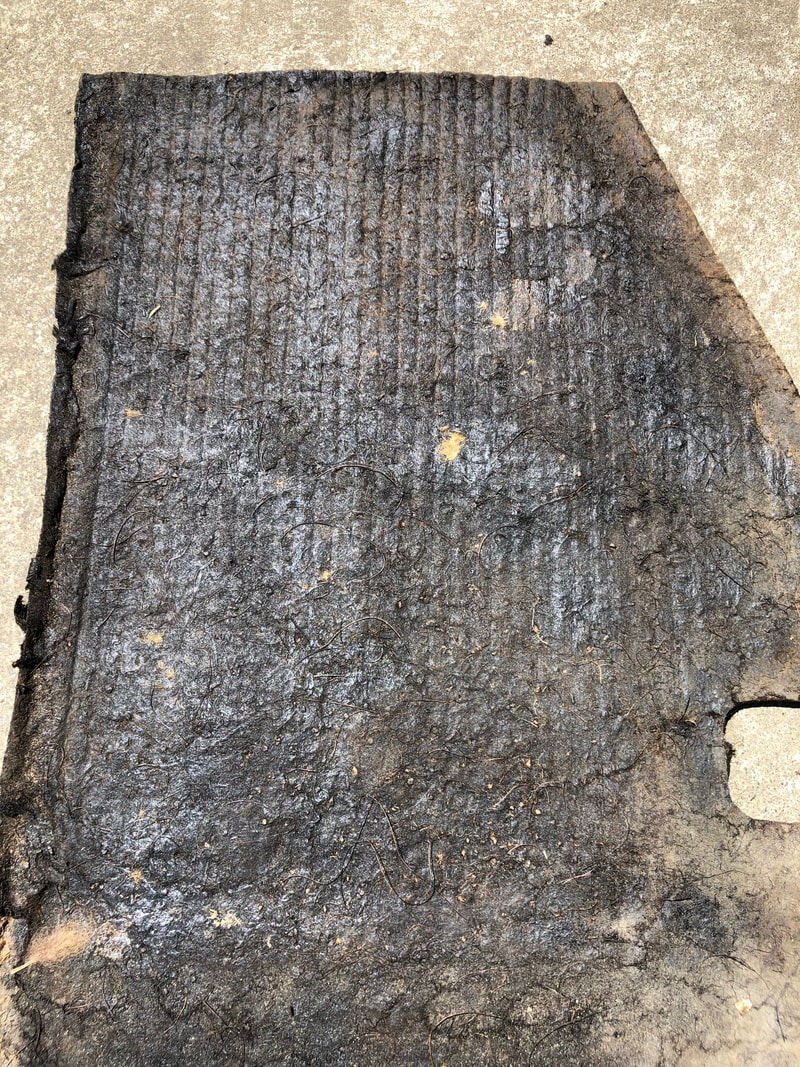  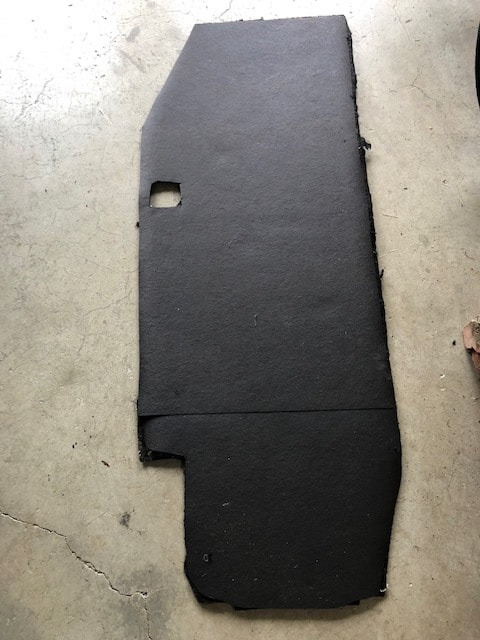 Photo below shows the repair patch where the hole was beneath the foot pedals. 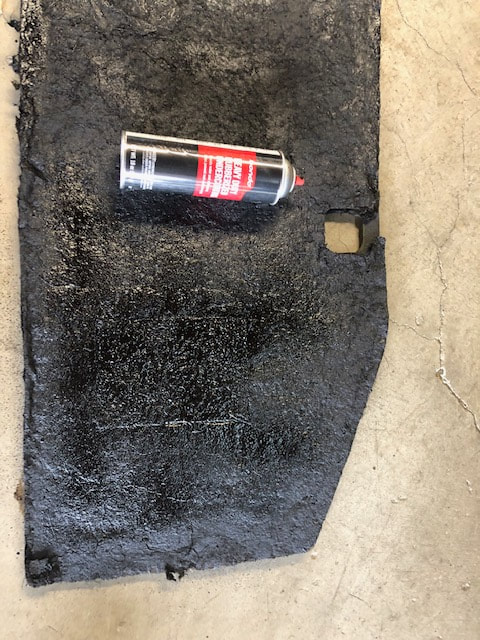 Next step was the floor mat. I took care to remove the snaps from the original and reuse them on the replacement mat. I was also able to save the original rubber pedal covers. 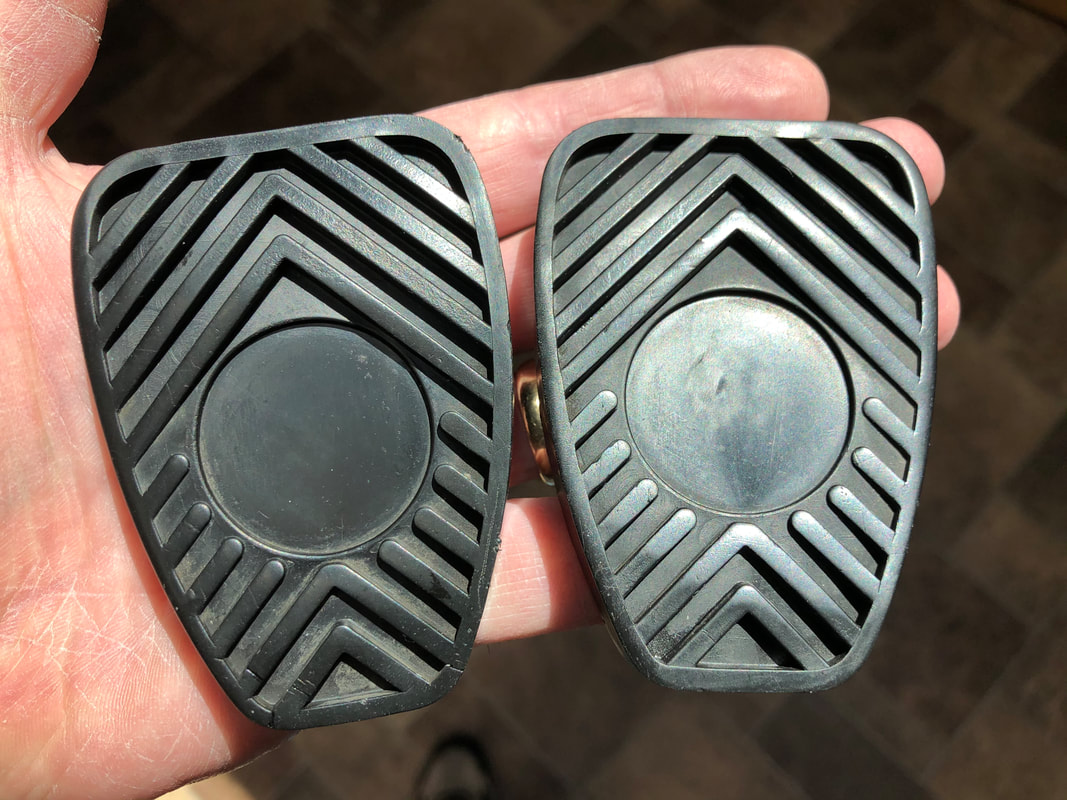 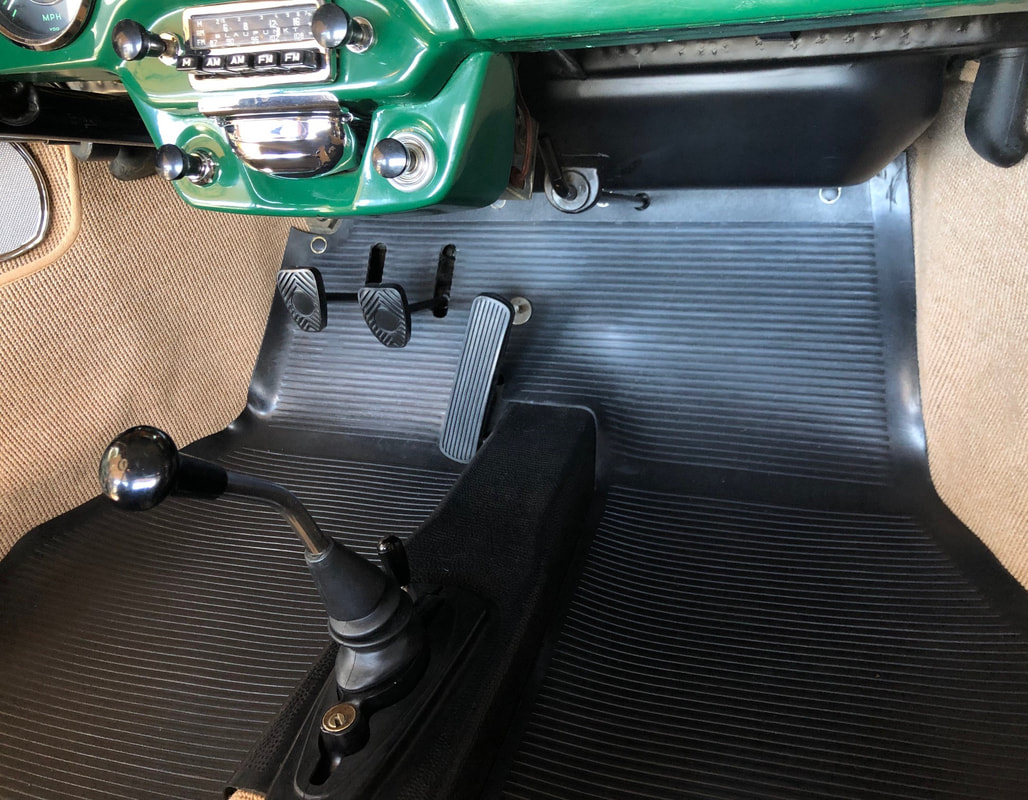 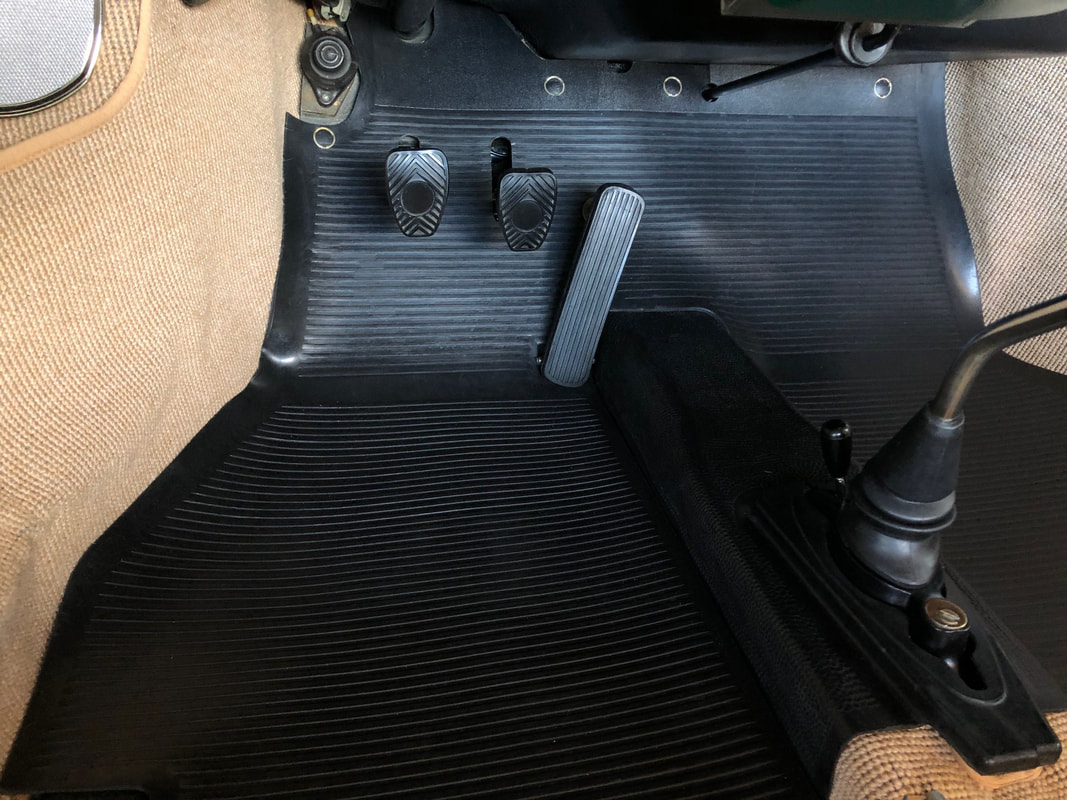 Was able to get the seat belt anchors installed this week, so I snapped in the restored TEKA 3 -point seatbelts. I'll get some better photos later, [ NEW PHOTOS NOW ADDED] but just wanted to share that this step is complete and I am now turning my attention to the padding for the rubber floor mats and then finally, I might get the front seats installed! That will be exciting! 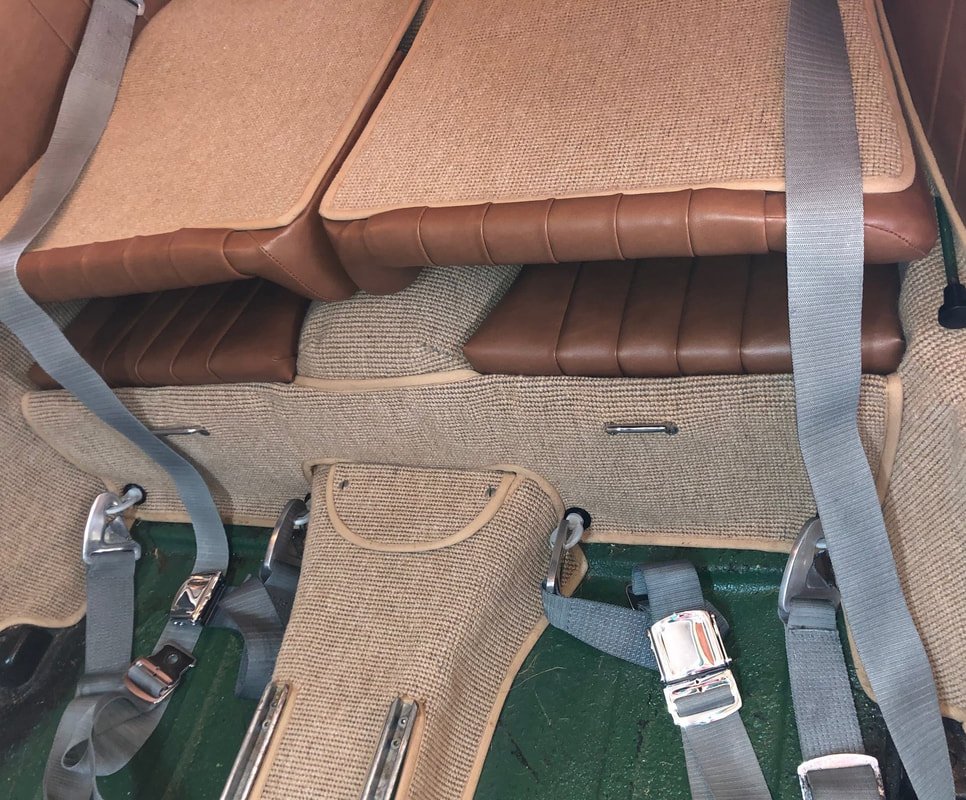 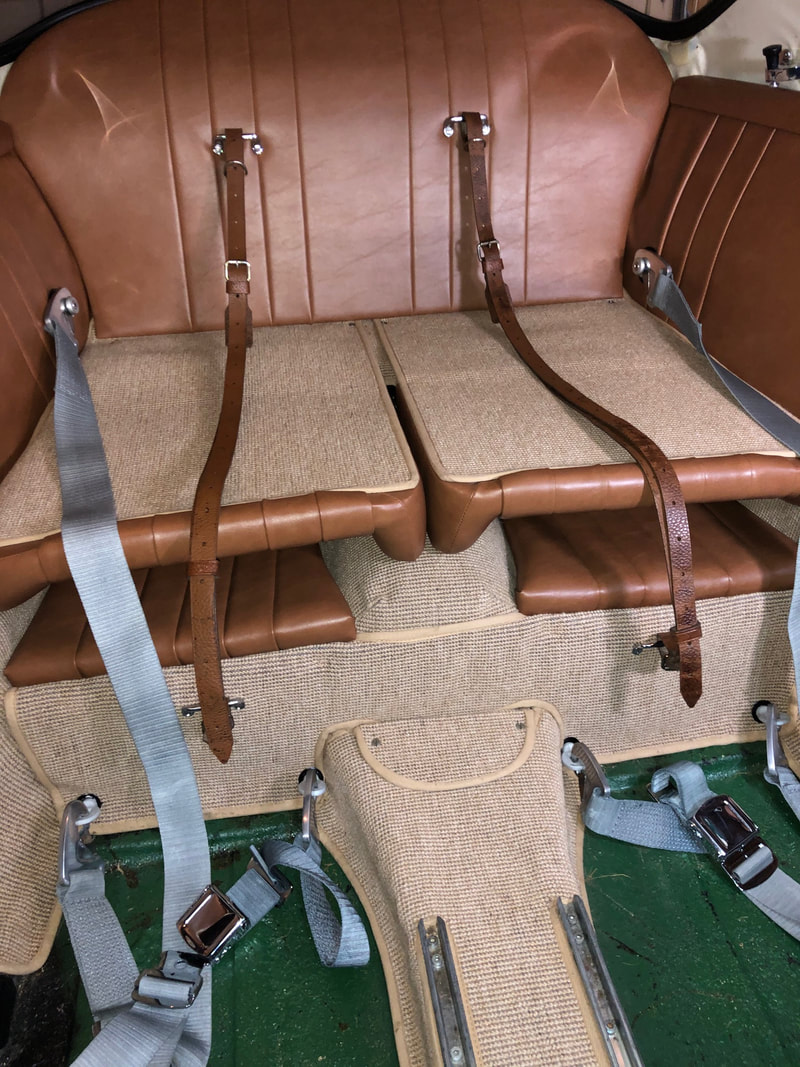 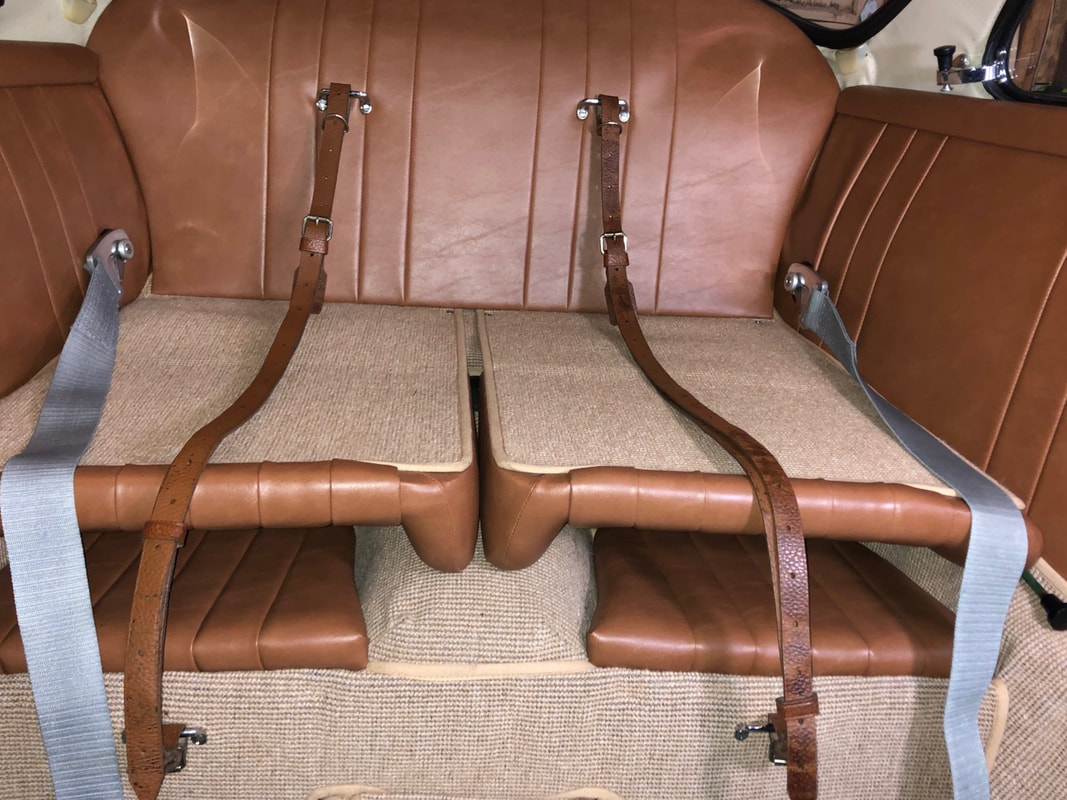 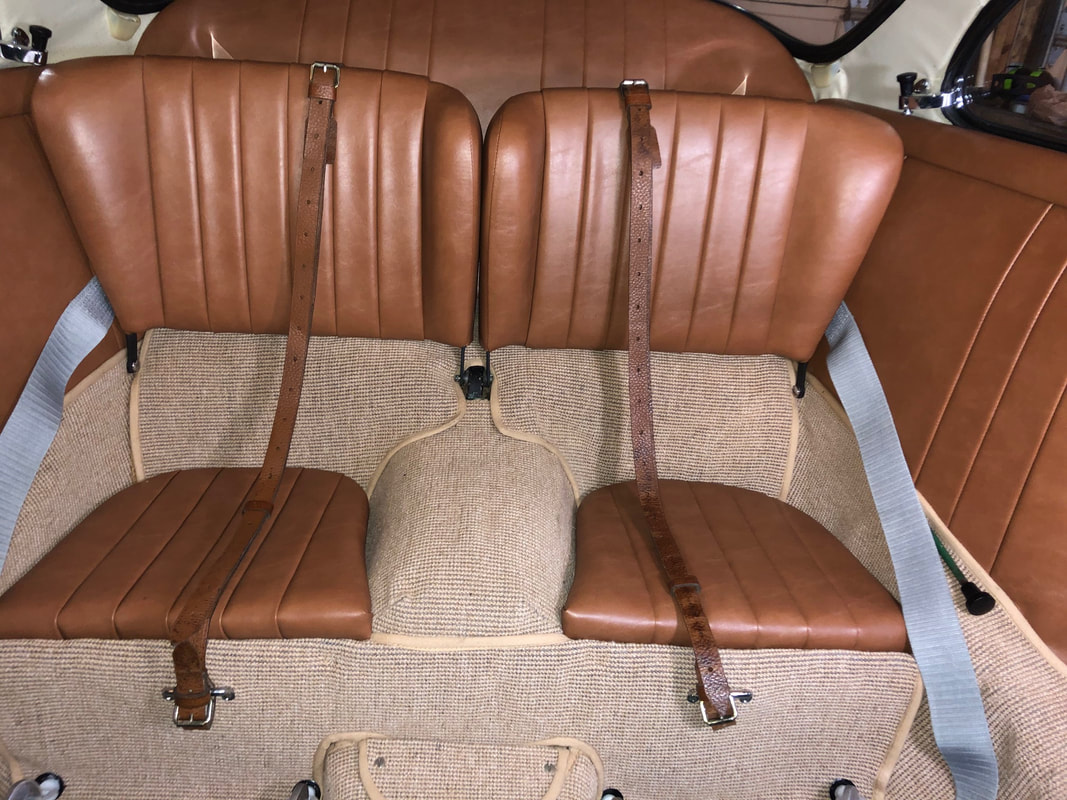 Note, there are three pieces behind the actual anchor bolt. An outer flange, a collar/sleeve, and another flange that is hidden behind the carpet. The carpet is then sandwiched between the flanges, with the tightening being limited by the collar. First photo below shows the parts to assemble (before clean up and painting). Second photo shows how the carpet is squished between the flanges. 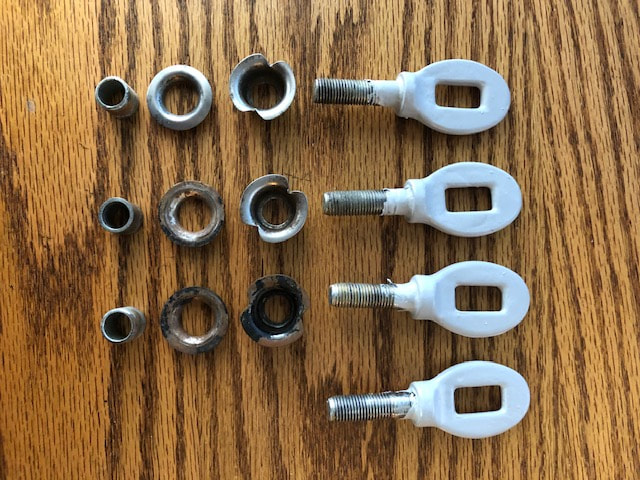 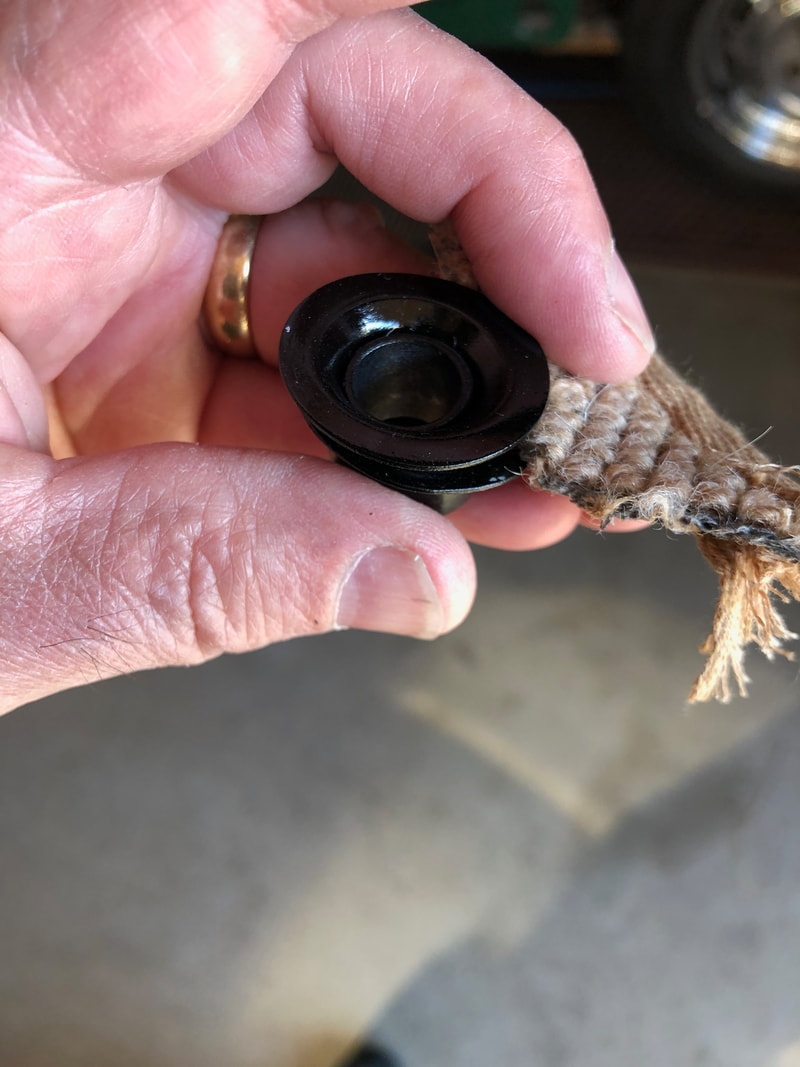 Spent just enough time working on the battery box this weekend to finalize the area. It is DONE! I installed a 6 volt battery with a vintage appearance VARTA battery logo. The logo piece is a fairly large plastic emblem (not a sticker) that I bought some years ago. The 19L battery size fits nicely. The freshly chromed rims now have Vredestine tires mounted, and the spare tire is held in place by an ORIGINAL leather spare tire strap.  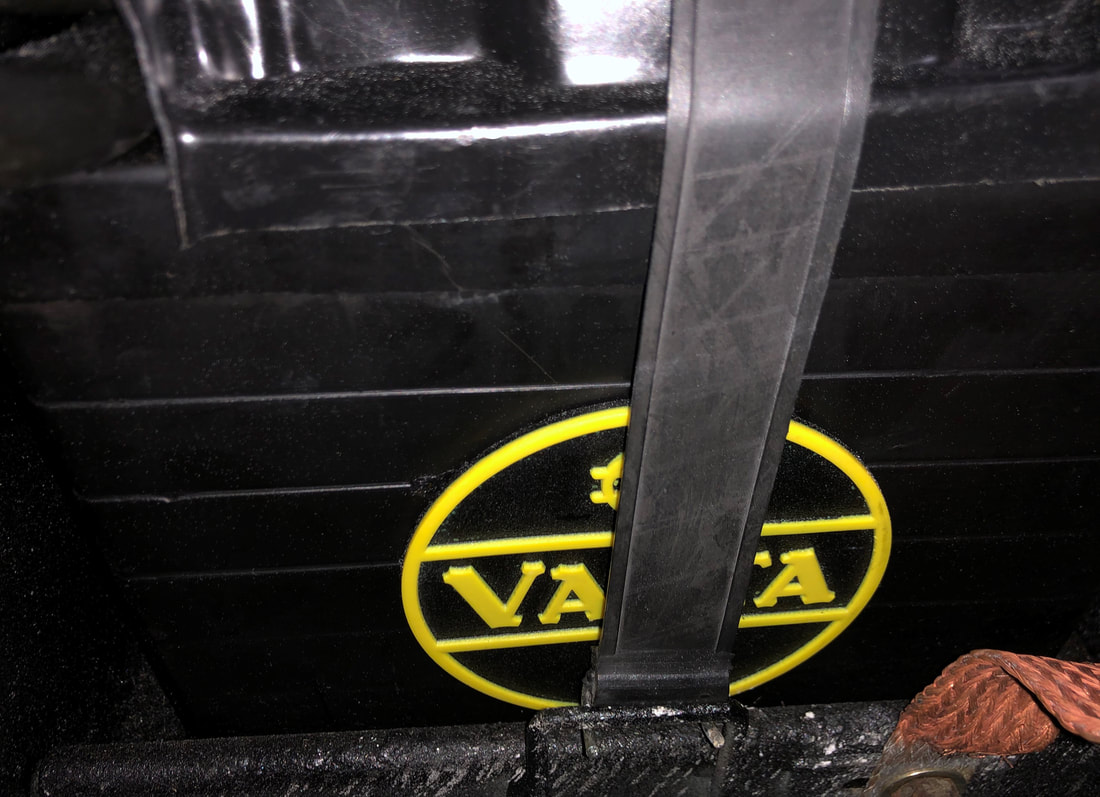 For better pictures of the tool kit- look here. 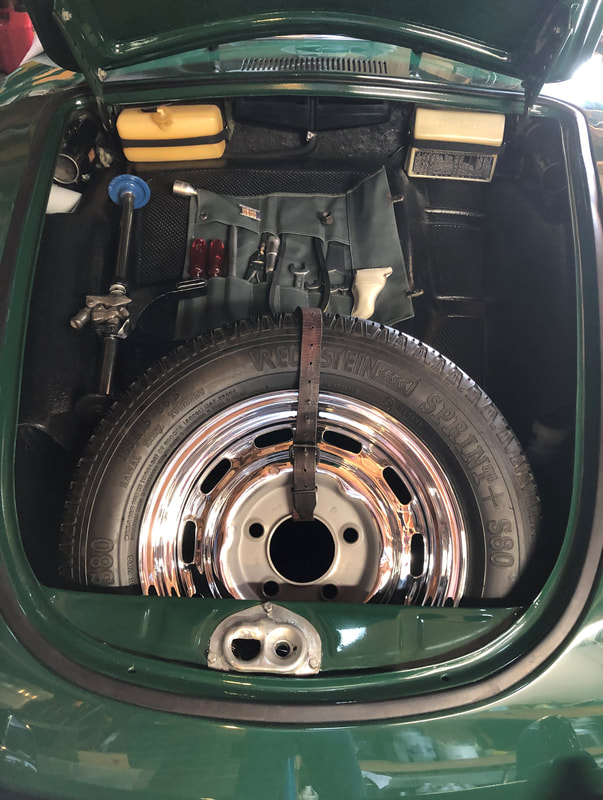 Here is how it used to look-- 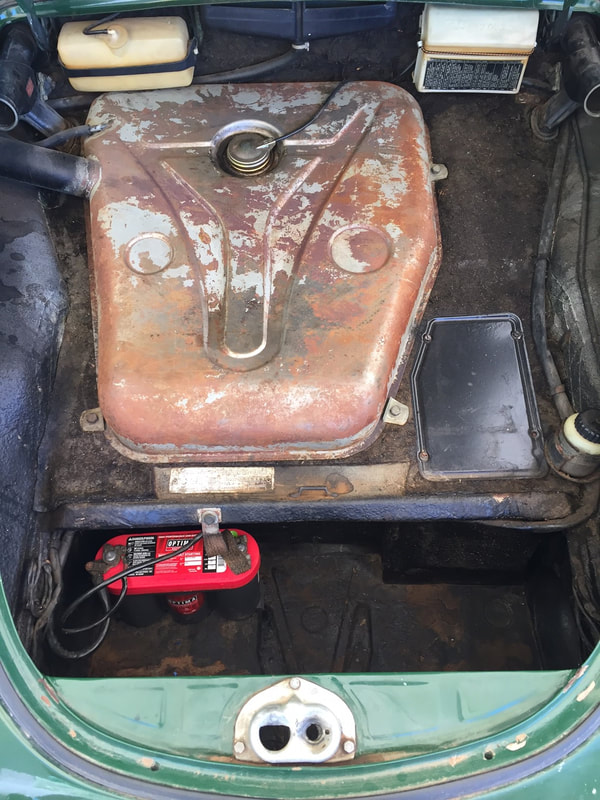 Well, not a Carpetbagger in the strictest sense. The term Carpetbagger was first used after the Civil War to describe people from the North who headed to the South in a opportunistic way for self gain. I've actually become a bagger of carpet! I am using Weldwood contact glue to install the carpet, and with all the bends and contours of the interior, it is difficult to maintain pressure on the carpet against the padding. The weather here is not helping much either, we had rain with a high temperature of 50 degrees yesterday, so it's still cool and it takes much longer for the glue to set. We have a Traeger bar-b-que and it burns wood pellets for fuel. Really like it, and we buy bags of pellets on-line in different flavors. We also have a wood pellet burning heating stove (looks like a wood stove) that we use to supplement heat in the home. Both of these come in 40 lb bags, and the bags are very pliable. Using the 40lb bags, I can heap on the glue, get everything in position, and let the bag sit on the area for days. I am sure professionals have a better system, but that's what is going on in my garage. 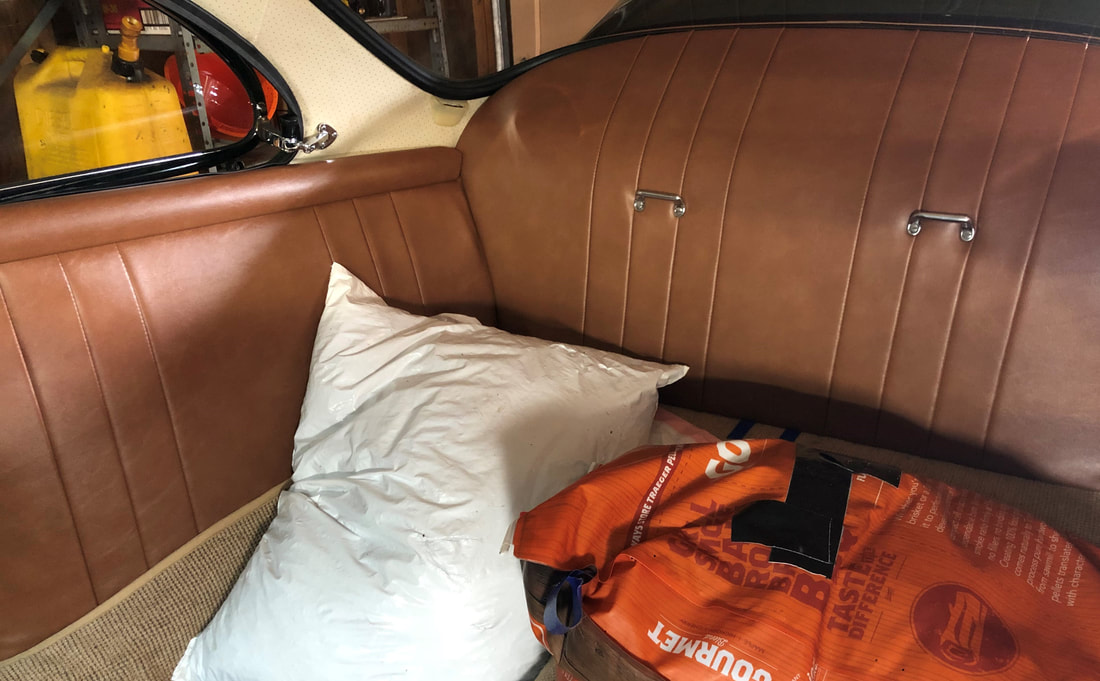 Yahoo!!!! Bling, bling, bling! My date matching chrome wheels are back from Perfect Custom Wheels in California. I had all 5 of them stripped and re-chromed back to their original luster. Opening the boxes was like Christmas morning! I used a set of 5.5" rollers while the car was getting painted, and now these original 4.5" wheels will be mounted to Miss April. Weather is finally getting warmer, so I'm also moving forward again on the interior, but for today, it is a celebration of chrome! Kinda proud of the NOS hubcap emblem too- 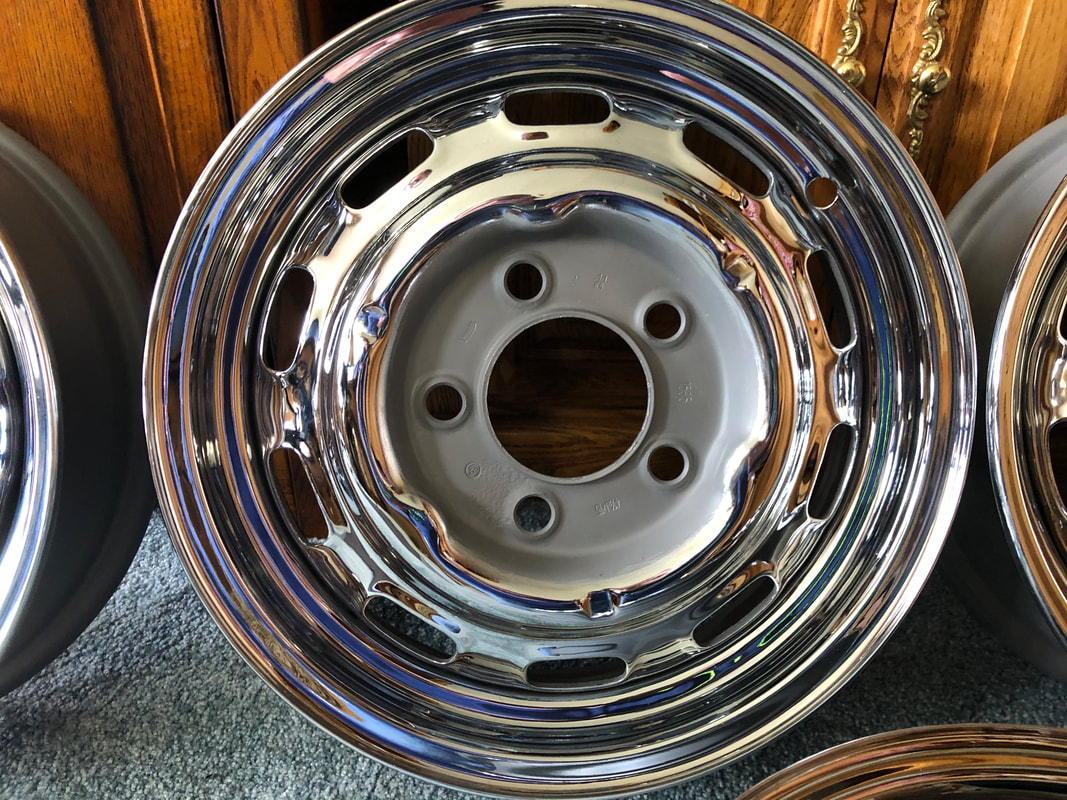 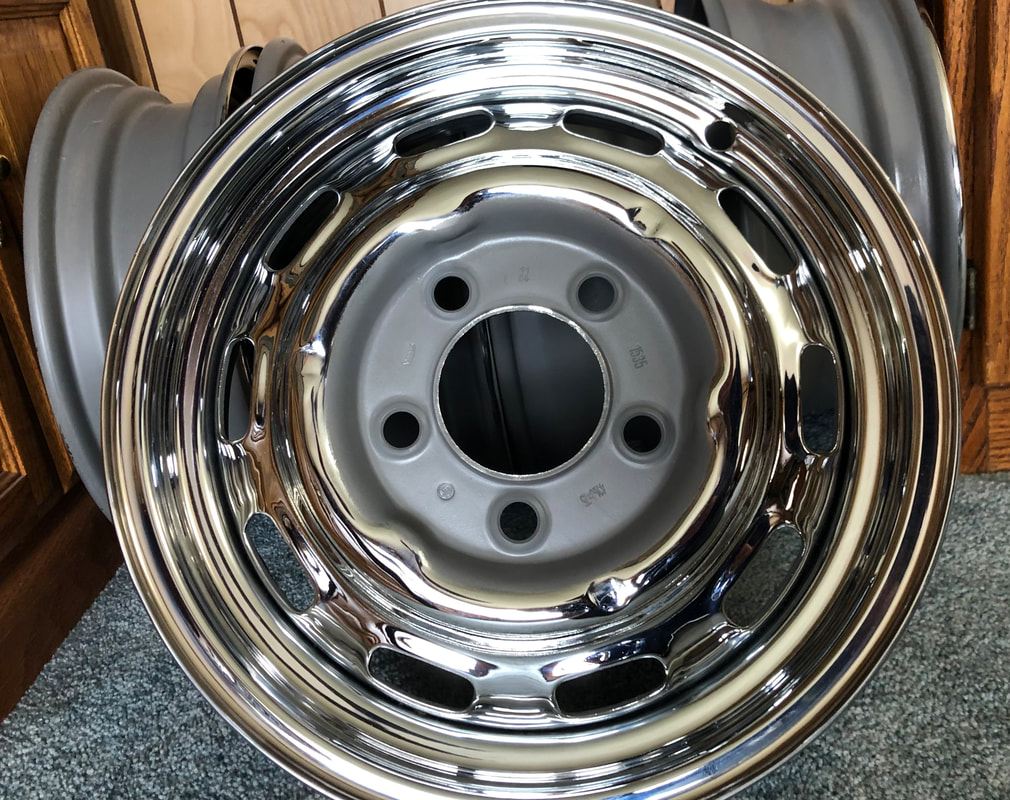 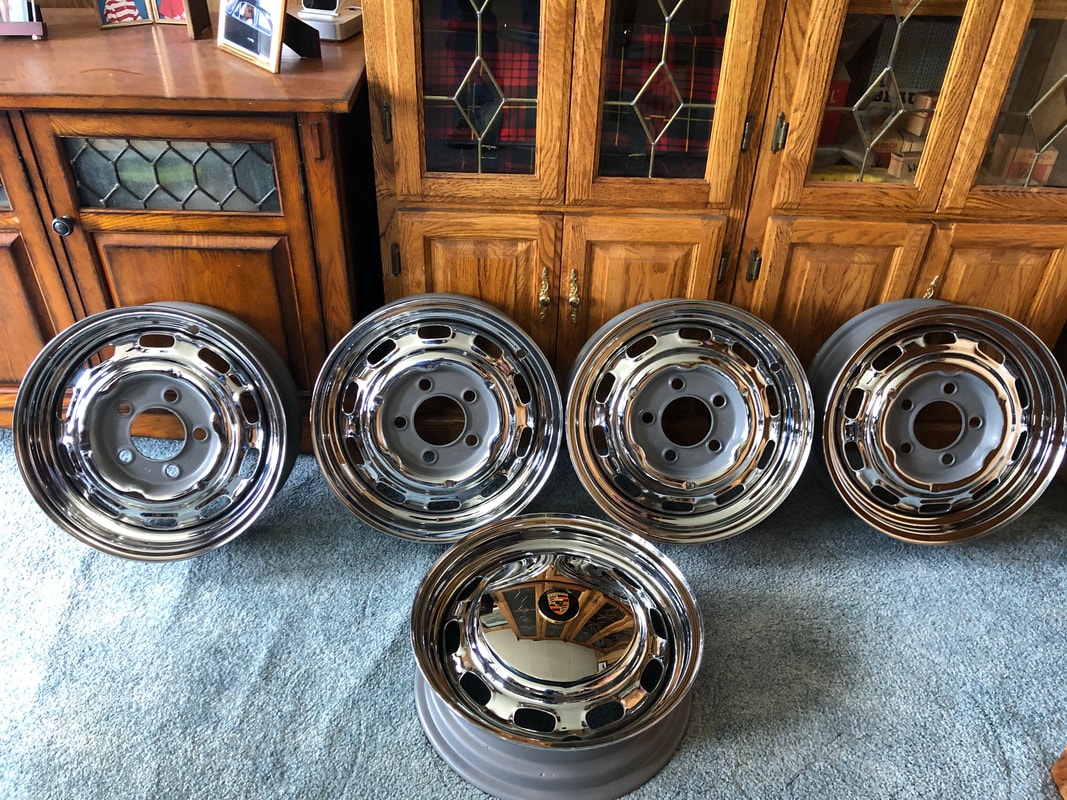 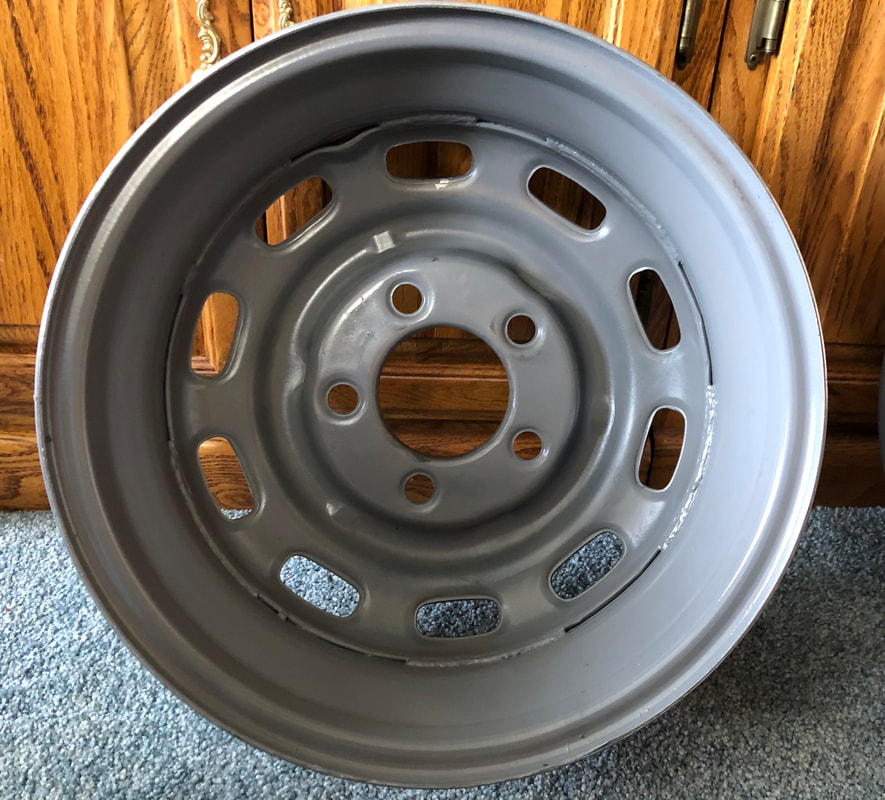  |