|
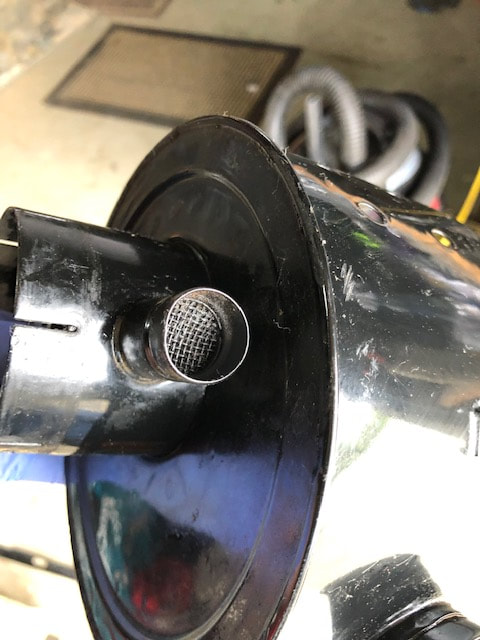
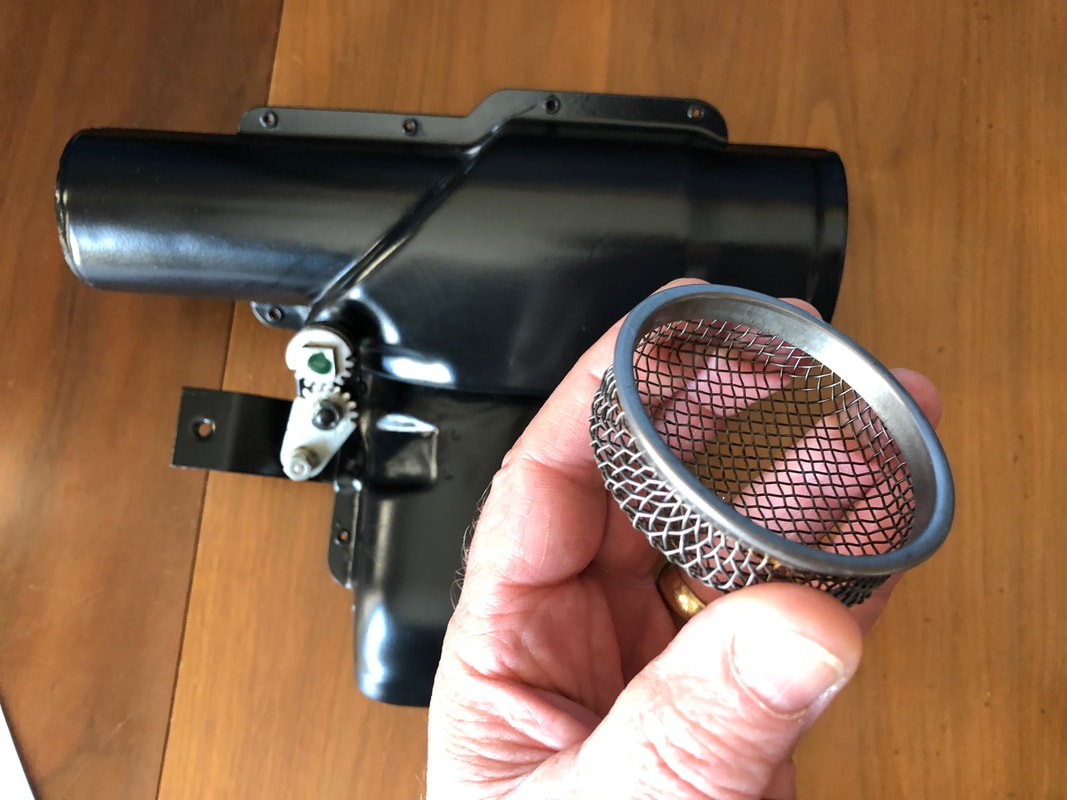
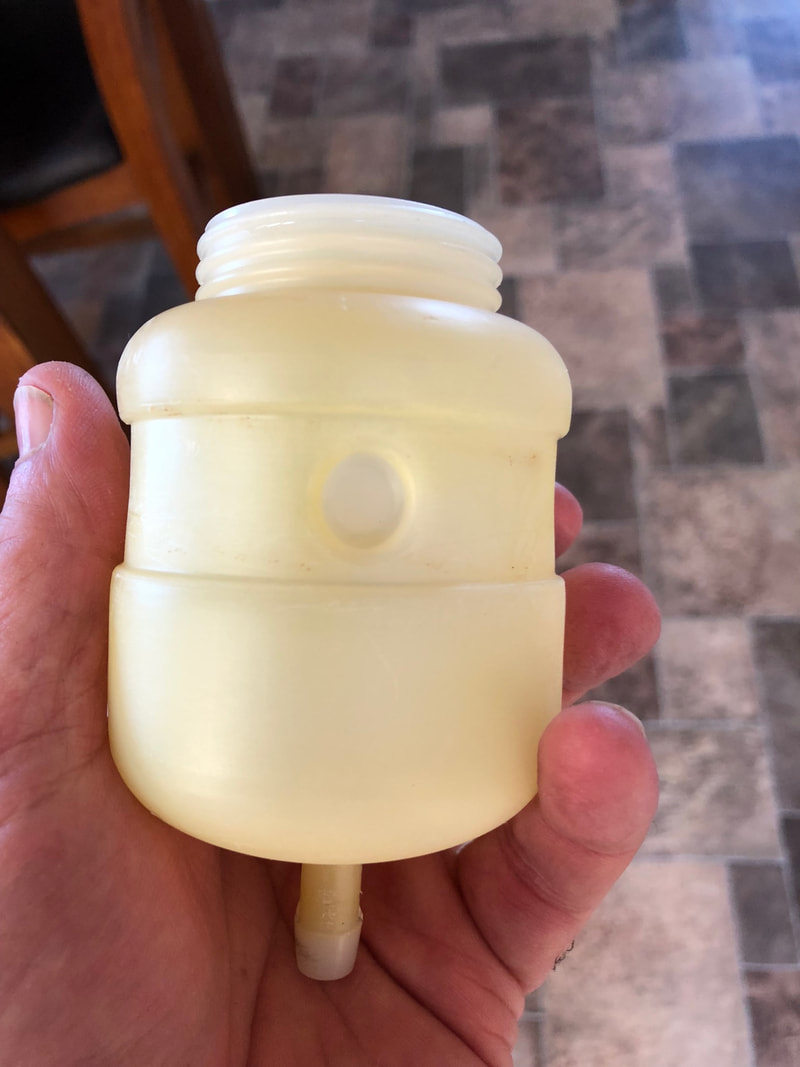
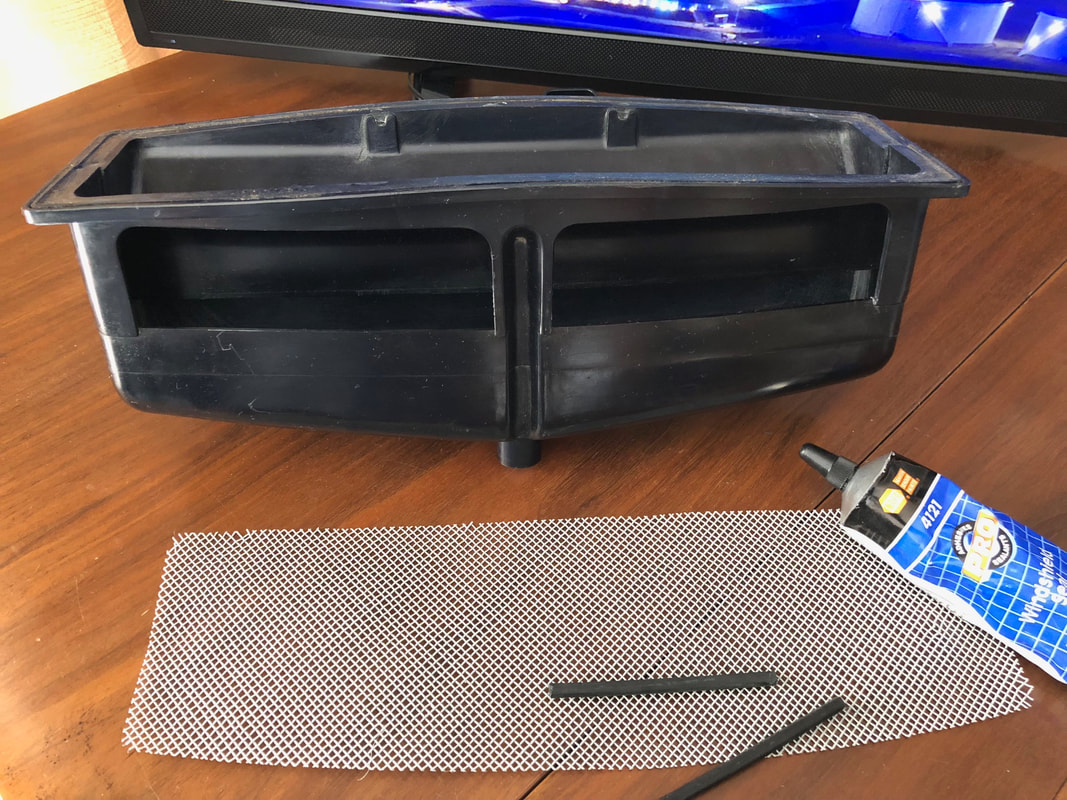
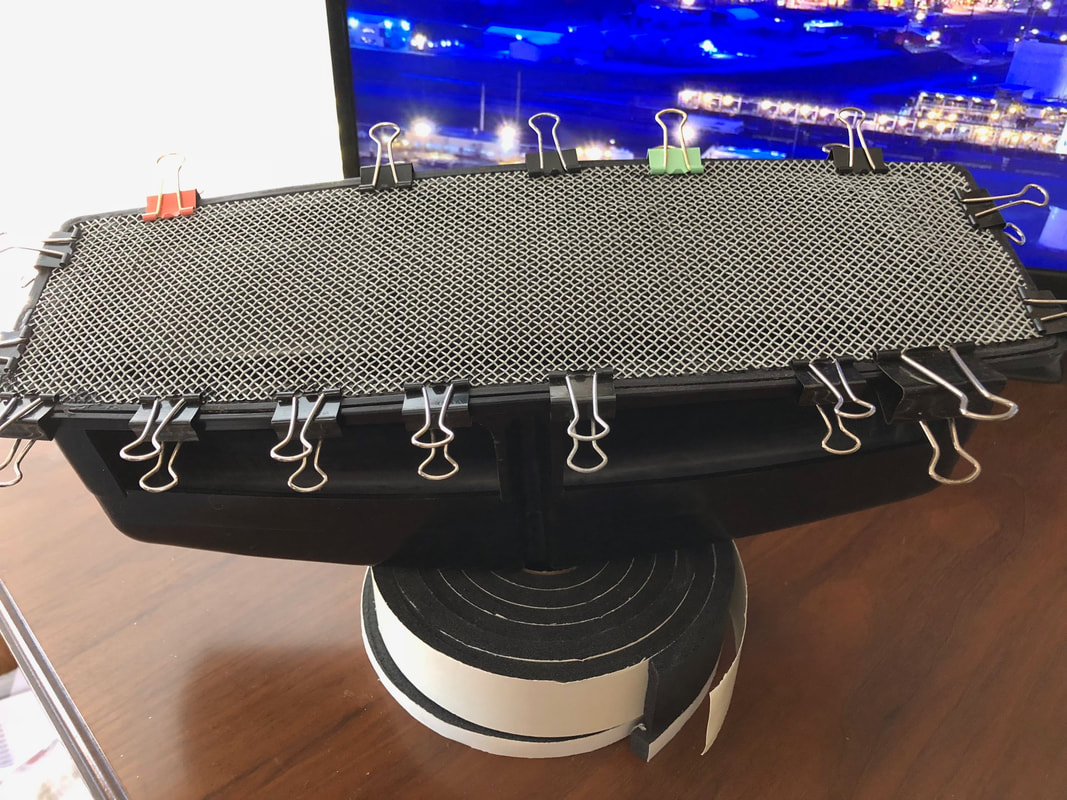
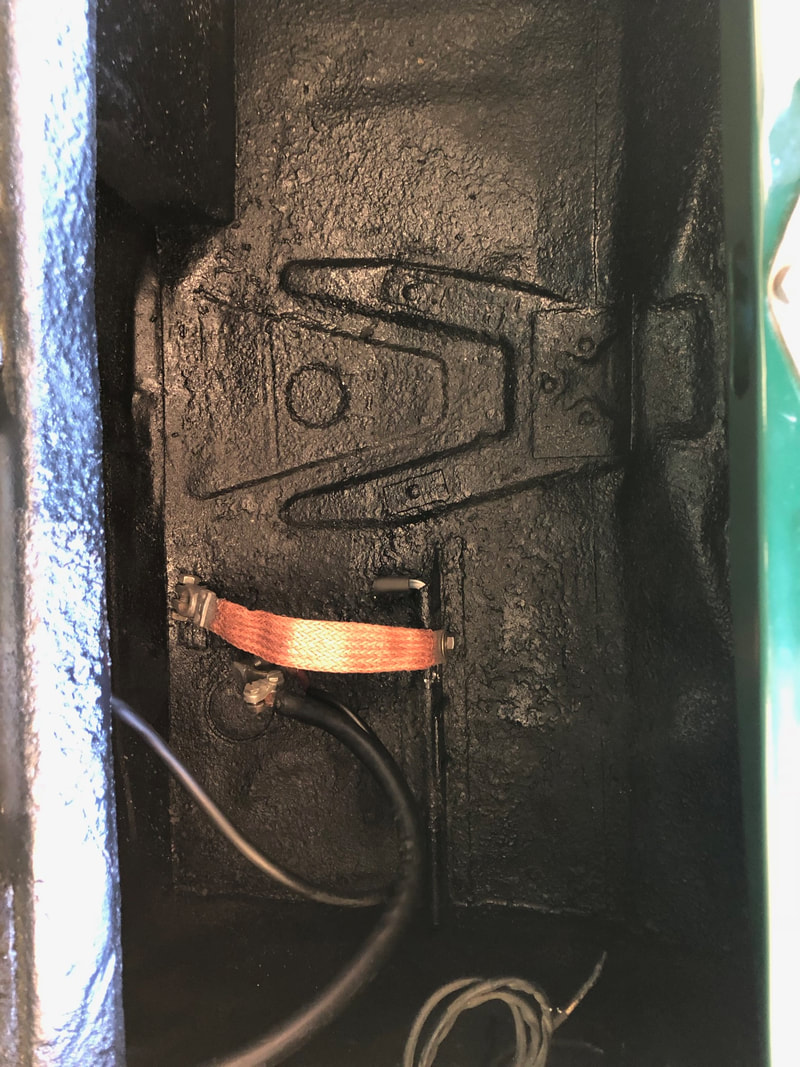
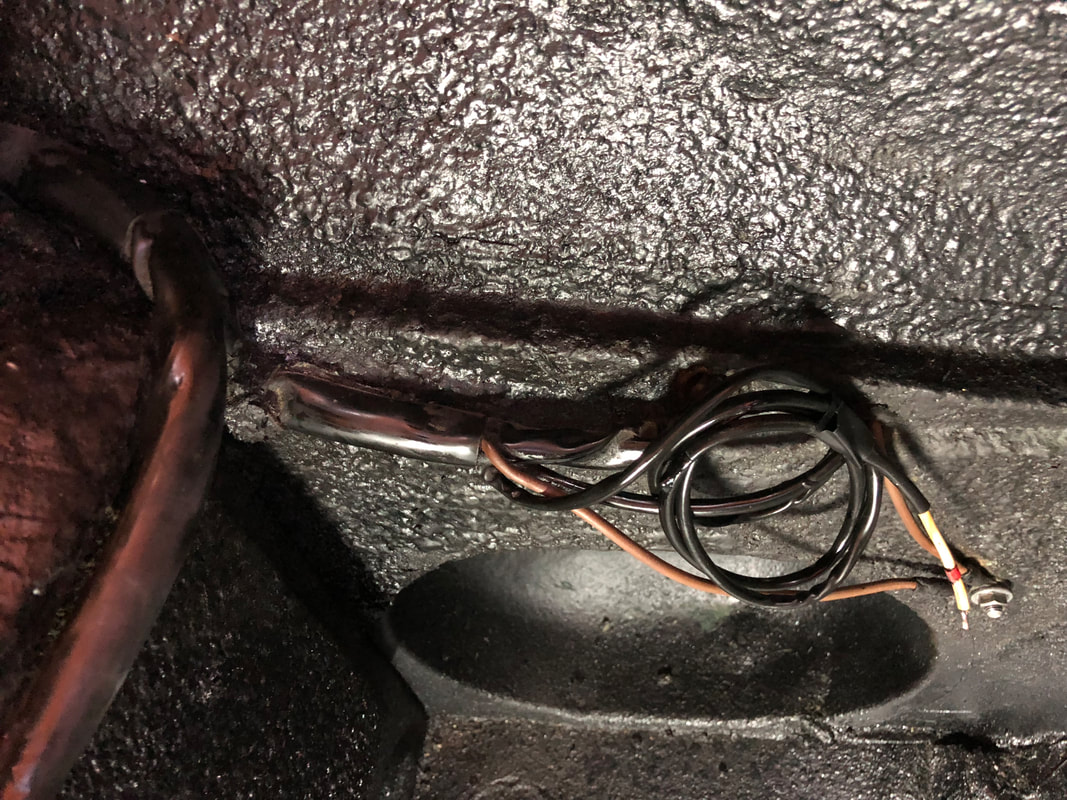
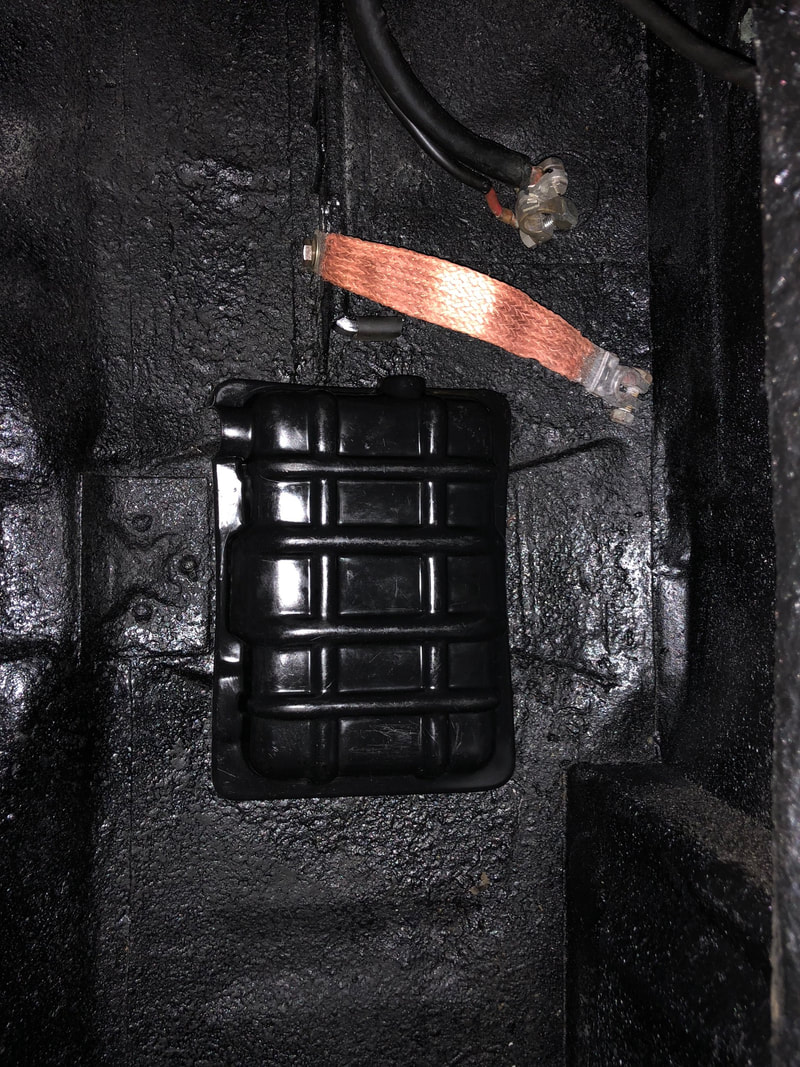
In the post below (Rattle Can Hatfield) I mentioned a filter inside of the tube coming from the oil filler can. I made several attempts to clean out this filter, and did get some flow through it eventually, but I wasn't satisfied that it would perform as originally designed. The 356 C is the only 356 that has this element (sometimes called a "flame arrestor"). Previous models did not vent to the carburetor, but instead they had a line directly from the oil filler can down to atmosphere below the engine tin. The venting to the passenger carburetor was likely do to legislation requiring a more closed system. By the year after my car was produced, this flame arrestor was moved, and was inside the outlet tube of the oil filler in the 912. In the photo below you'll see an example of the 912 flame arrestor. It is larger than the 356 C one, and does not fit in the oil filler of the 356 C, nor in the air filter. It is obvious now that the reason the 912 hose from oil filler can to the carb has different diameters- the oil filler tube is larger because this flame arrestor was installed. Back to my air filter housing. I decided to remove the part for better cleaning. Below is a photo of the primary screen, secondary screen (finer) and a wad of brass wool. I left the innermost screens in place and was able to clean them up in situ. The full assembly consists of primary screen, secondary screen, brass wool, secondary screen and primary screen again. After cleaning the screens, I installed new brass wool. Photos show the cleaned original wool and my replacement brass wool. This was not an effort to get better filtration. It was an effort to make sure my engine vents. The 356 C has unvented valve covers, so this is the ONLY path for engine venting. I guess Miss April just wanted to vent! 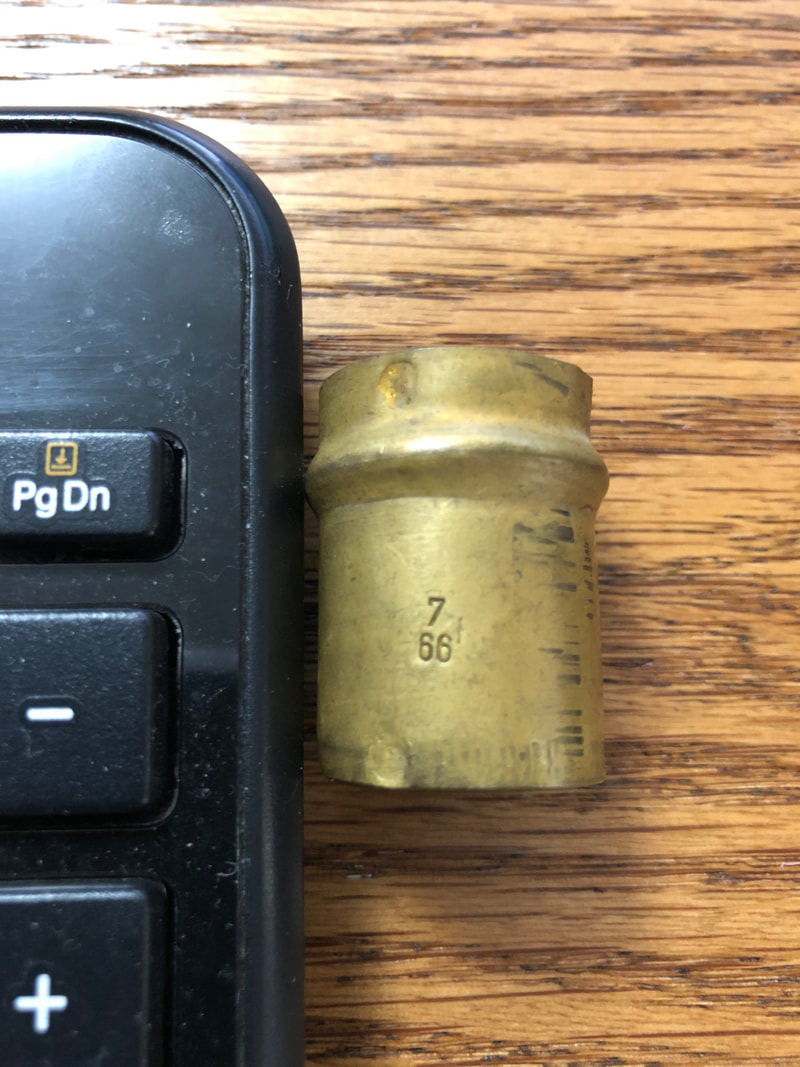 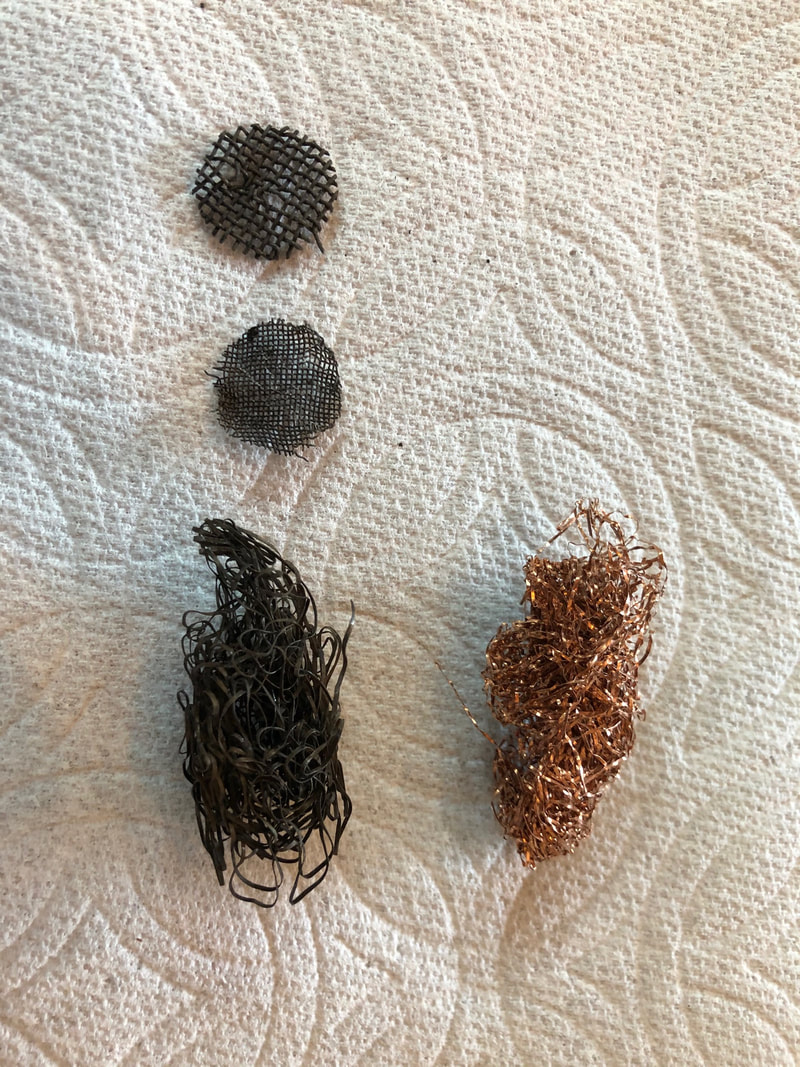
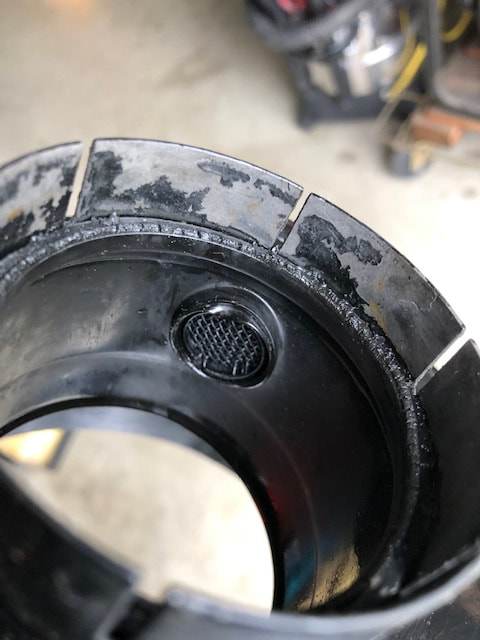
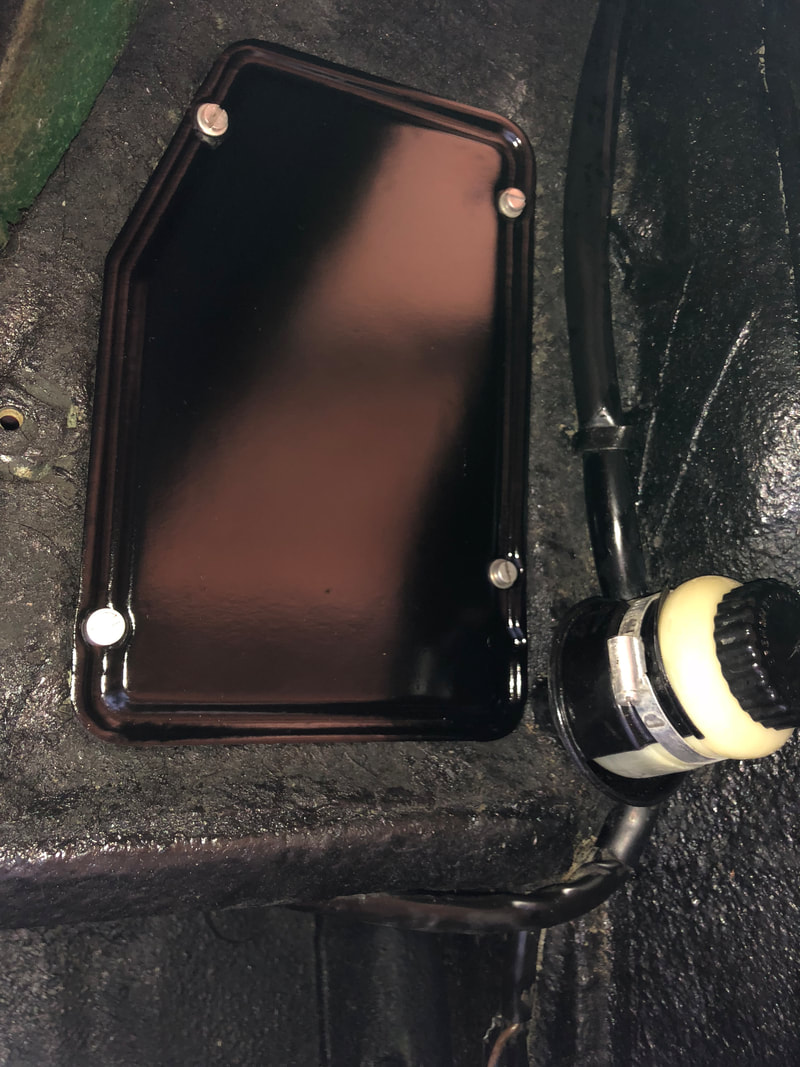
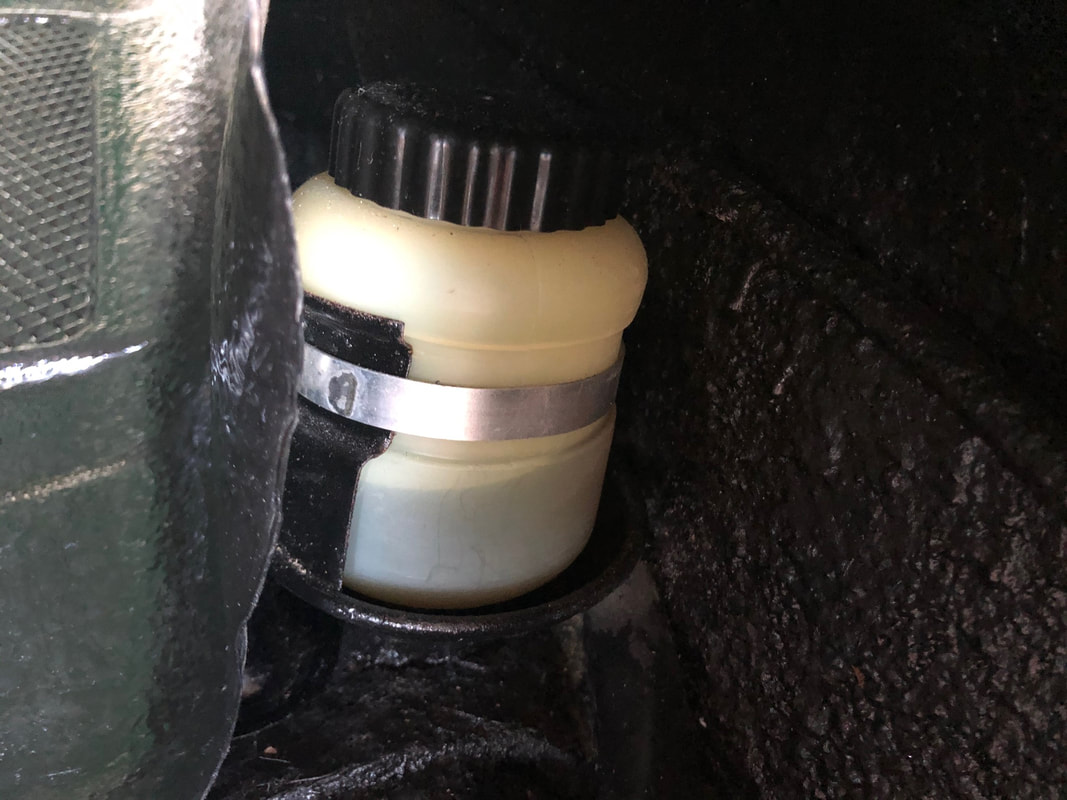
2 Comments
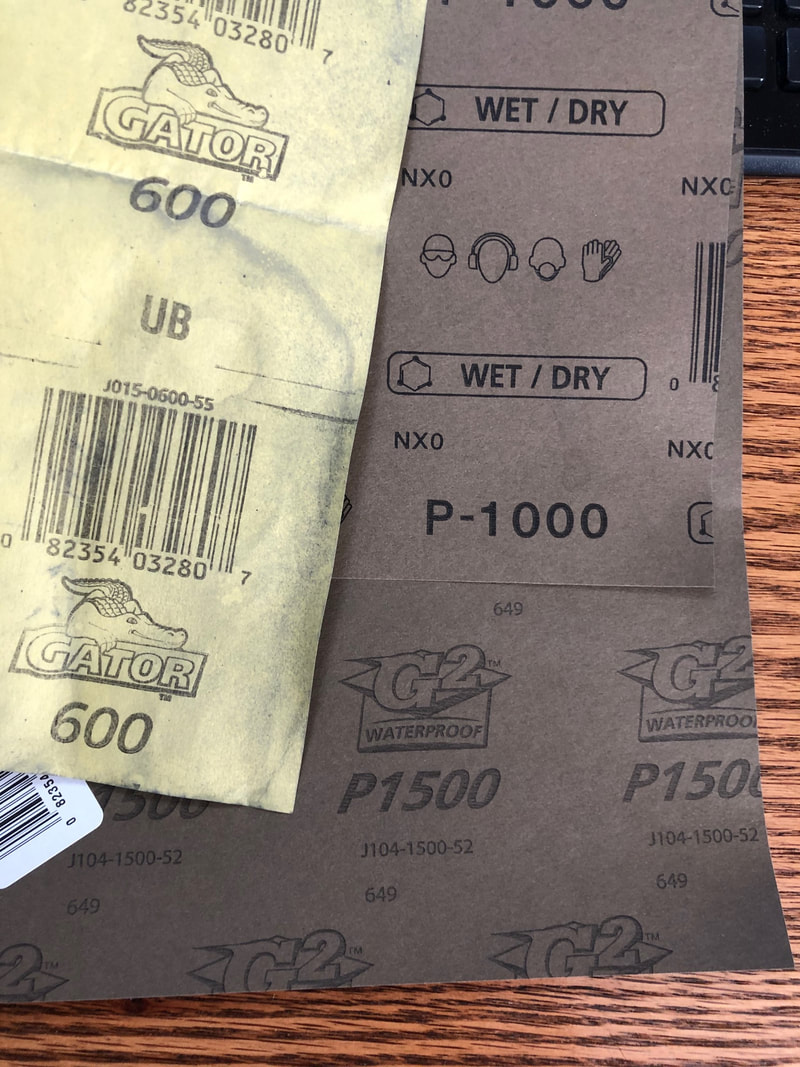
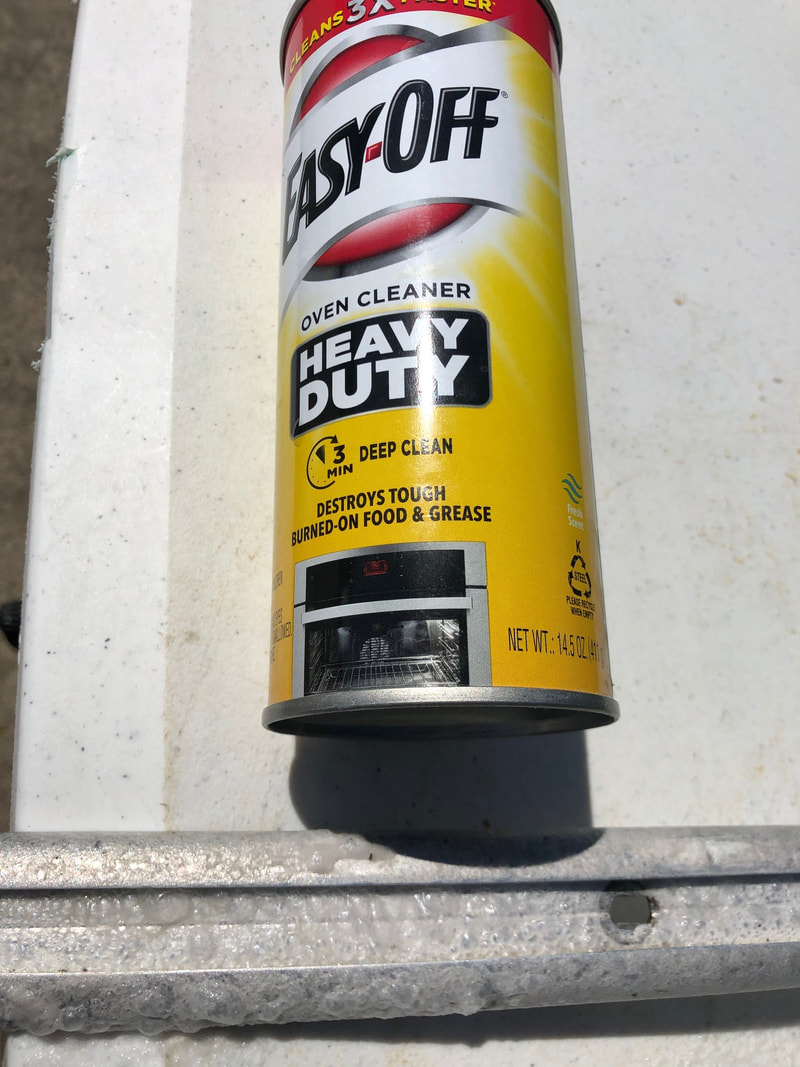
I made the decision not to do any powder coating on the engine. I'm not against powder coating, in fact I used it on all the black metal pieces of my last engine and thought it came out great. The process was simple too. I just dropped off the dirty/greasy pieces and then came back in a week after the parts had been media blasted and coated in a black sheen that was really close to the original. Wrote a check and was done. My obsession with originality will not allow me to do that this time. I want to get the trim to look like it was done at the factory, complete with a few paint runs, some slight orange peel in a few spots, and wear and fade just like the original stuff. I know,,,, nuts. This weekend I cleaned all the black tin pieces and ran into a couple of unexpected things. The first was the existence of a wire mesh filter in the bottom section of the passenger side air filter can (housing). This would only be found on 356 C cars, and it is inside the inlet that comes from the oil filler can. From having owned 912's in the past I knew there was one in the 912 filler can as it exits for the air filter, but on 356C, this wire mesh filter is inside the air filter housing- passenger side only. My drivers side can is the same construction and has provisions for this filter, but none is installed. The drivers side tube is left hollow, and there is a plastic cap blocking it off. To inspect this mesh I first tried to look through the filter with light- no light made it through! Next I held the can on its side and sprayed electrical contact cleaner into the mesh filter. The spray did not go through, instead pooling on the top. That is not good! I looked carefully and poked around to see if I could get the filter out, but without damaging the element, that was not going to happen. This passage must be free because the 356C has unvented valve covers, so this is the only path for engine venting. Next effort was the use of compressed air. After using 120 PSI I got the flashlight out again and still could not see light through from one side to the other. Hmm,,, got the garden hose and sprayed in there and a small stream came through, slowly getting better and better. Back to more contact cleaner and going through this process several times I finally got a good flow. Lesson- If you have a 356C, check yours out because it is important that your engine be able to vent. The second thing that surprised me was the date stamps on the air filter cans. They were very very faint, and difficult to see. Being the nutcase who once wrote an article on manufacturing date codes, I wanted to preserve these stamps. I started to sand the entire filter can, and to my dismay, the date stamps vanished! Seems the small impression of the date stamp was full of paint, and when I lowered the surrounding paint level to that of the date stamp, it was not showing because the paint was leveled out by all the sanding. That would not be ok for me, so I needed a solution. Out came the Dremel. Photos are below. Man, taking all this stuff to the powder coater sure would have been easier.... Notice in the top left photo the lousy o-ring. This is where the air filter housing rests on top of the carburetor. Mine is in dire need of replacement. 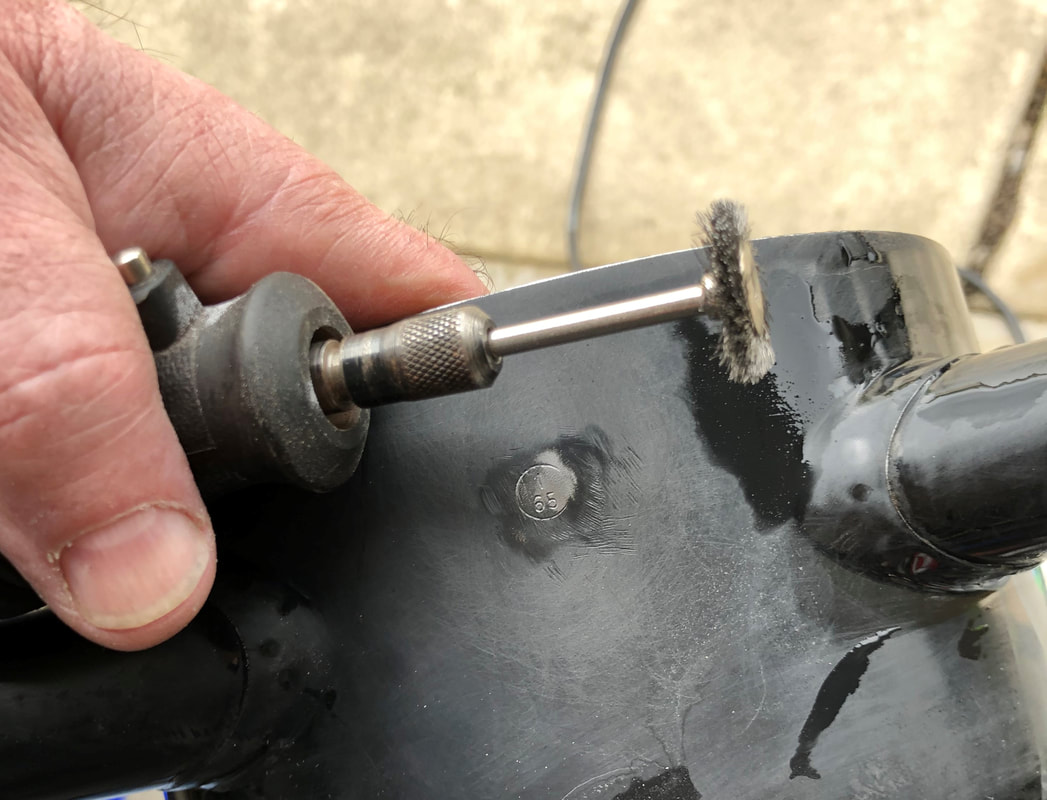 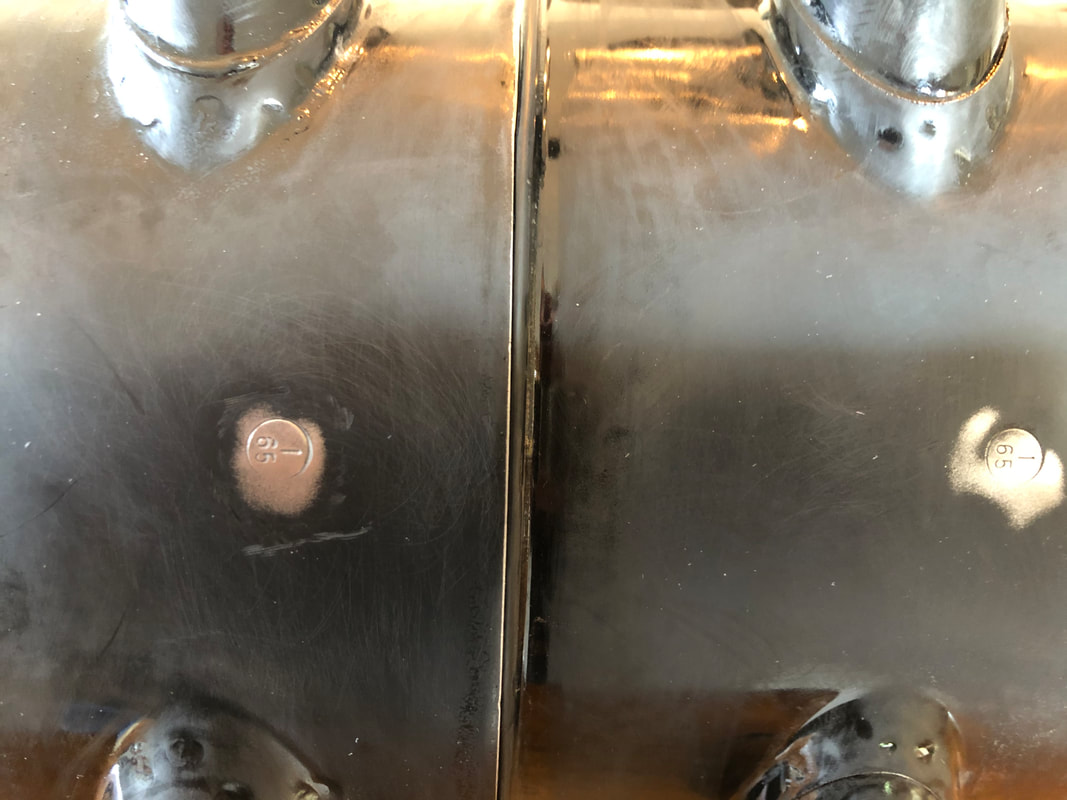 After my post yesterday (see below) I had some interesting questions about original mufflers and my work restoring this one. Why not just buy a new muffler? Well, new mufflers from Dansk are not in good favor with the 356 and 912 crowd because of quality and fitment problems. Original mufflers have also been dyno tested and they allow the engine to produce more power. There is a good discussion of the OEM muffler on the 912 Registry site. Click on the photo below for the string of posts. The link takes you to near the bottom of the discussion, so please scroll up to the top and read down through the info. 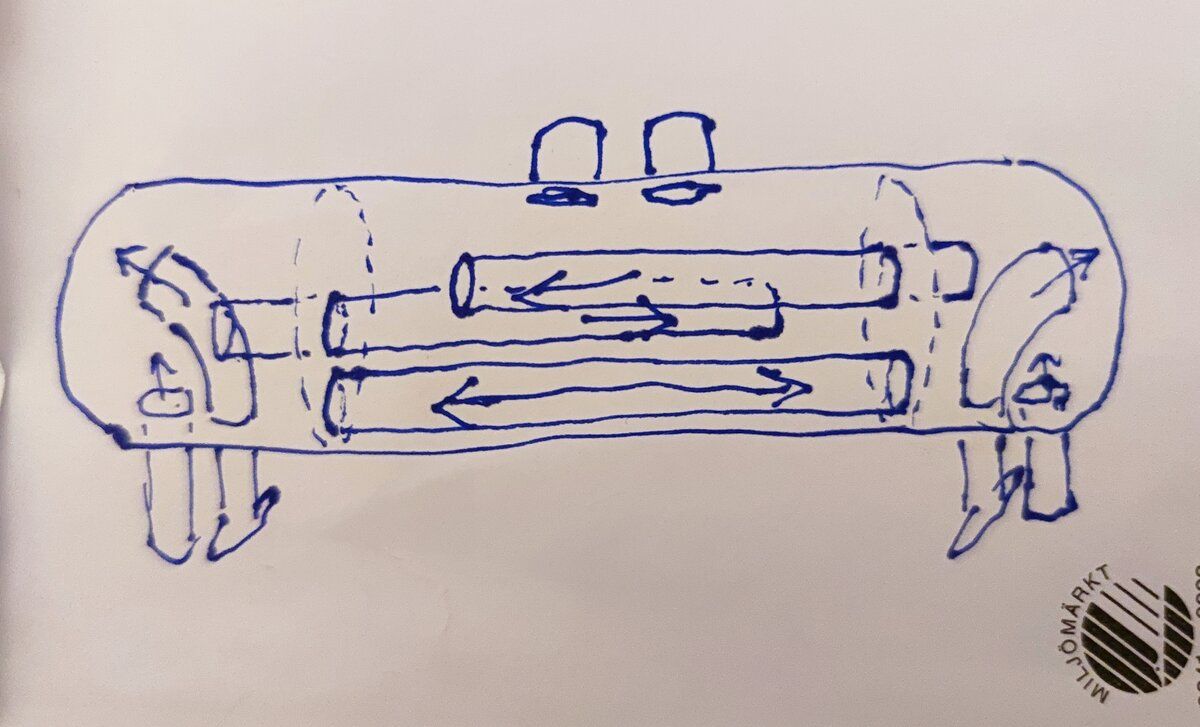 Well, actually, the project of cleaning up and painting my OEM muffler went quite easily. Even though the weather has warmed up (high of 62 degrees today) it still hasn't been warm enough on the days when I had time in the garage for me to start back on the carpet installation. However, it has been warm enough to spray the special high temperature paint for the muffler, so this project moved to the top of the to-do list. This is the muffler that came on the engine when I bought the car, and while it has a few dings, it's in surprisingly good shape. Since I was able to get the engine running very well before removing it, I know it also performs it's job great. Remflex gaskets and copper nuts for installation are in hand ready for the installation. 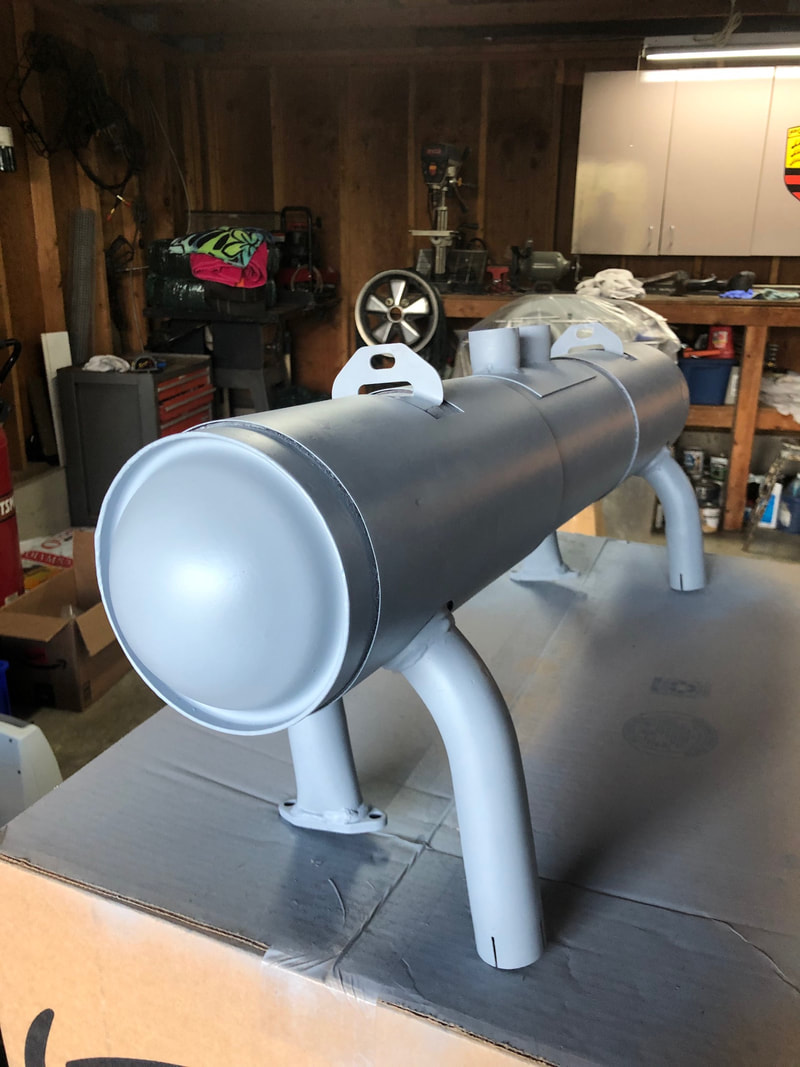 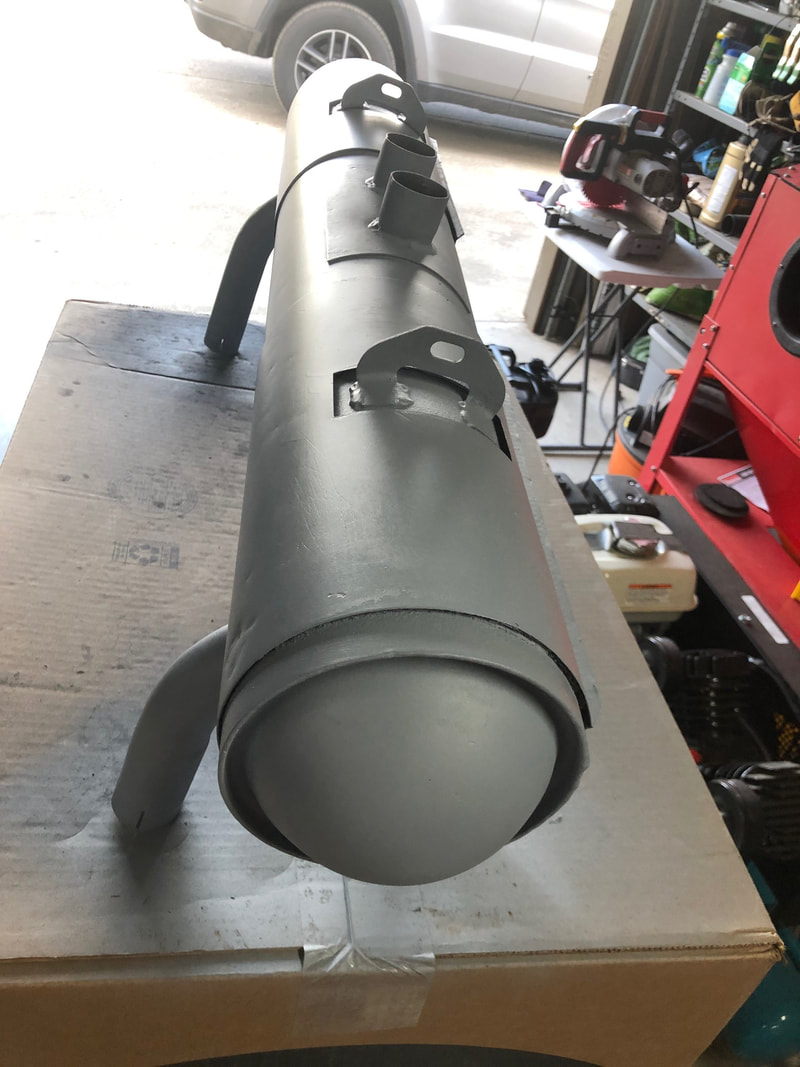 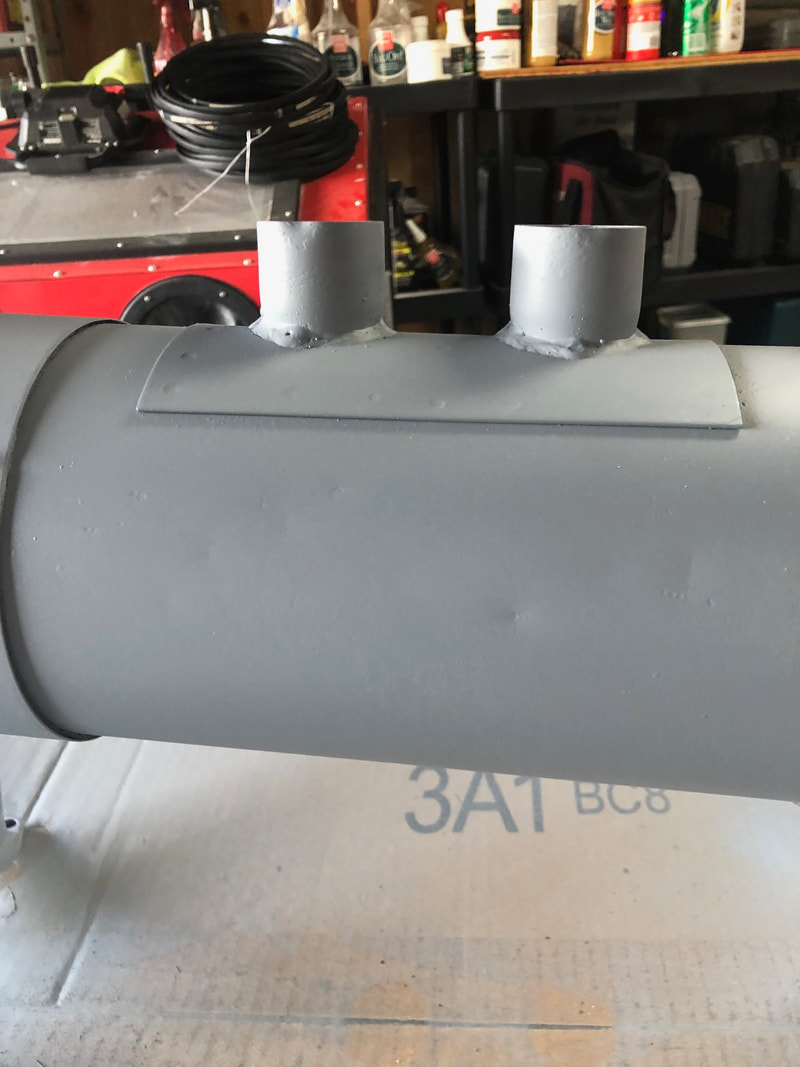 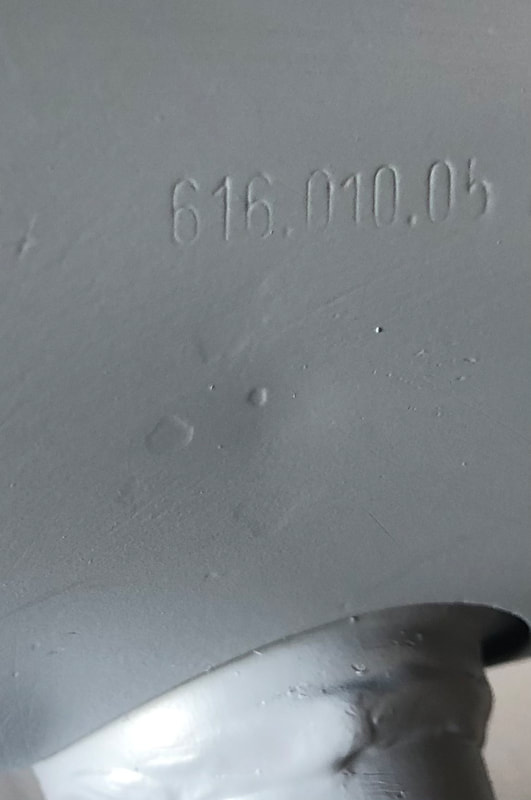   The deco project for the front bumper is now complete. After the Easy Off treatment and a good bath in soapy water, I sanded in progressive steps. First 600 grit, then moved progressively through 1000 and finally 1500. This was followed with several passes of using Mothers Aluminum polish. The first photo below shows the same end as shown in earlier posts. This end had long deep scratches and scuffing on the rubber insert. All of that came out ok. The major dent/bend in the deco hammered out ok, but smaller "dents" at the rim of the deco (the area directly next to the rubber insert) I was not able to remove, so a couple of these blemishes remain. Overall, this was a time consuming project to stay with an original part. It is greatly improved, but not perfect. From the beginning this deco project had the goal of improving the part, knowing it would not reach perfection, and from that perspective, it was a successful attempt. Finished part is now on the bumper as shown below. By the way, in a couple of photos it looks like the deco bends at the bumper guard. Look closely, it does NOT bend. What you see is the reflection of the deco in the chrome bumper guard. 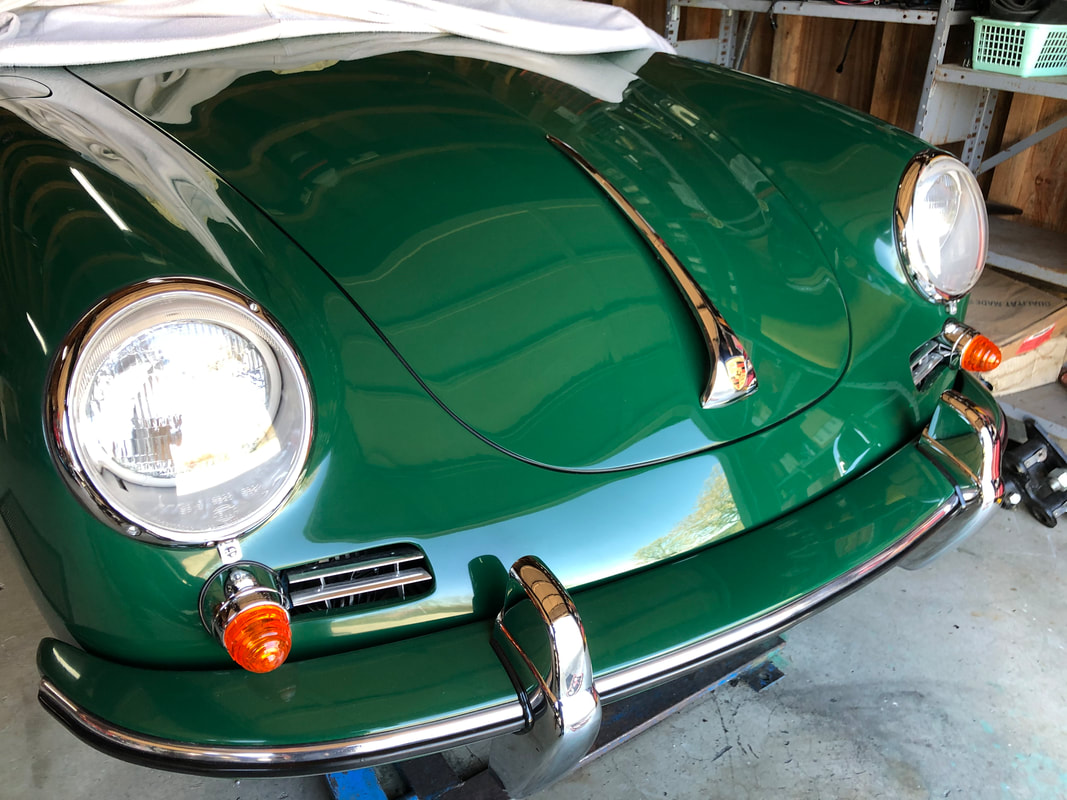 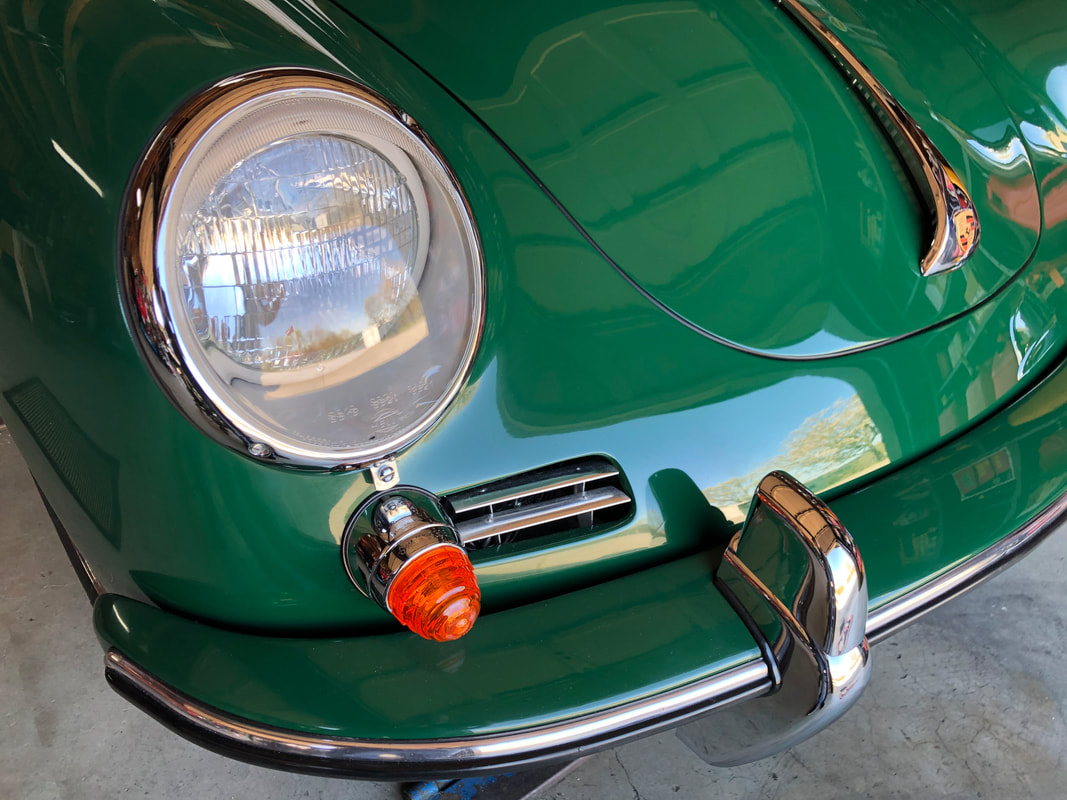 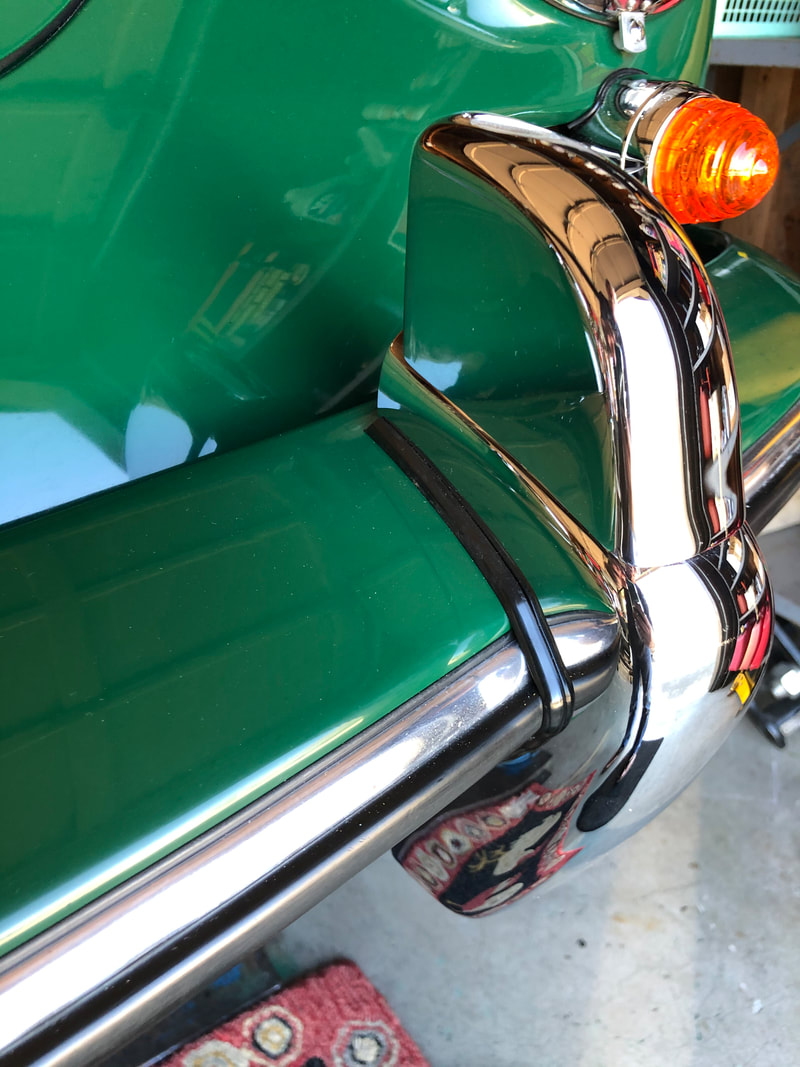 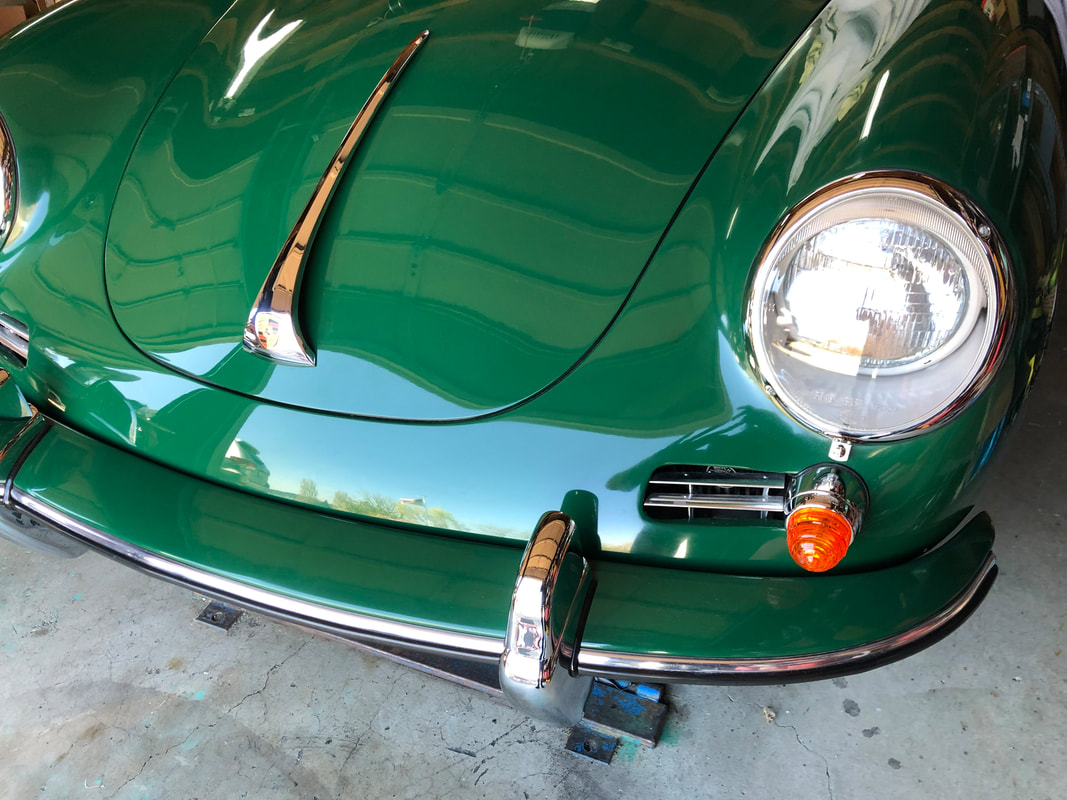 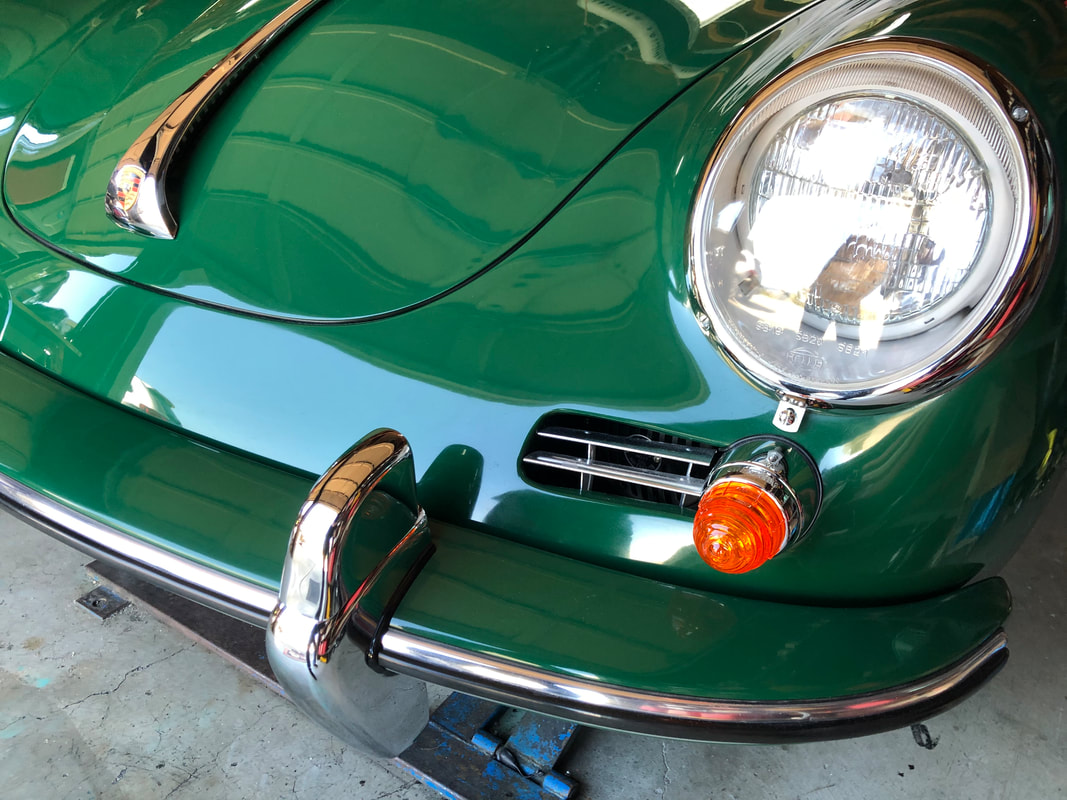  Armed with some simple supplies I headed to the garage. I first cut some blocks of wood so I could straighten the deco. One was cut to fit perfectly in the slot where the rubber insert goes, the other spread the load across the back. Next I used my heat gun and heated the heck out of the spot I wanted to straighten. When it was well heated, the blocks of wood in place, it took a few smacks with my hammer to get it to where I thought it would be acceptable. Following this I laid the deco outside on a table and sprayed the Easy Off and let it sit until it was bubbling- about 1/2 hour. A good bath in soapy water was next. The result of this is that the deco seems to have 95% of the anodizing removed. It is now blotchy and has a kind of milky appearance. Next comes sanding with various stages of wet/dry sandpaper. My goal is not to reach perfection- it is to have a very nice appearance with perhaps a few small nicks for patina. Stay tuned... 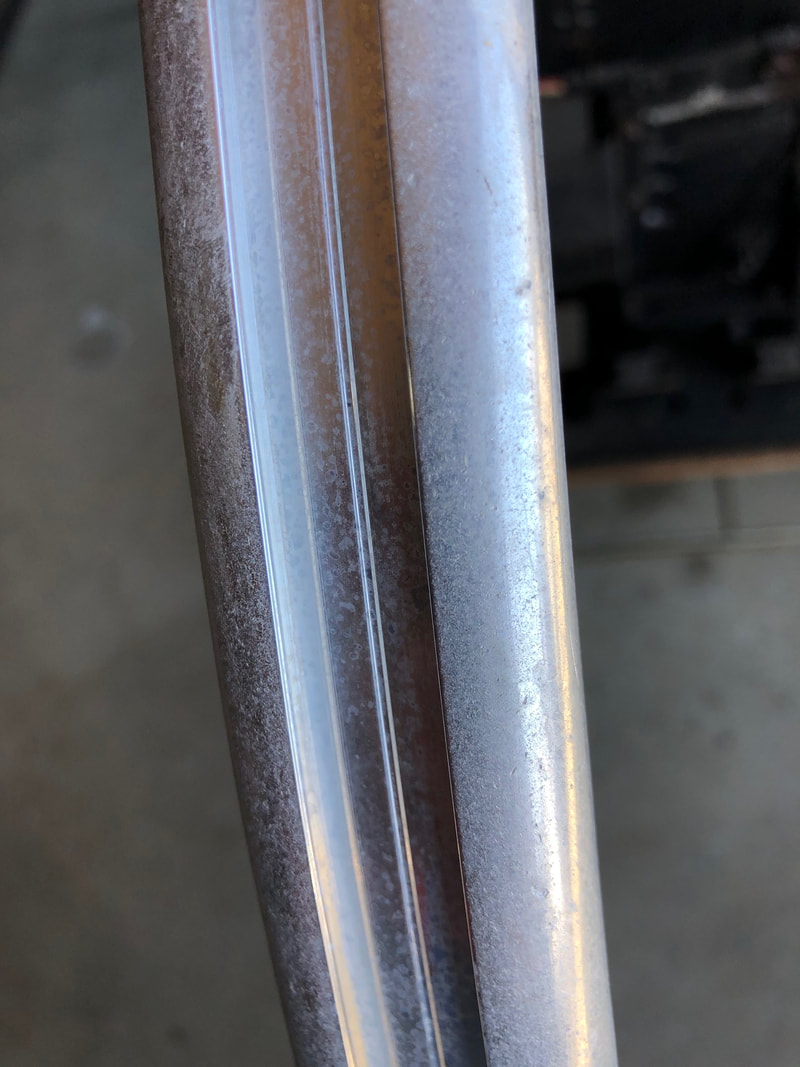 With the completion of the area under the hood, I moved the focus to in front of the hood--- the bumper. The bumpers have been off the car for 3 years, stashed safely in a spare bedroom. I have now loosely fit the front bumper and done the requisite color sanding. Photo below. The sanding was done with the deco and bumper guards off so I could easily reach all surface areas. Now that the color sanding is complete, my attention moves to the deco trim- and what a mess it is! I'm including a few shots of the deco. Good news is that it is original, not reproduction trim. The difference is easy to see at the ends of the trim. Notice in the photo how the ends are nicely rounded and meet evenly. That's the good news. The bad news is that it's been on the car for over 50 years, and has the battle scars to prove it. Lots of nicks and scrapes, some of of which are deep. Lots of sand blasting of the aluminum from small debris that hit the trim while driving, and it also has one nice size dent. What to do about these deco woes? Well, a new reproduction piece is about $200 and is easily recognizable as not original, so the other option is to try restoration. I'm going with restoration. First step is to remove the outer seal and the inner insert. The inner insert is scuffed up, but the material is soft and repair should not be too difficult. Outer seal came off in one piece, and I think just cleaning will be all that is needed. Second step is to grab a fine tooth file and get the bad marks removed. Since the aluminum is soft, this step went fairly quickly. Maybe an hour spent. Next I will need to remove the anodization. An internet search shows several methods, and I think I will try using Easy Off Oven Cleaner. It is much easier to chemically remove the anodization than to try and sand it all off. When I get to that step, I'll post some photos. After that I will try and remove the dent with blocks of wood and then finally sanding and polishing. Stay tuned...  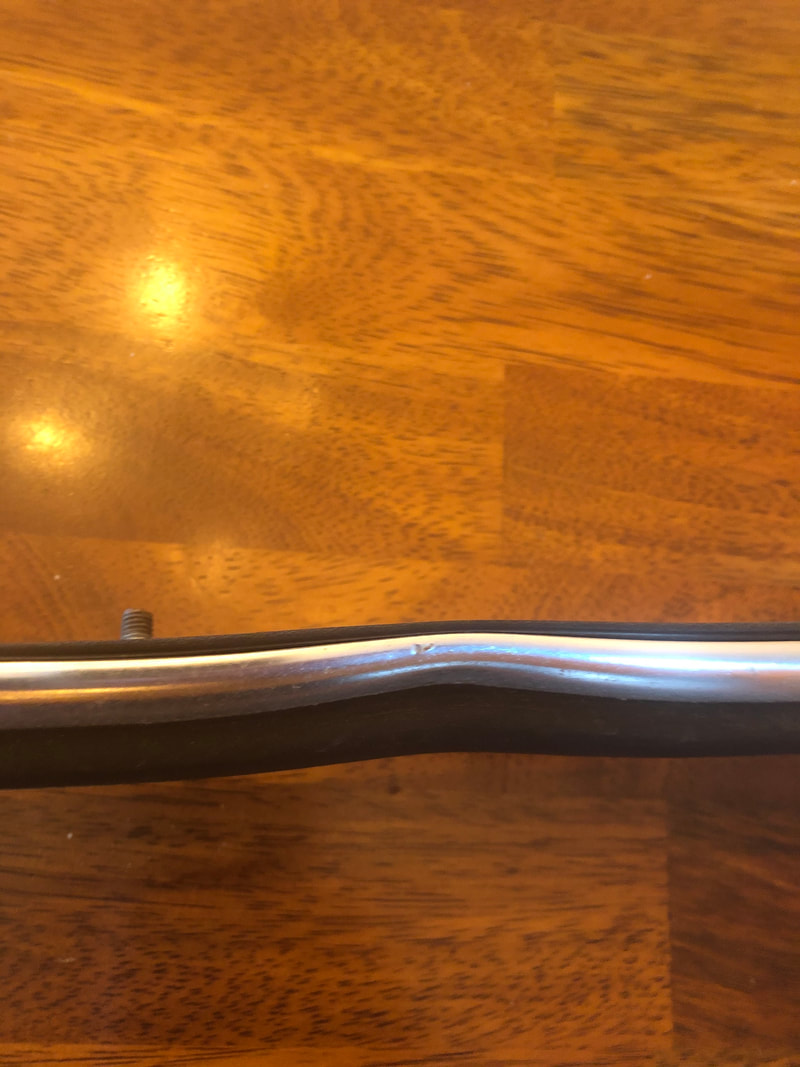 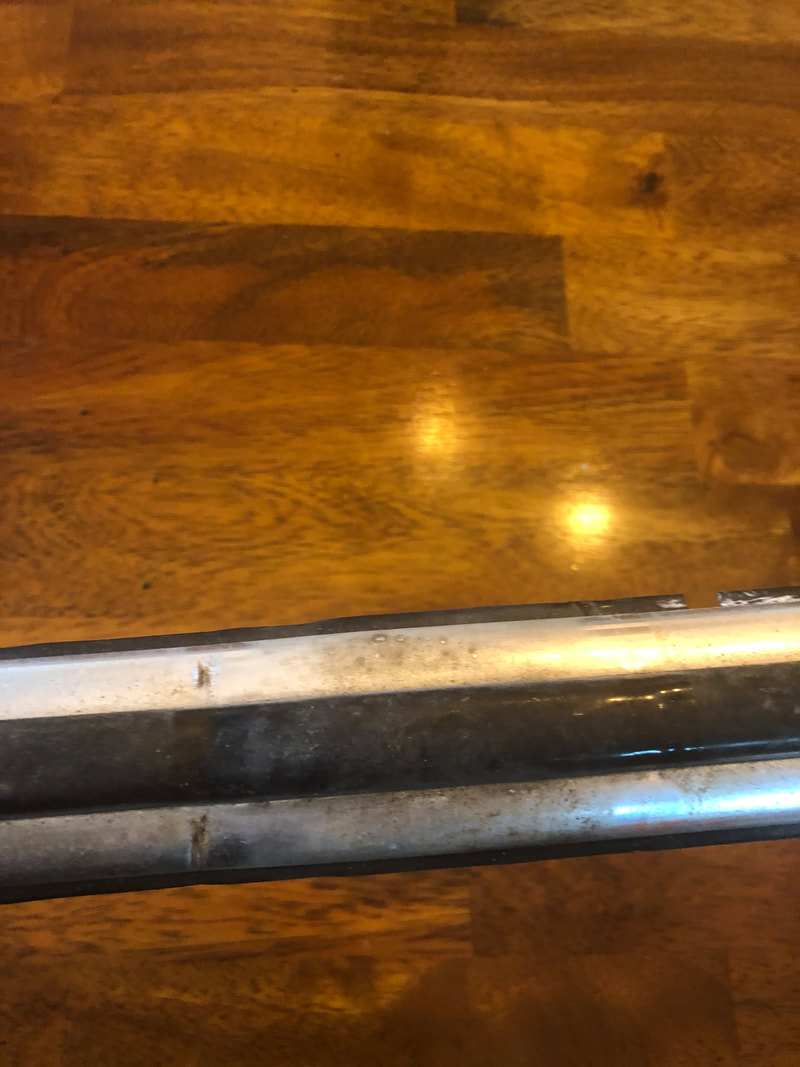 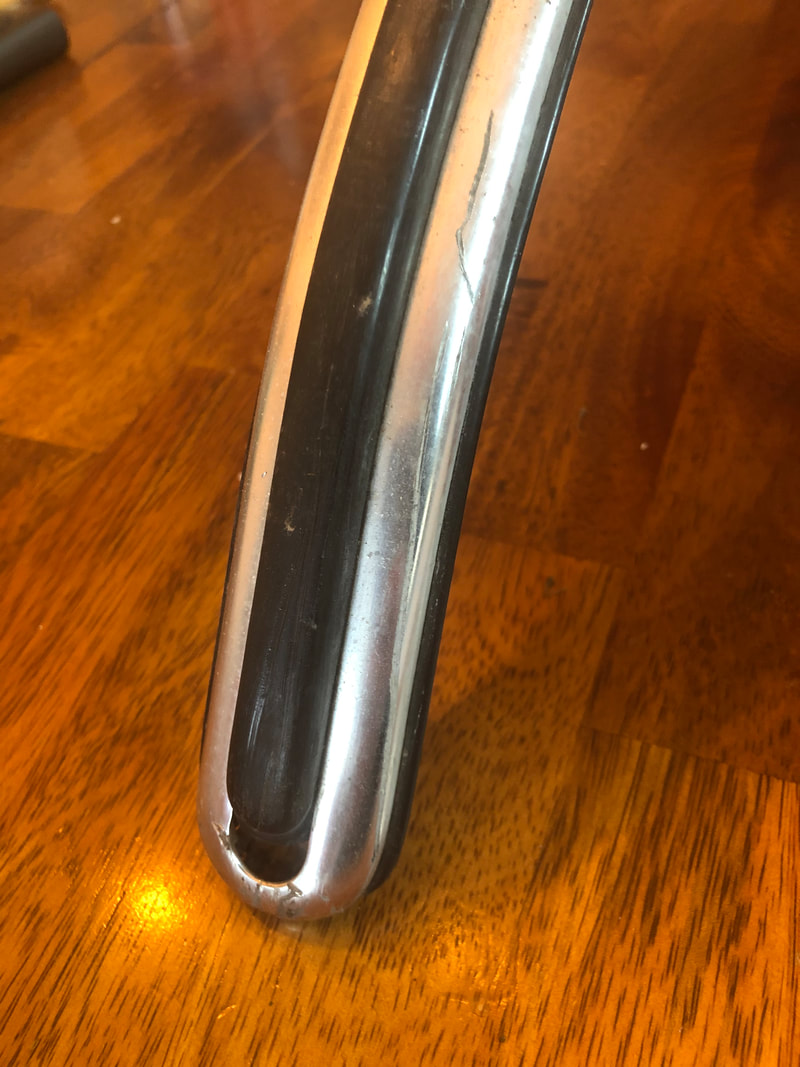 Below is a photo of my filing marks. This is the same end as shown above. Deep scratches are gone. This will all be wet sanded with finer and finer grades of sand paper then polished to the desired finish. 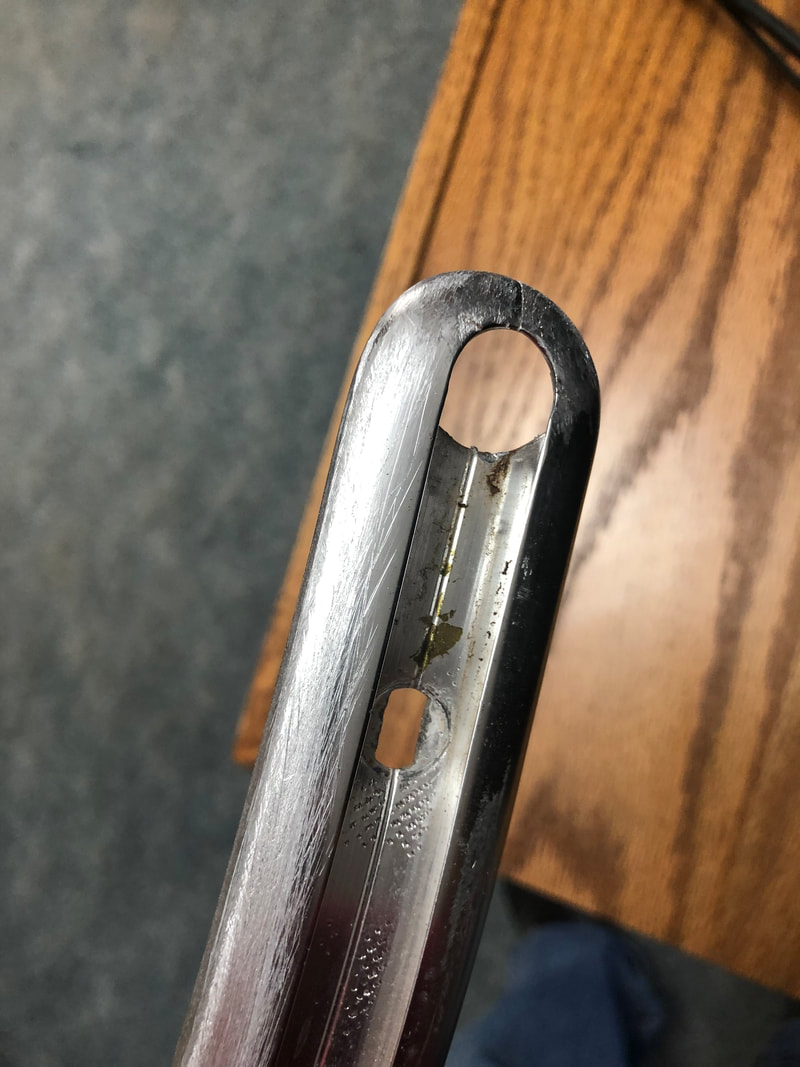 I continue to move like a tortoise as far as progress goes on Miss April, but yesterday I pretty much reached a milestone. I have an area that is, for all real purposes, DONE. The installation of the hood seal is complete, which then led to placing the original plastic gas tank cover back into place. Photos are below that show some of the work that can be seen and can no longer be seen.
   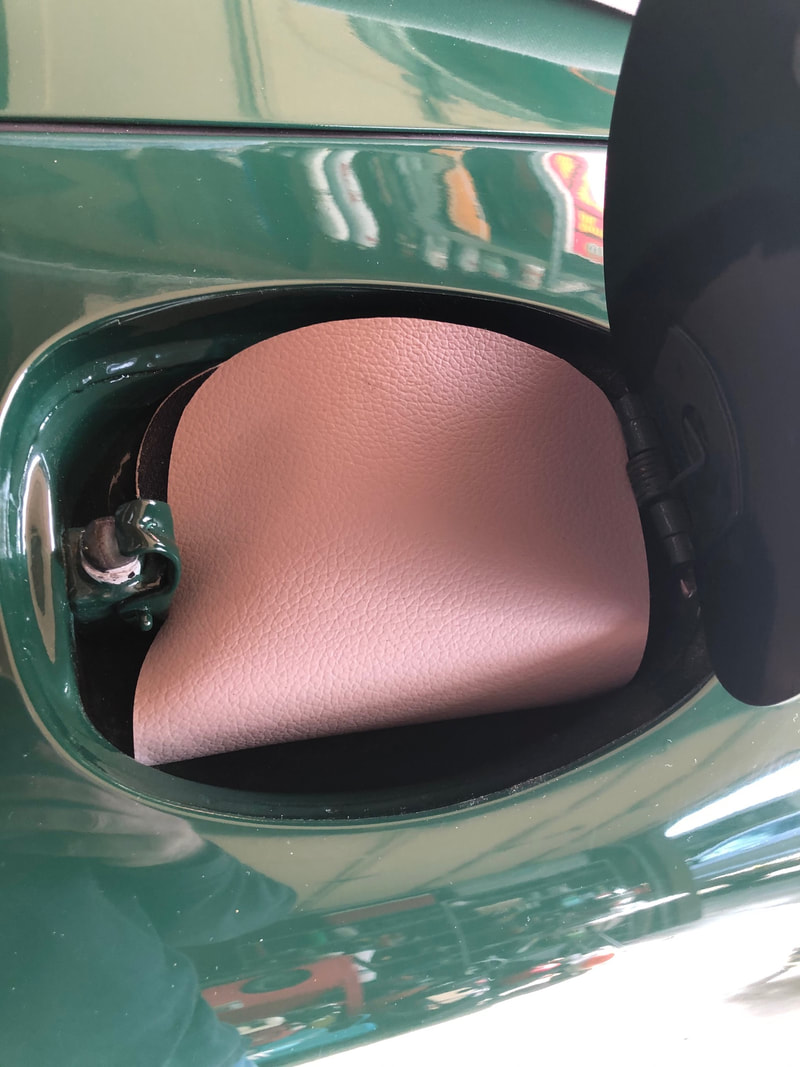           When the wheels come back from the chrome shop (soon), I will drop in the spare tire along with my original/nice looking spare tire belt. At that point I'll be able to say the area is COMPLETELY DONE. By the way, the little imperfections you see on the hood seal near the front is water from my cleaning off for the photo- seal is new and perfect. 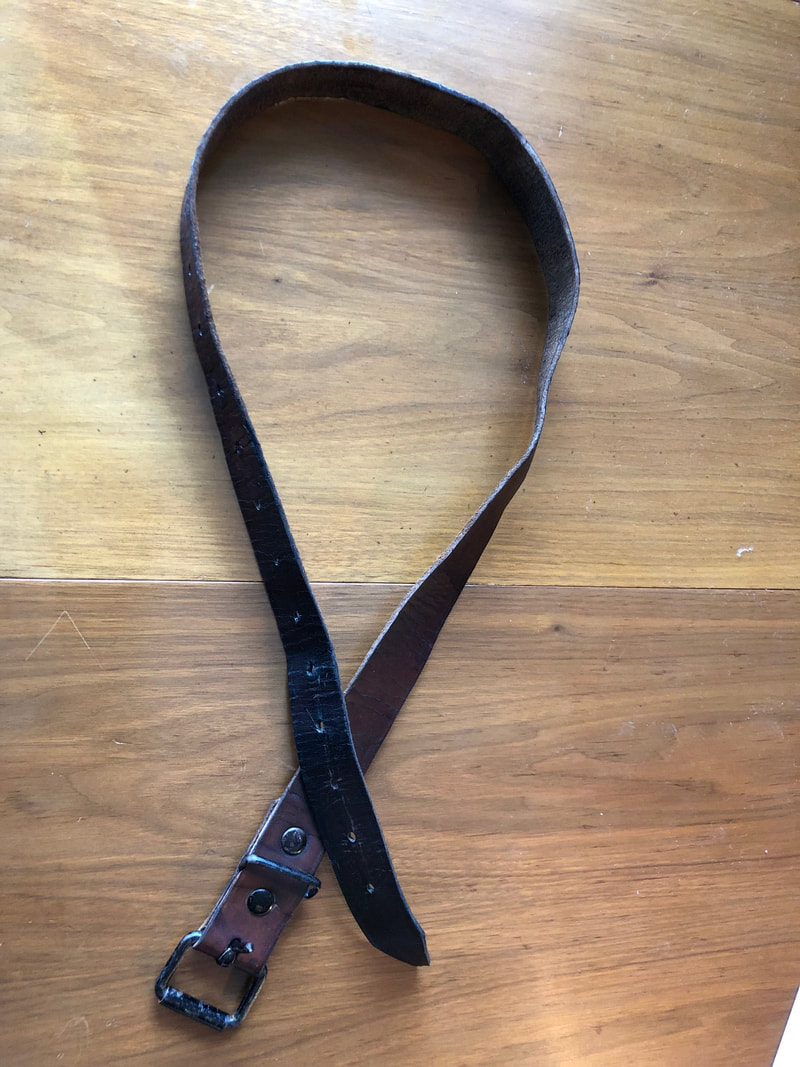 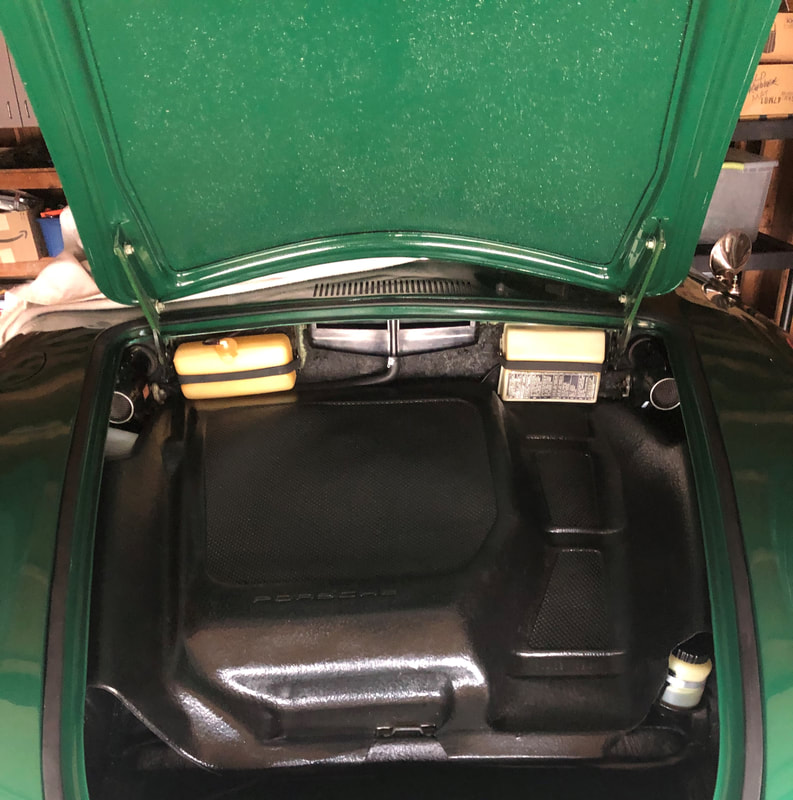 If you've followed some of the many pages of this Blog or have browsed through this website, you already know I am an originality freak. Here is another example.... My car came to me from Arizona, and most if not all rubber was cooked to a hardened crisp and had to be replaced. On the inside of the car, the vinyl interior was hard and cracked, not to mention stained, and the original headliner was just toast. All of that had to go. Another interior item that looked like it had roasted in the heat was the interior clothes hooks. They were a very dark brown- nearly black. I bought new ones and they are shown below- side by side with the originals.  These replacements seemed to be very white, but I just put them away along with the originals. Good thing I don't throw away original parts though, look what I saw when I went back to get the replacement parts out for installation. The back side of the very dark originals was gray. Not white, gray. 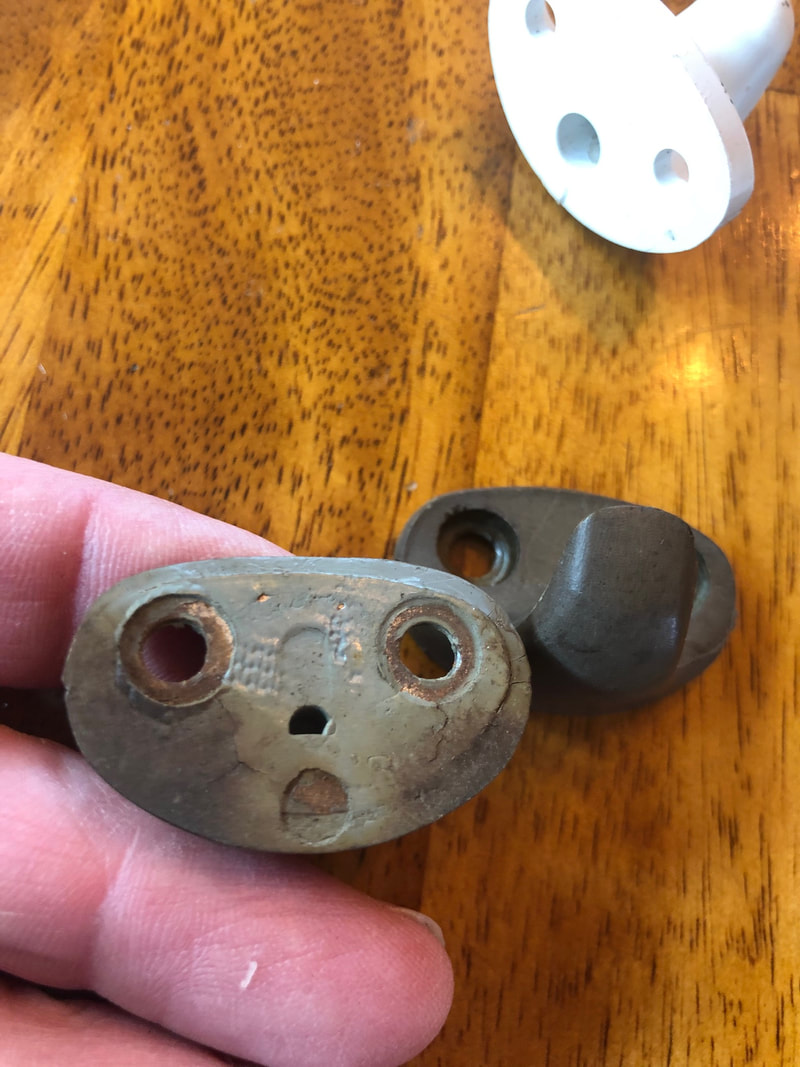 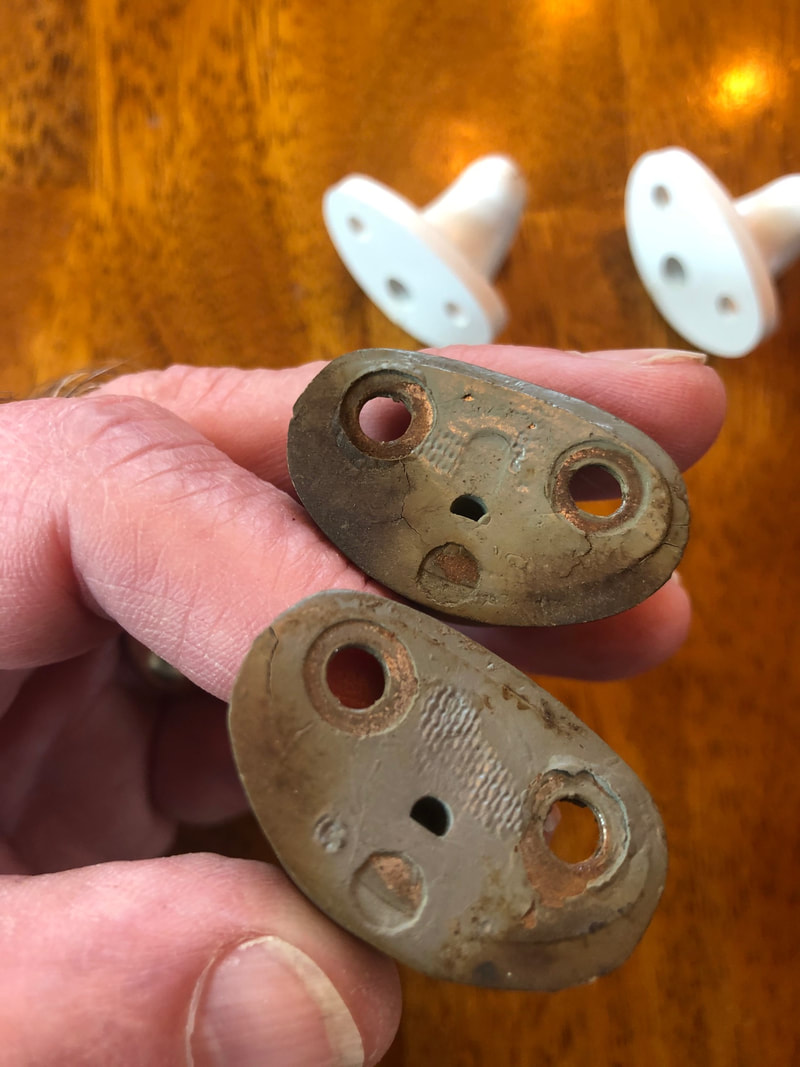 So, I figured what the heck, I might as well attempt to restore the originals. I tried cleaning with everything I could think of, but there was no impact on the color at all. Scrubbing with steel wool resulted in almost no change, still very dark. Ok, it was time to get more aggressive- I used sandpaper and a fingernail file. Result is below. I will be re-installing my gray original hooks. 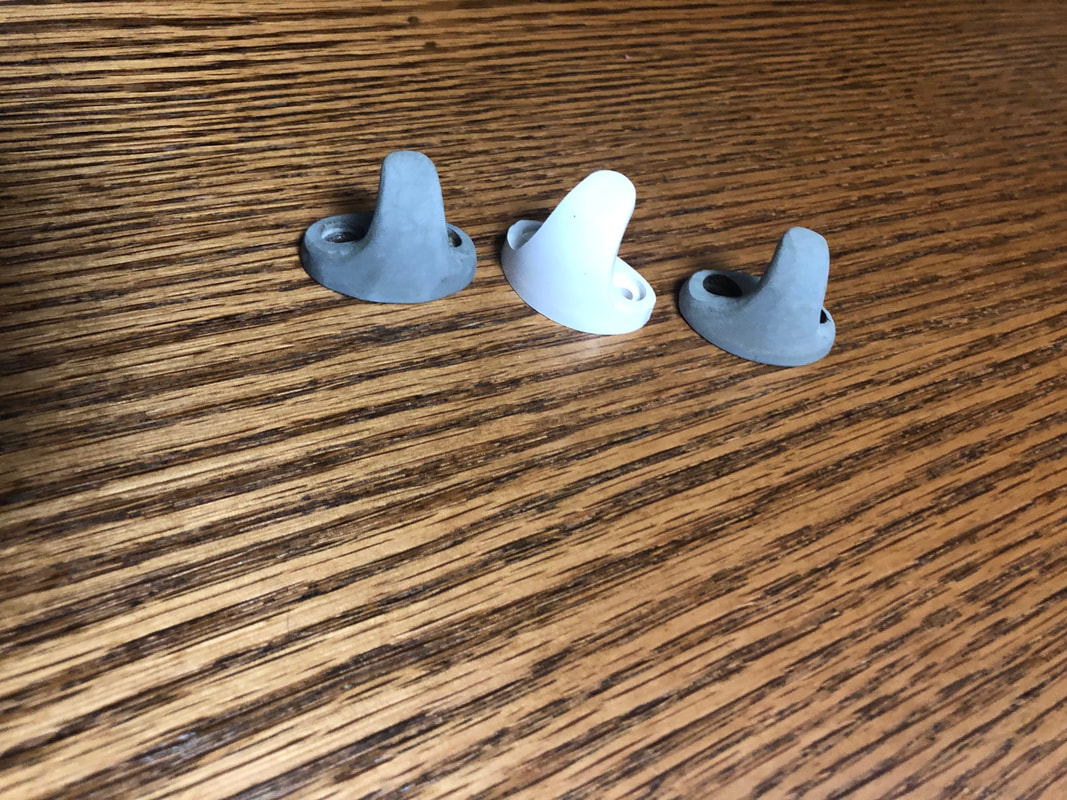 |